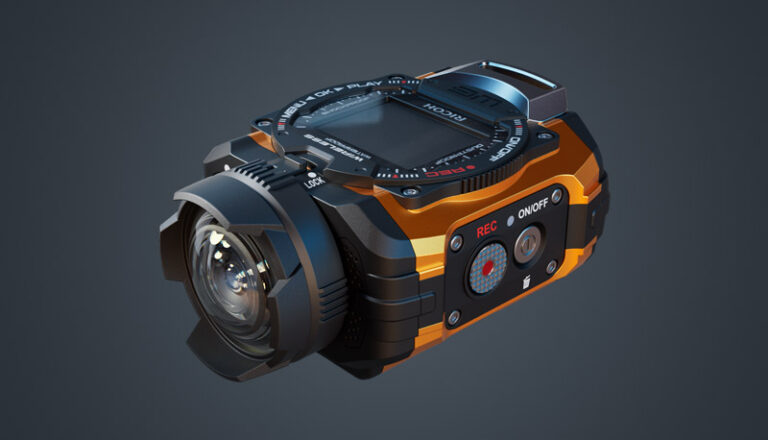
After the first personal project I did with Fusion 360, I decided to go a little further and learn more about this software, so I started another project with more complexity in terms of modeling. I found the following model screenshot interesting in my searches on the ArtStation website. One thing that was important about this model was that its designer with the username AGRÉ used Fusion to make it. Now, by modeling it, I could learn and use Fusion tools at a level that is required for this quality level of 3d modeling in Fusion.
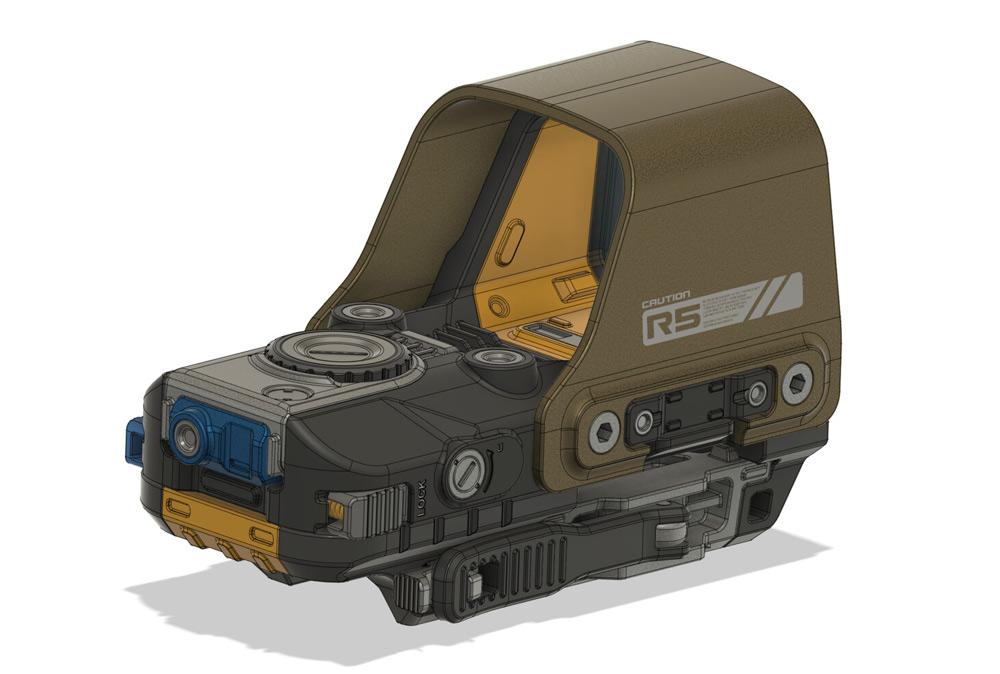
Other AGRÉ models should be seen. The talented designer has modeled most of his works in Rhino, but he has done some of his last works with Fusion.
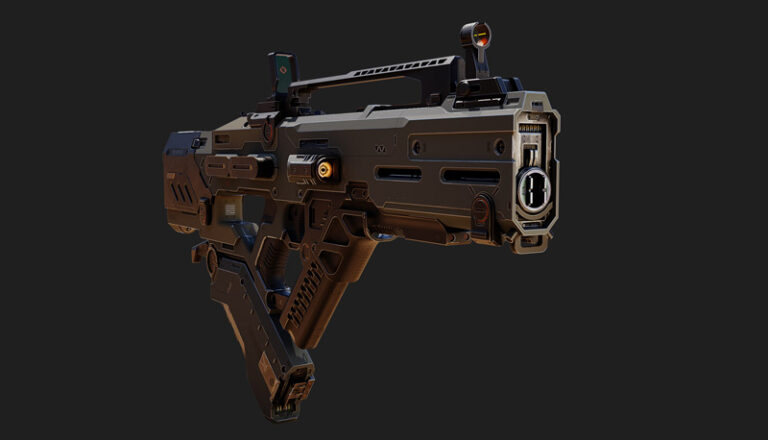
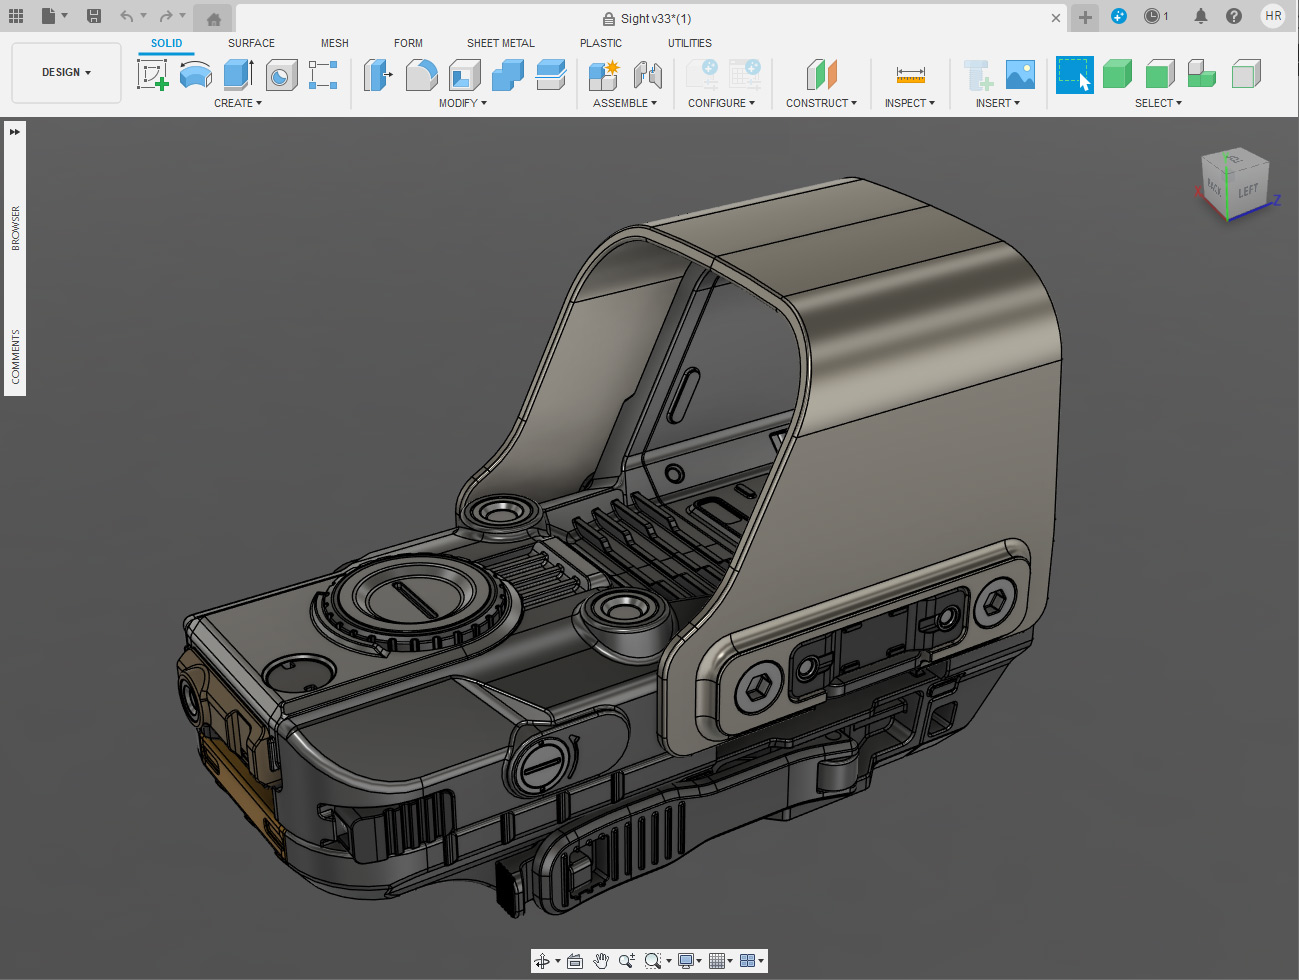
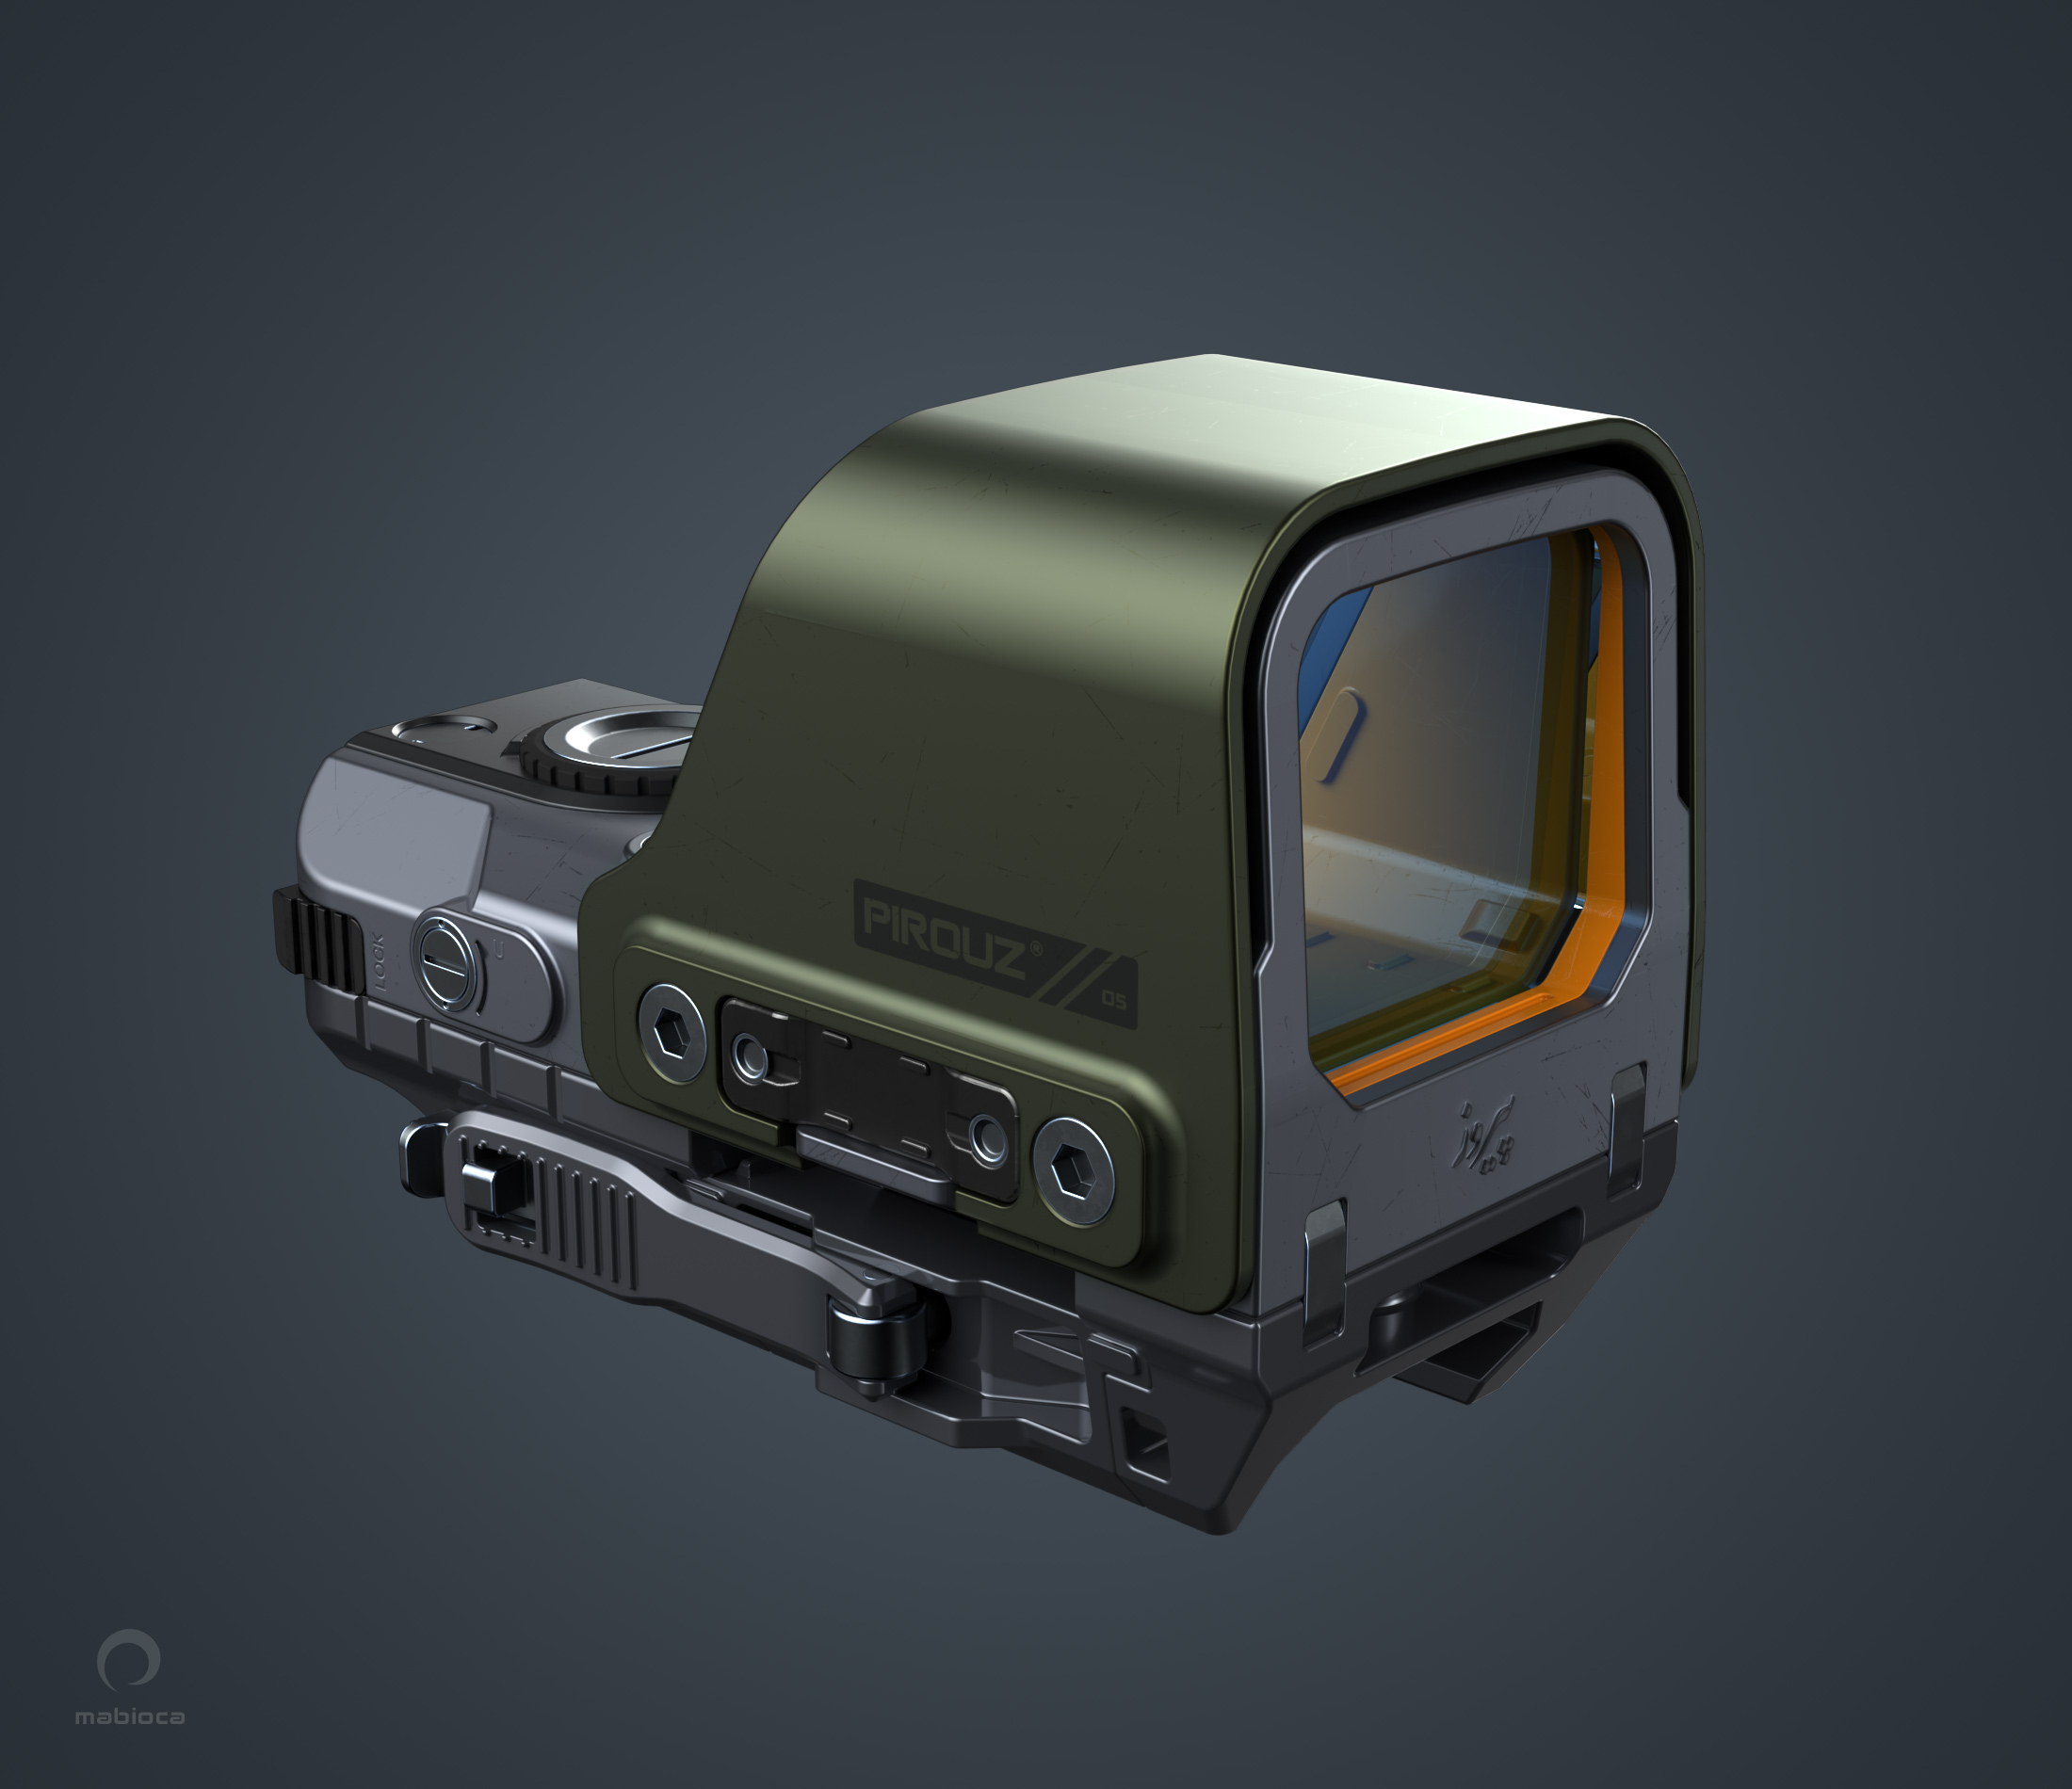
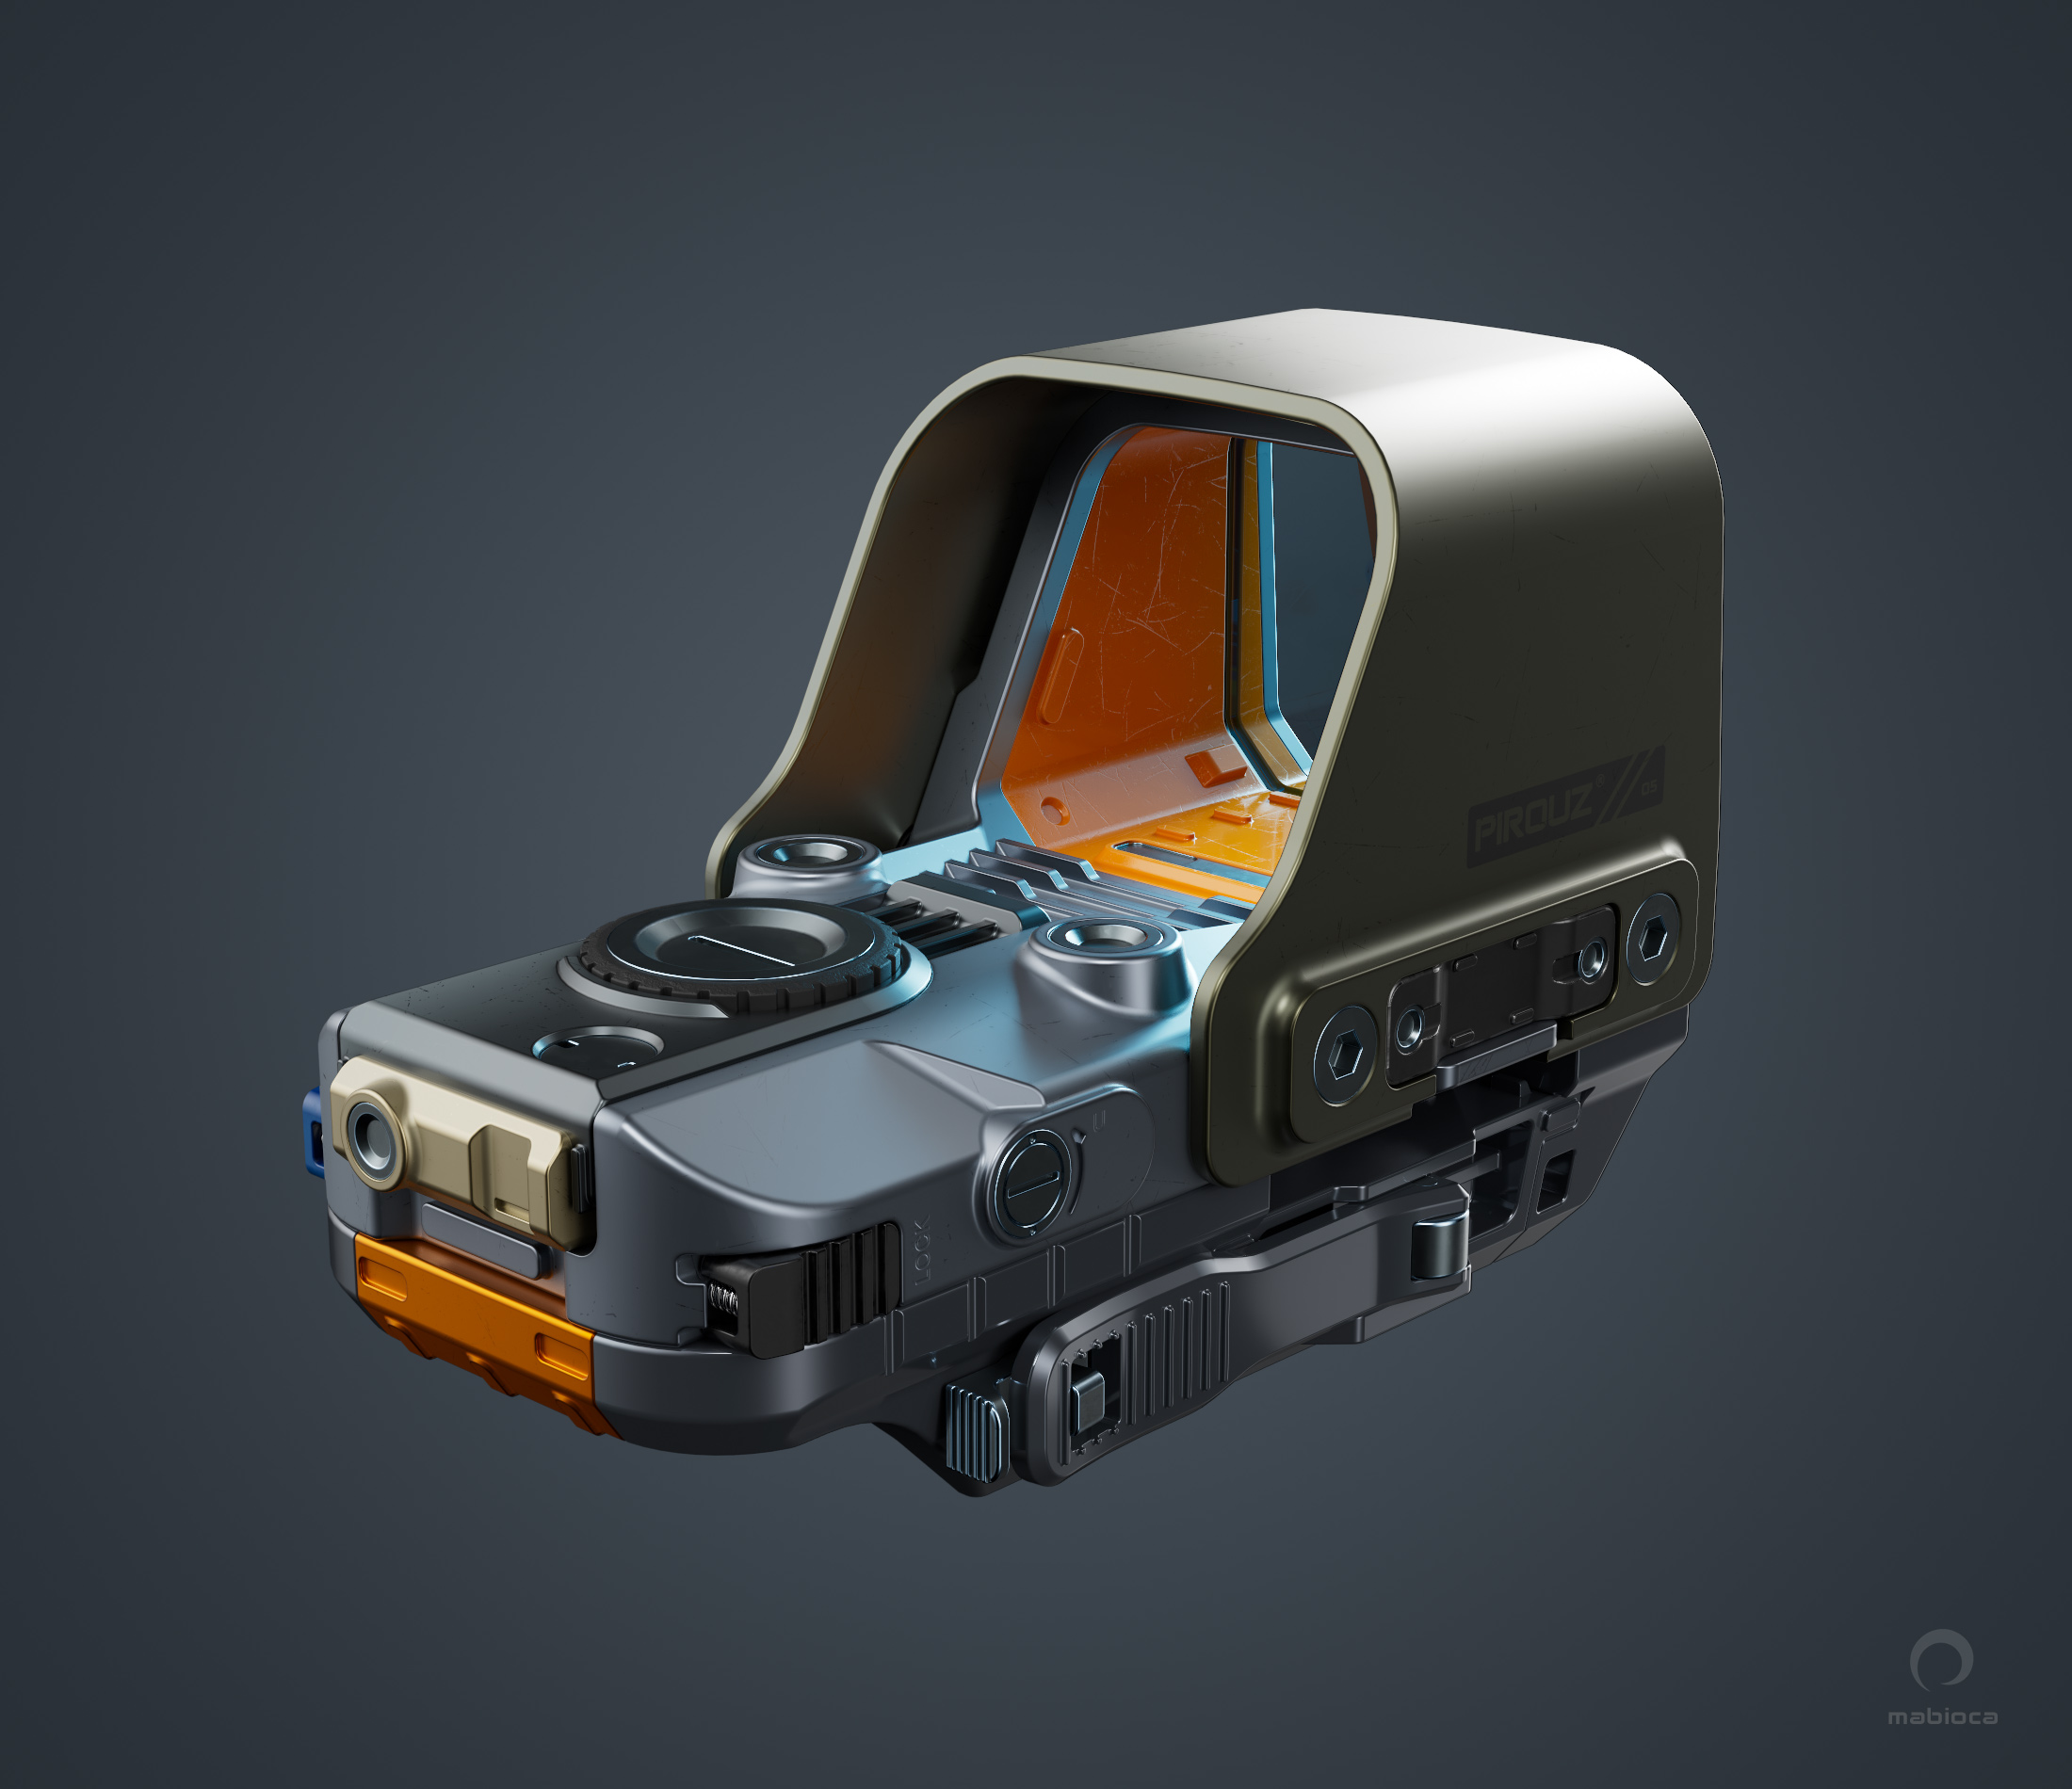
Because the original model was imaginary, what I had as reference images was limited to a few images that its designer had shared on the ArtStation. As a result, I estimated the proportions visually by eye. Despite that, I think what I made is somewhat similar to the original model.
Its modeling took about twenty hours, which was done in five days. If you watch the videos, you will notice that the use of a few tools is constantly repeated and no special or complicated techniques are used in it, so the modeling process is easy to follow.
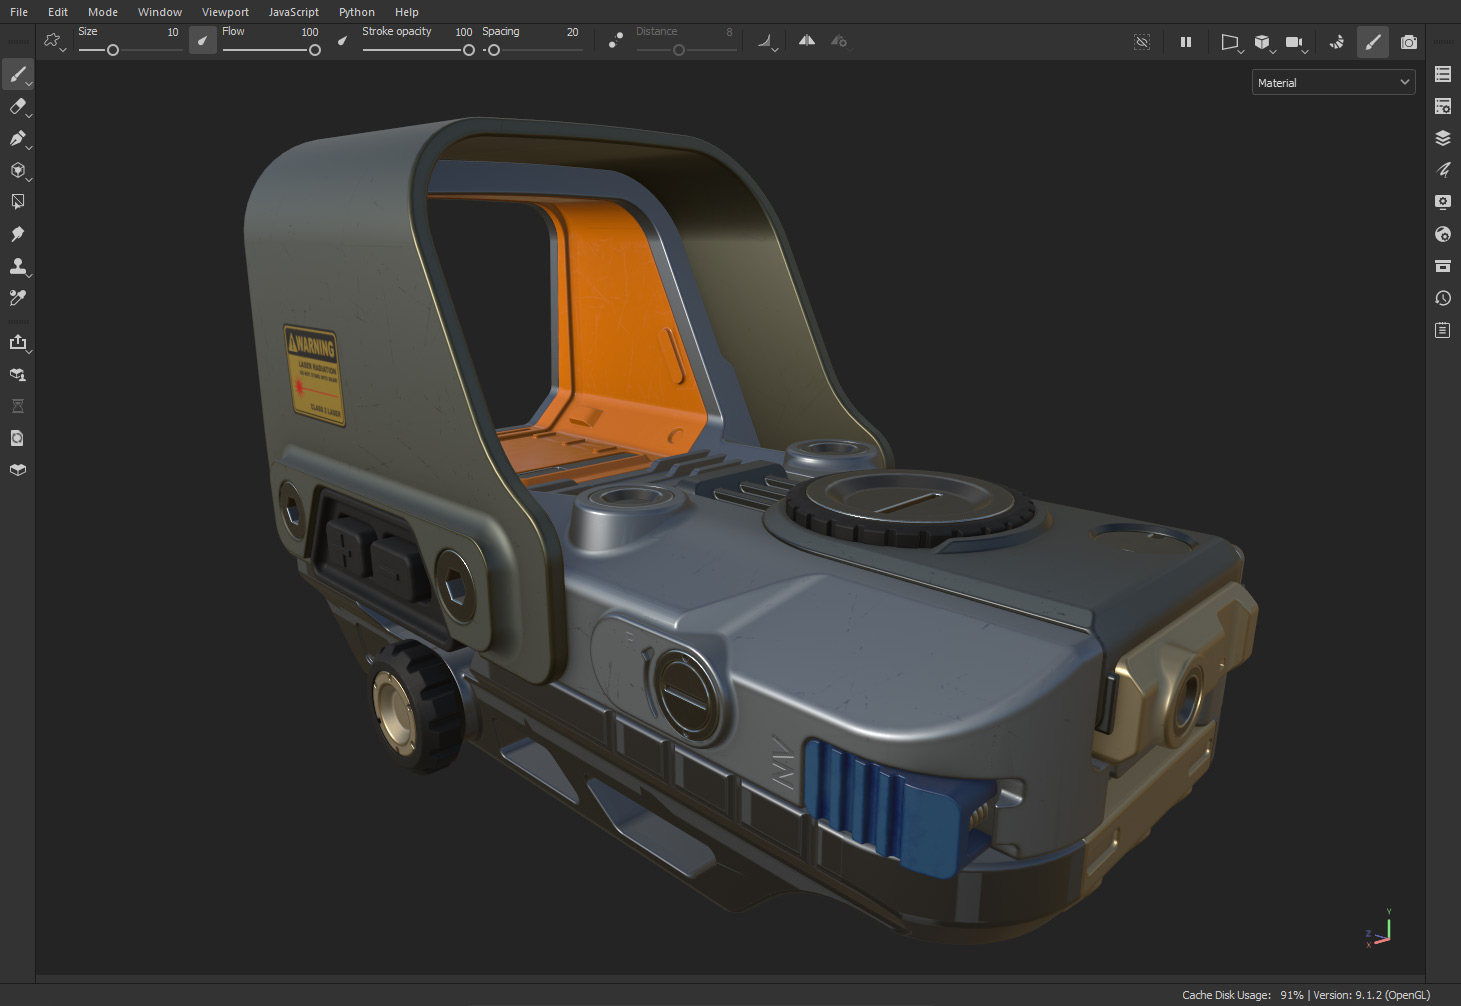
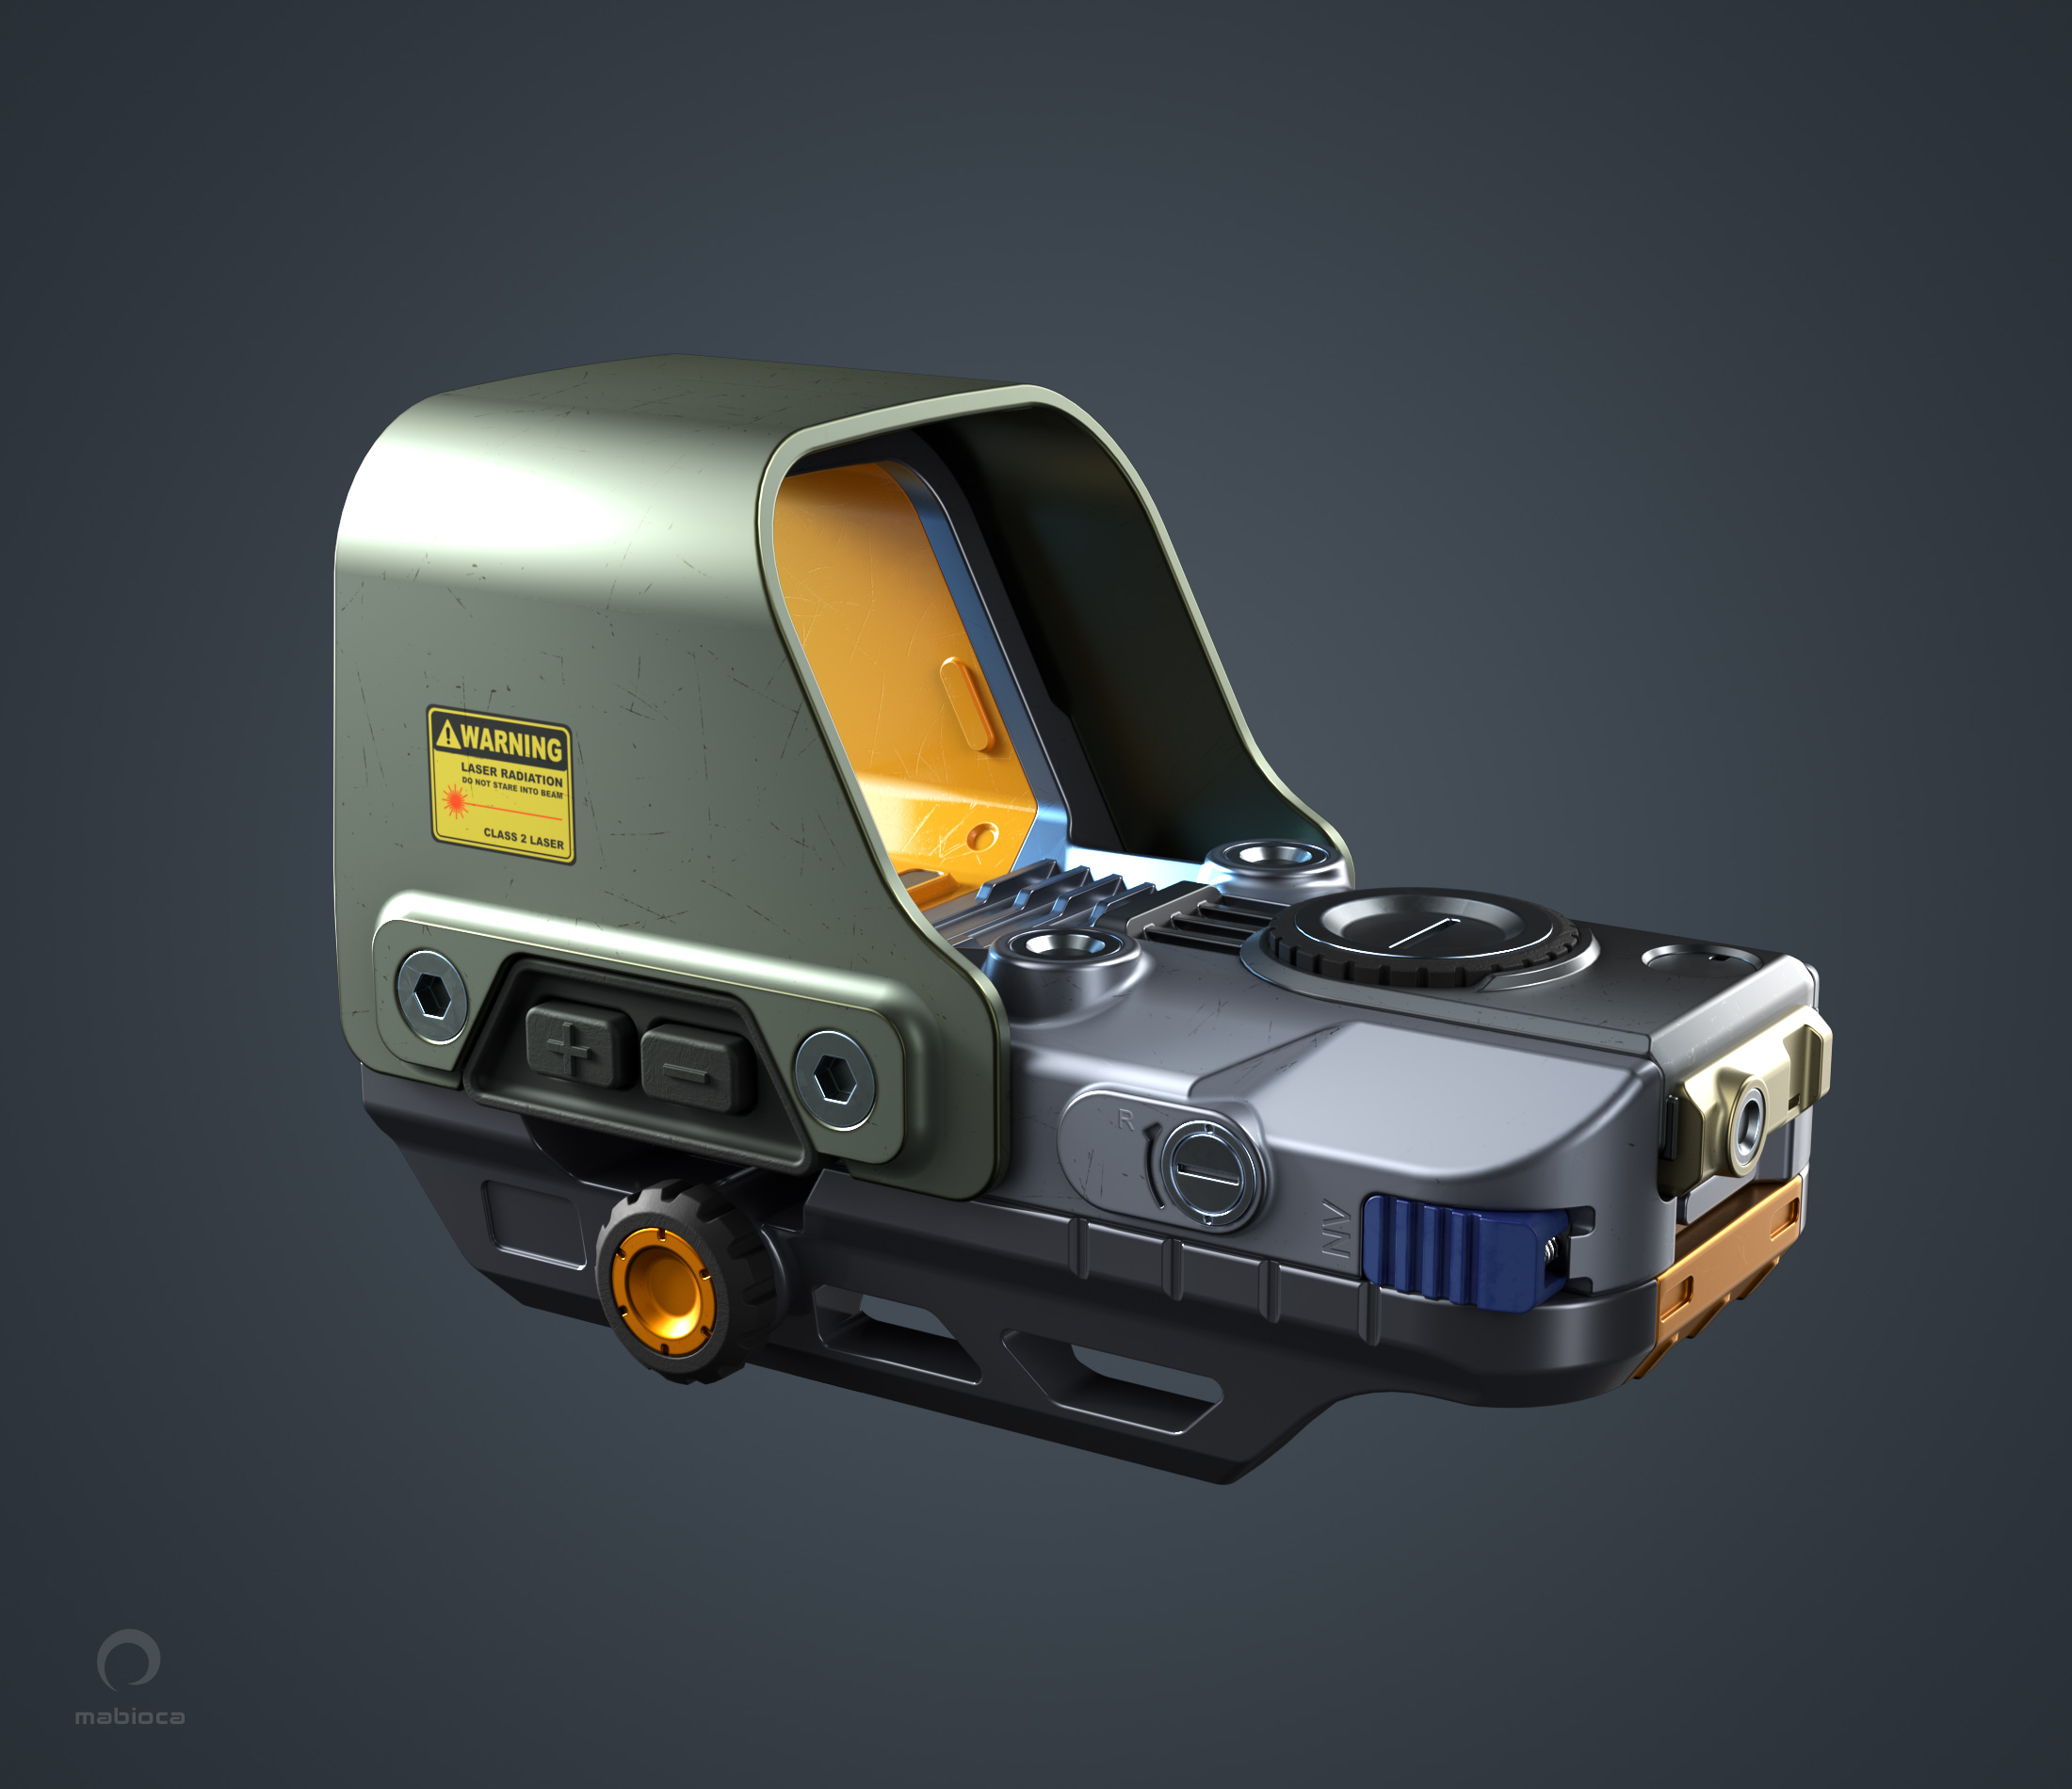
After creating the model, I exported it in FBX and STEP formats. I did the UV-related work in Maya and took the model to Substance 3D Painter to create the textures. To summarize, I used two or three smart materials, which I made a new version of by changing them and then I assigned them to different parts of the model as base materials. I added a separate layer to add details by painting the normal maps to each part.
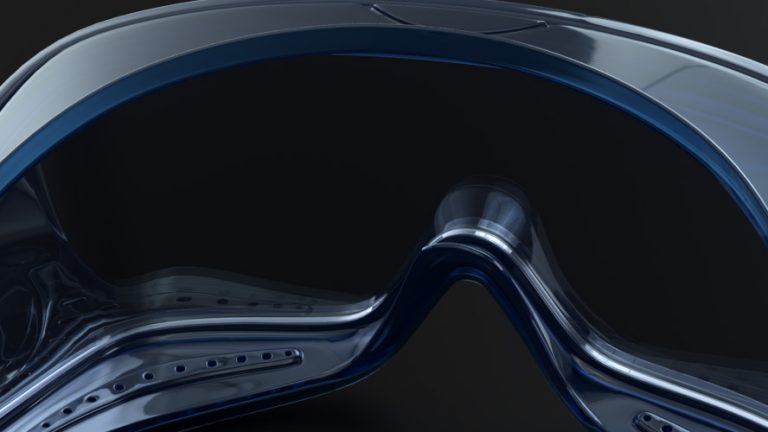
I used Maya and the Arnold rendering engine to create the lighting and rendering for this work. To light the model, I used a dome light and four disk lights placed around it. Below, you can see the final result of the lighting on the model without any textures applied.
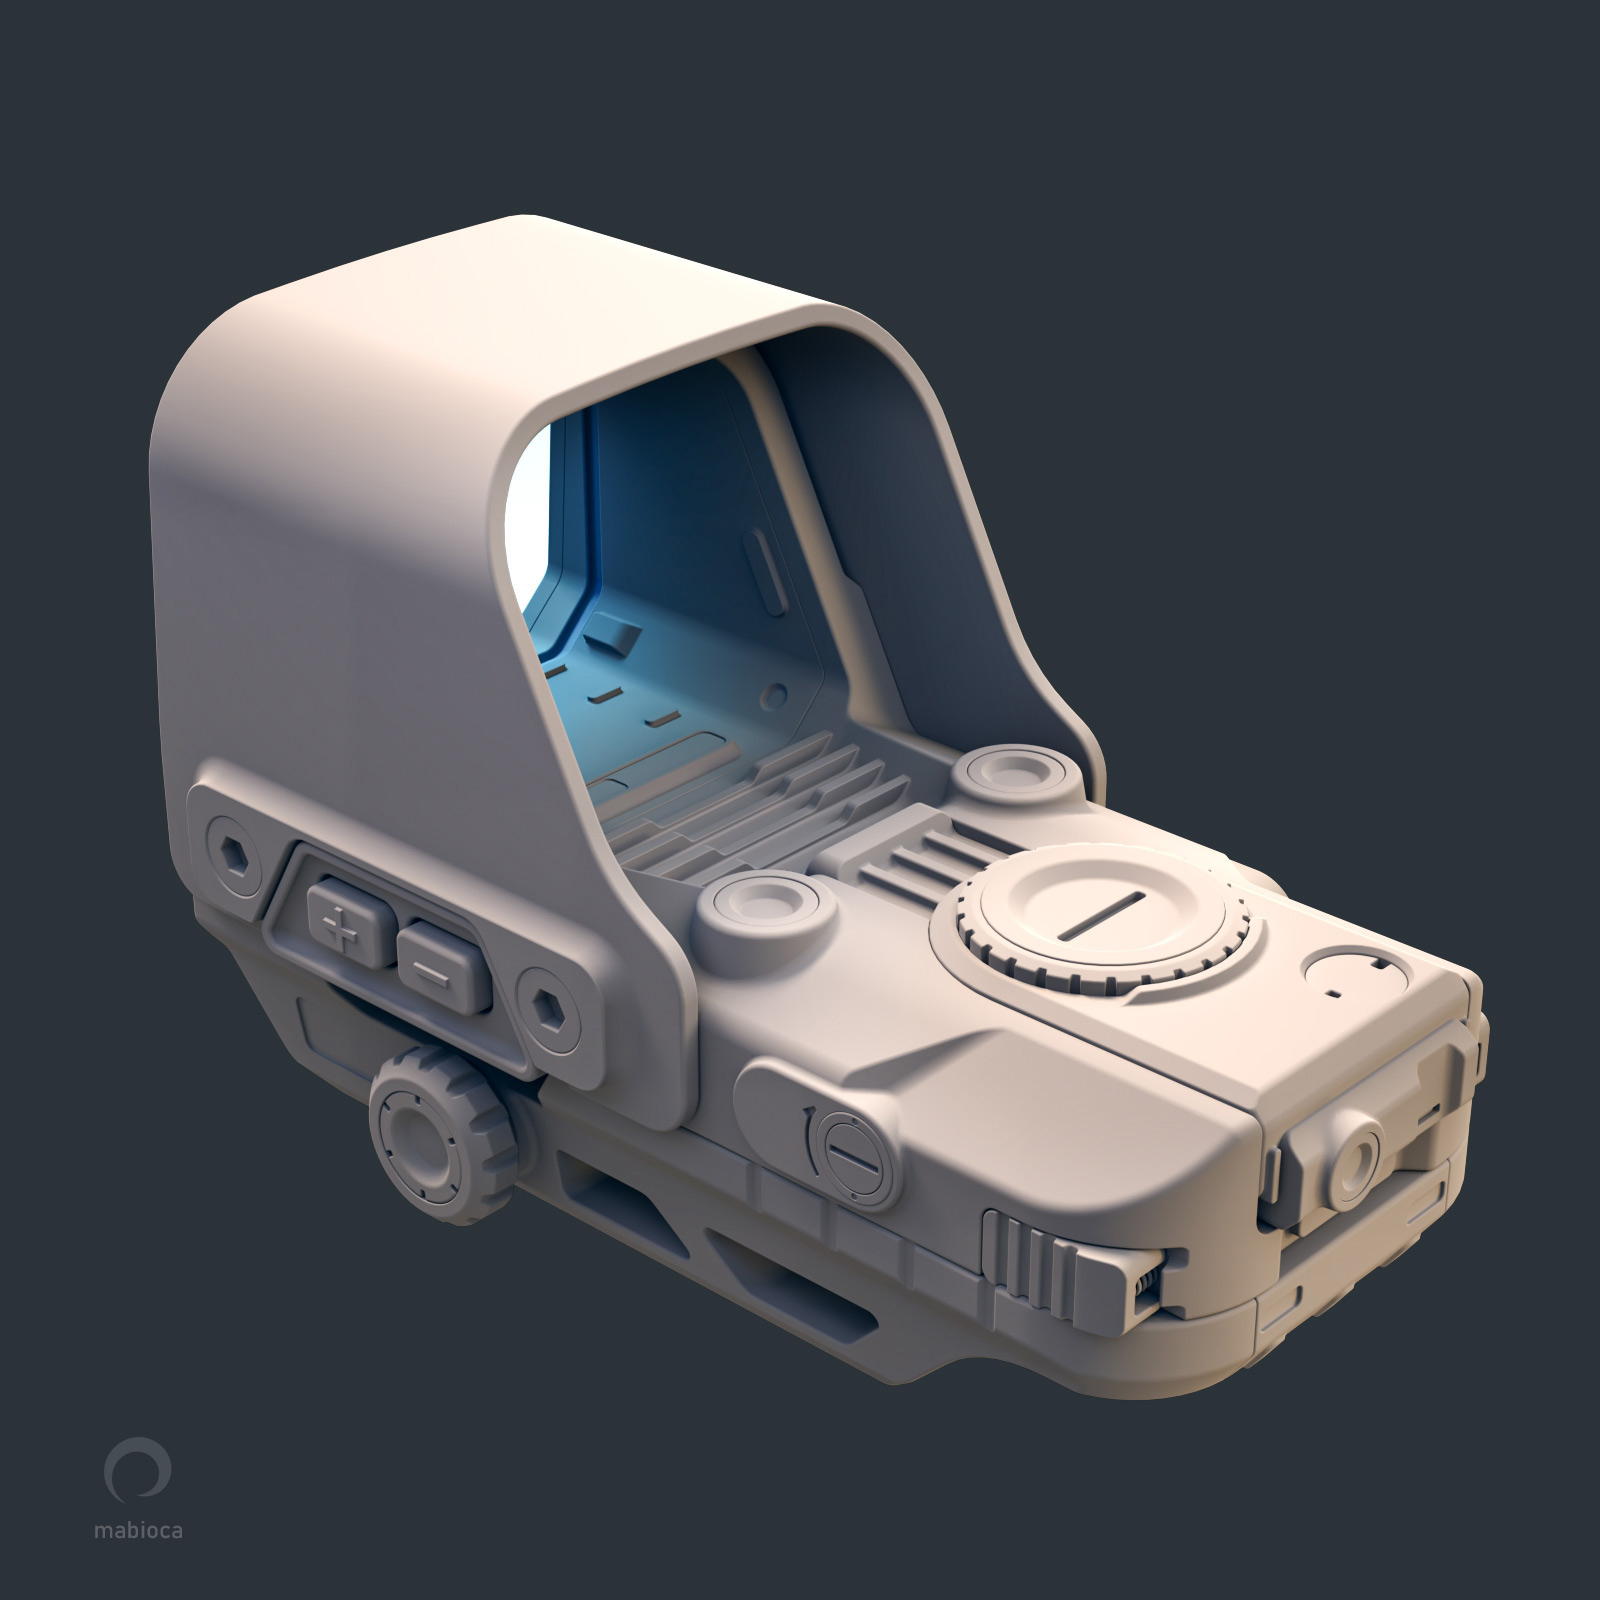
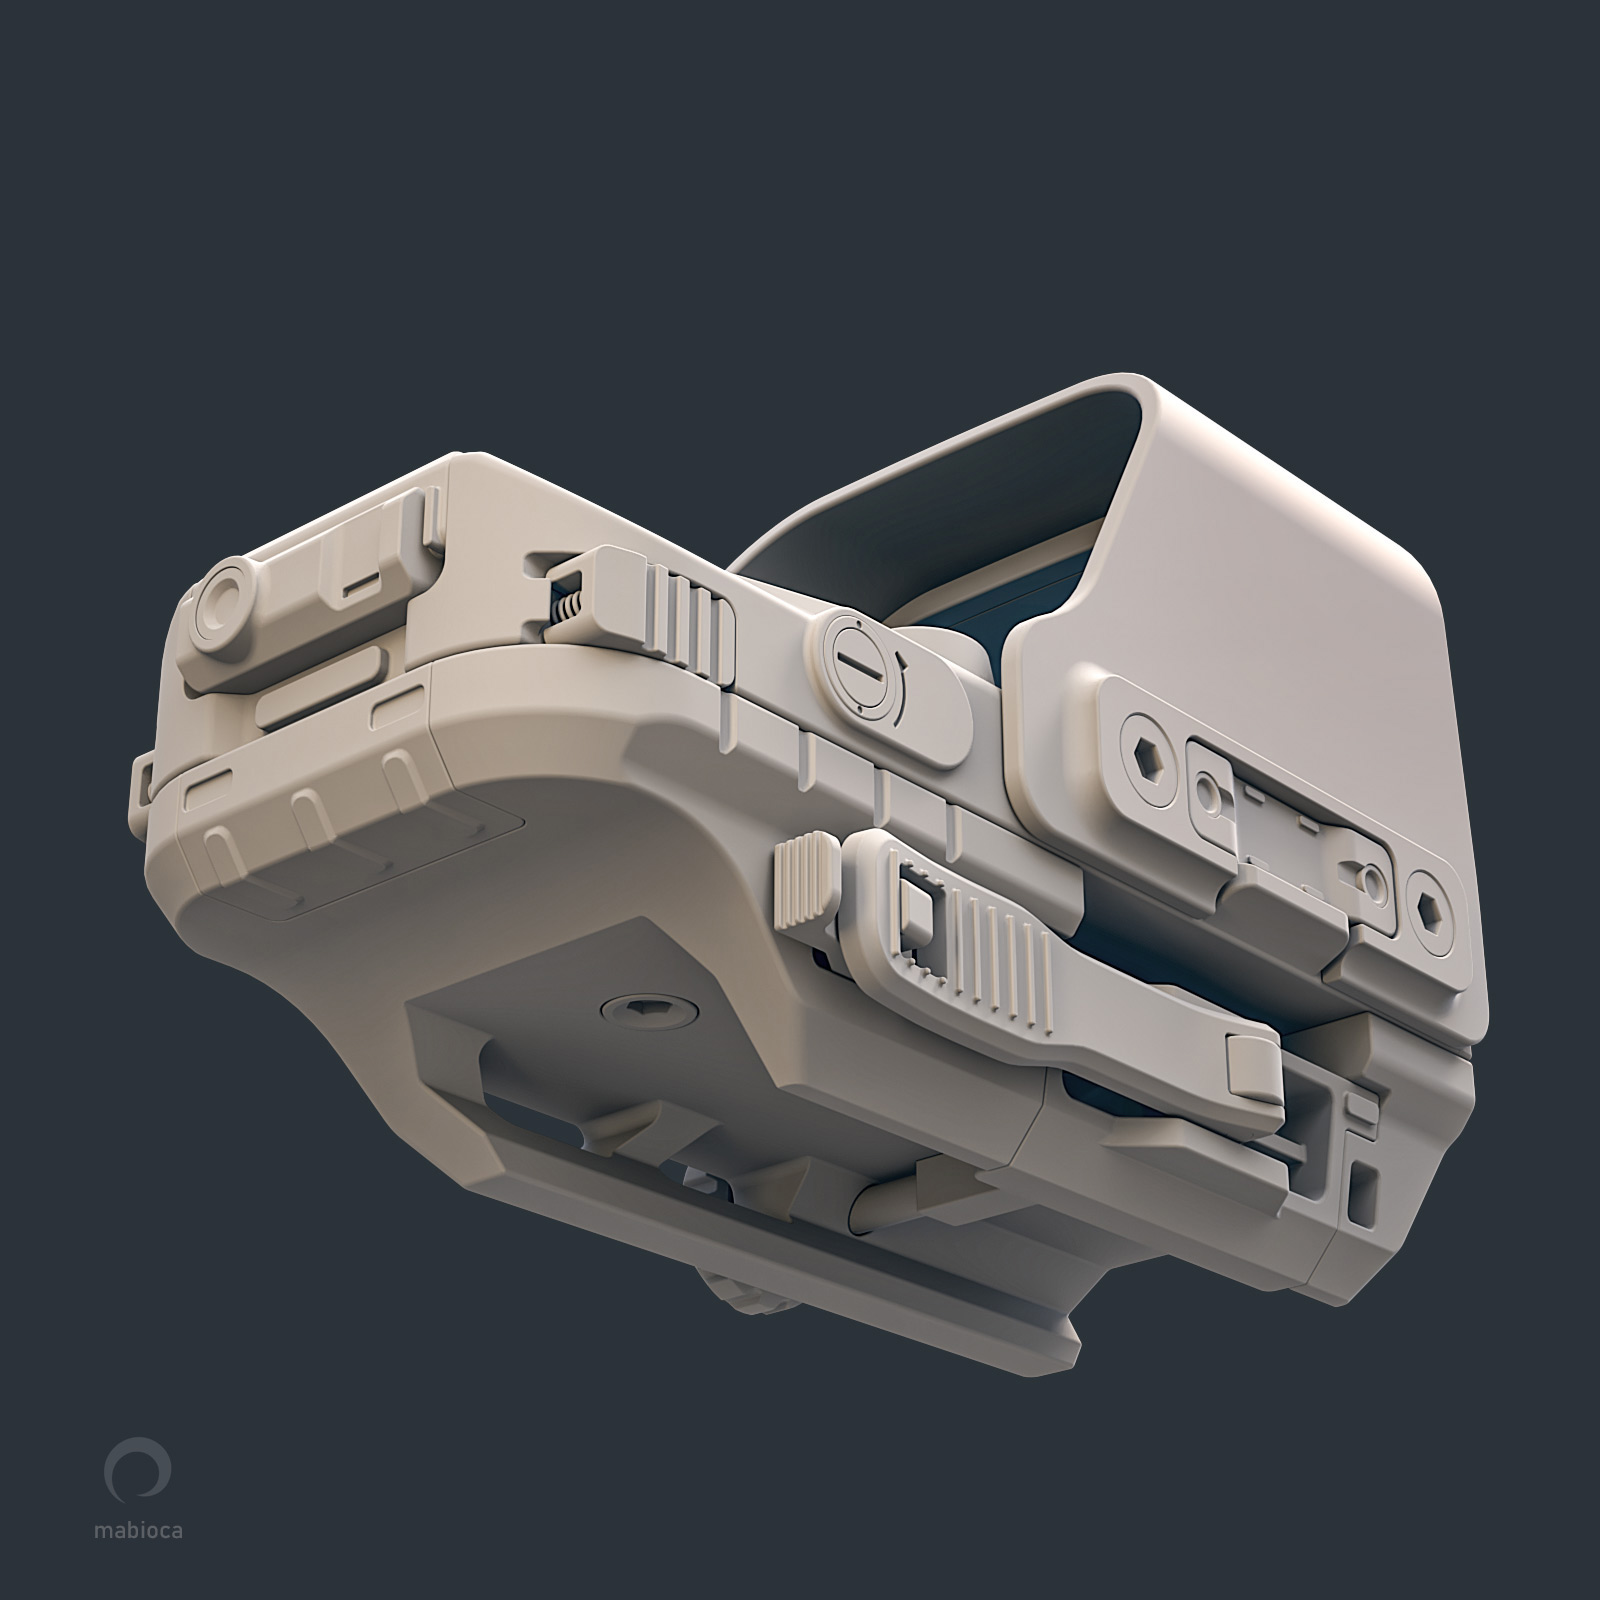
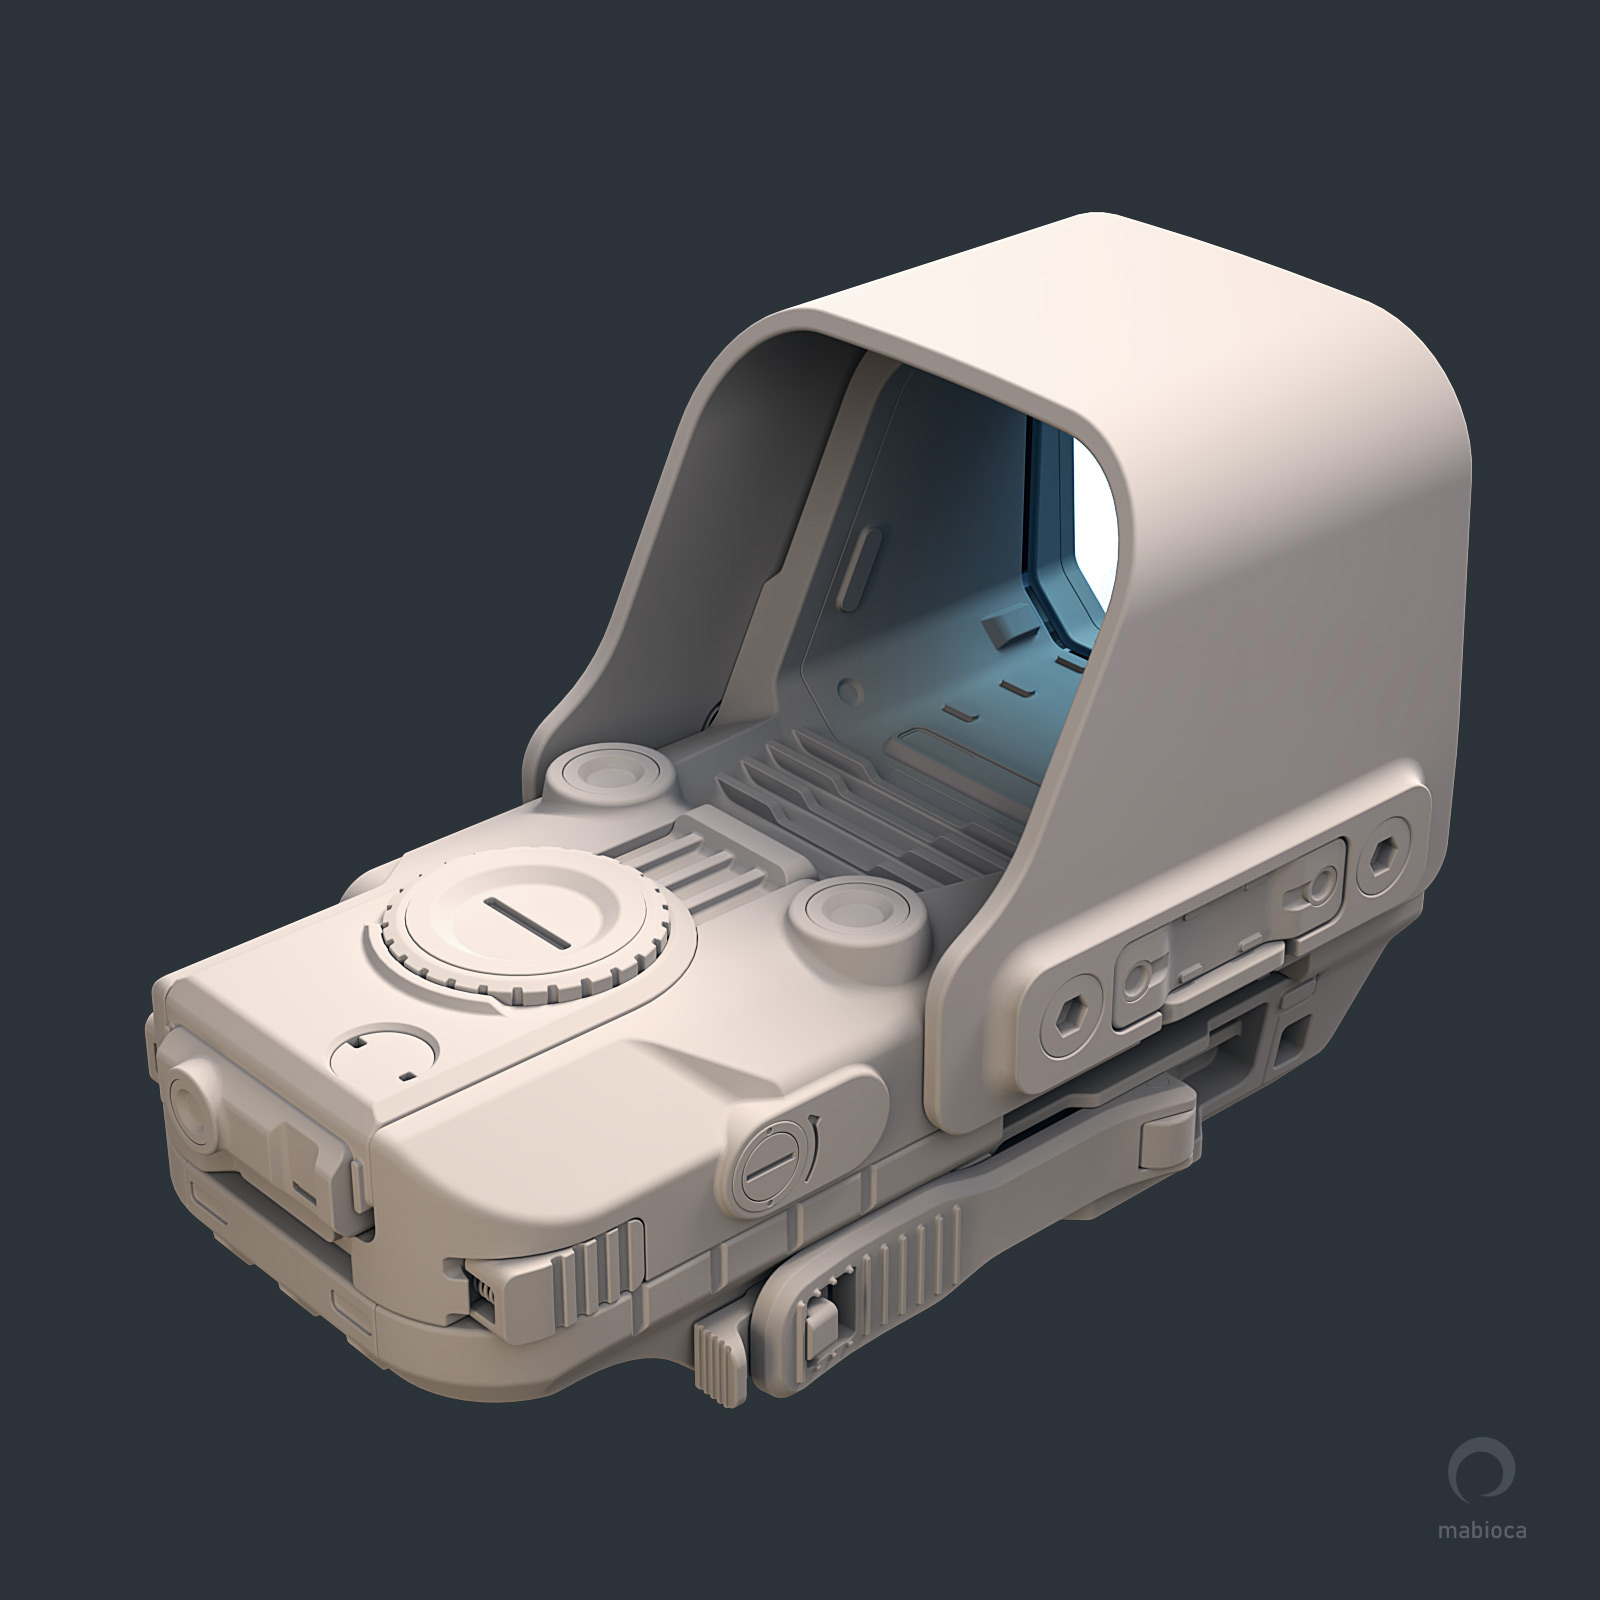
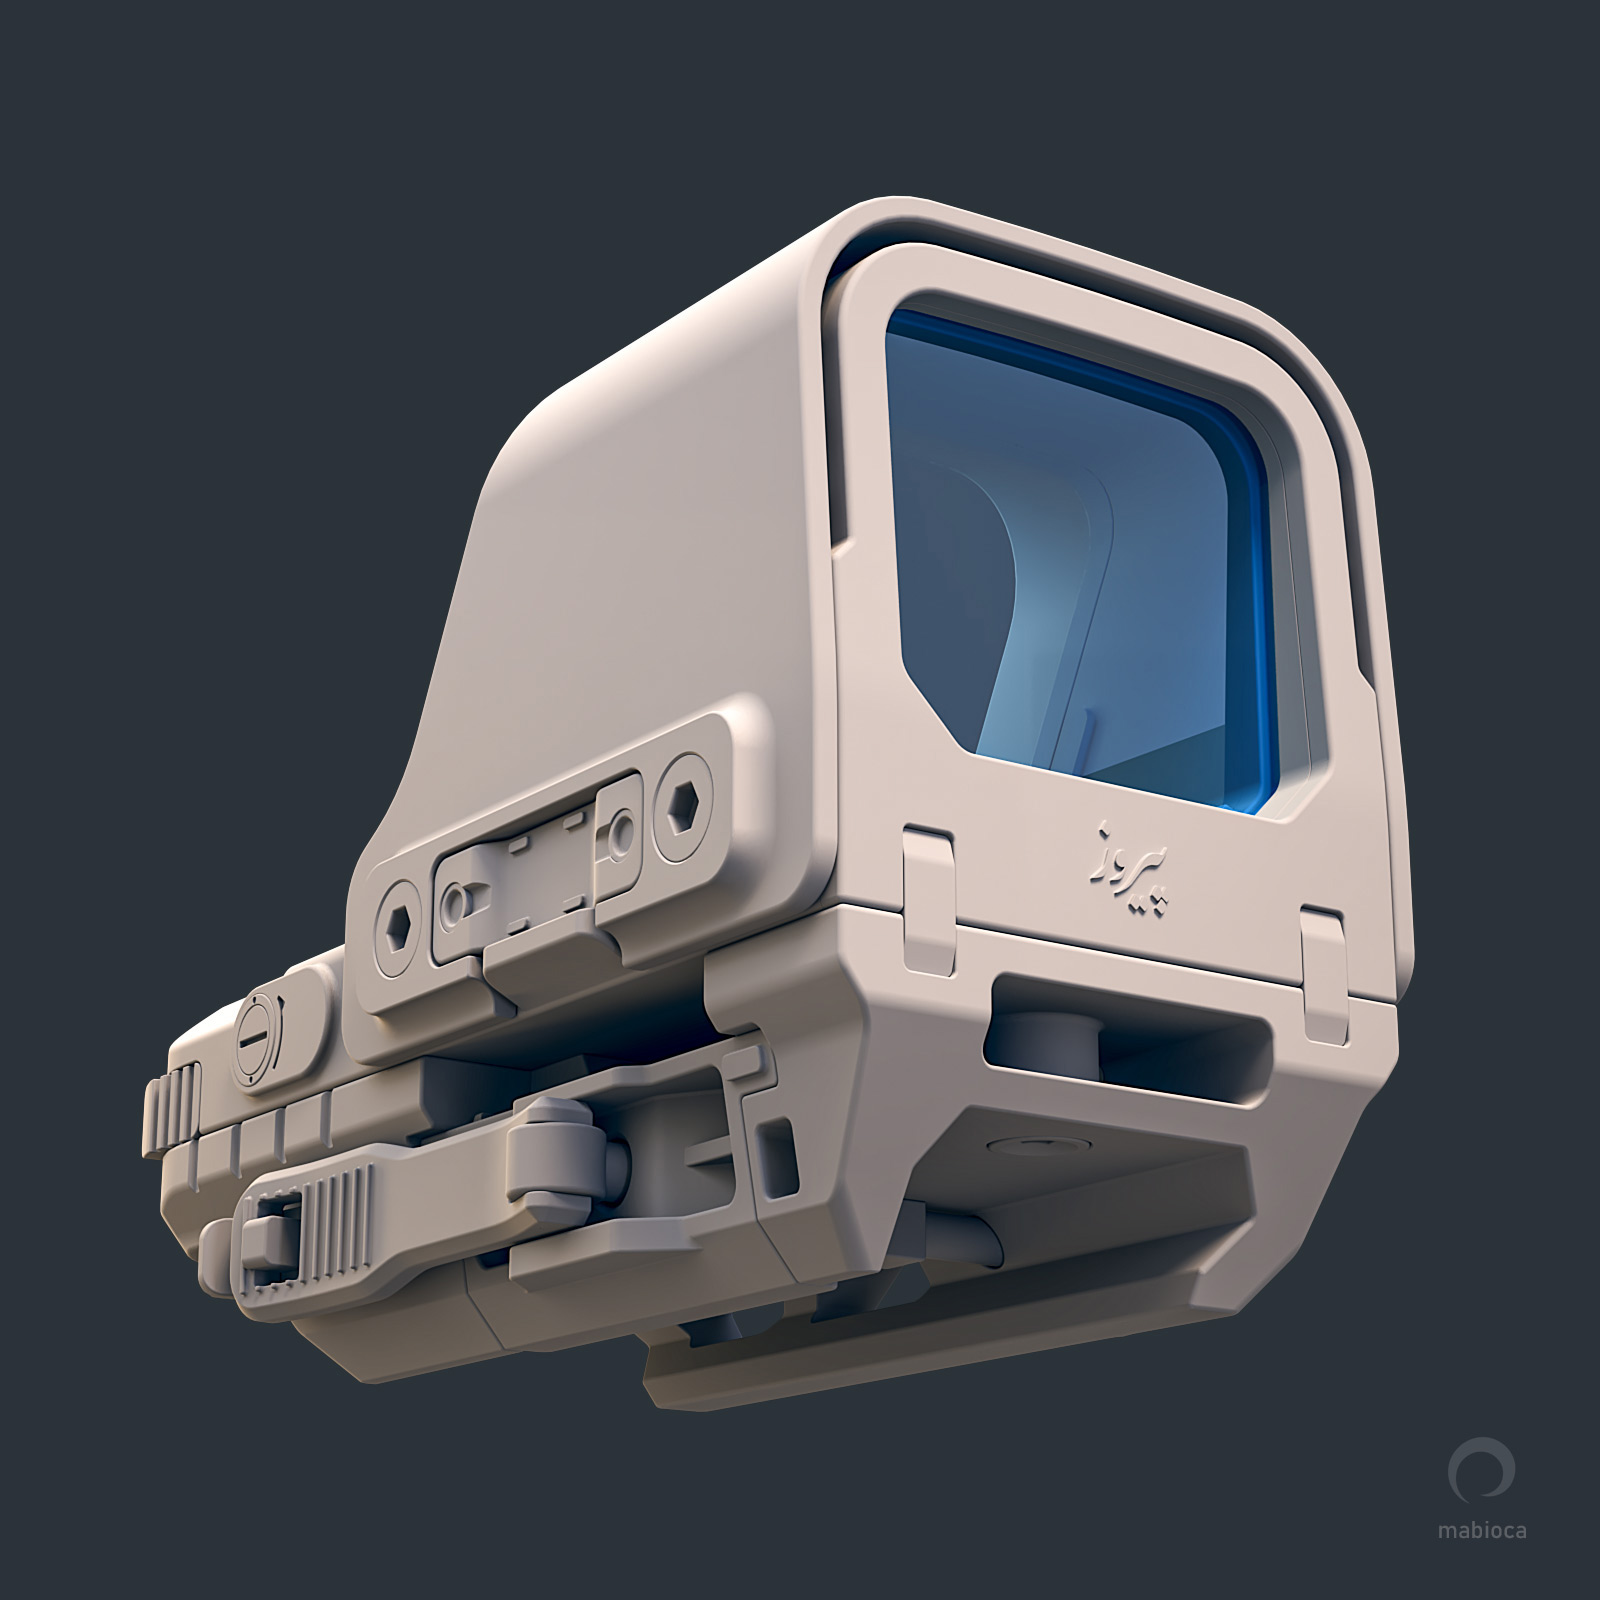
The rendering settings were almost default, I added only two filters, Denoiser and ColorCorrect, in the Post section.

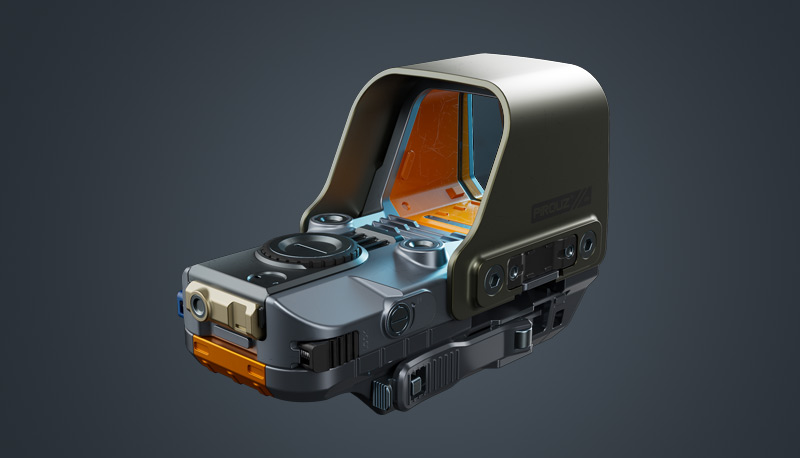
A good experience that doing this project had for me was using the Fillet tool in different ways. If you watch the videos, you will notice that I executed most of the curved surfaces with the Fillet tool. Of course, I made some by rotating the surfaces, but in the end, I used the Fillet tool to smooth the movement of one surface to the adjacent surface.
In the end, I thought it might be a good idea to create a 360-degree video of this model. You can see the result below.
Click here to see this work on the ArtStation website.