This is a blog post about breakdown of my recent work for a VR game named WHMIS 2015 VR. The post focuses on my workflow for modeling hard surface objects to achieve photorealistic results. One of the challenges of modeling hard surface objects is finding good reference images that show different angles and details of the object. I think it is the best way when your access to the real object is limited. For these protective goggles, I searched online for images of similar products and found some useful ones on Amazon and other websites. I also looked for model sheets that show the front, side, and top views of the object in scale. These reference images helped me to understand the shape, size, and proportions of the goggles, as well as the materials and textures that I would need to create later. You can get reference images and model sheets for your personal use here.
As a general rule, I always start with the largest surface of a model so, in these protective goggles, lenses should be the first part to model. However, this time, for warming up myself before getting into real work, I began with the smallest part: the webbing buckle. After that I came back to my old habit.
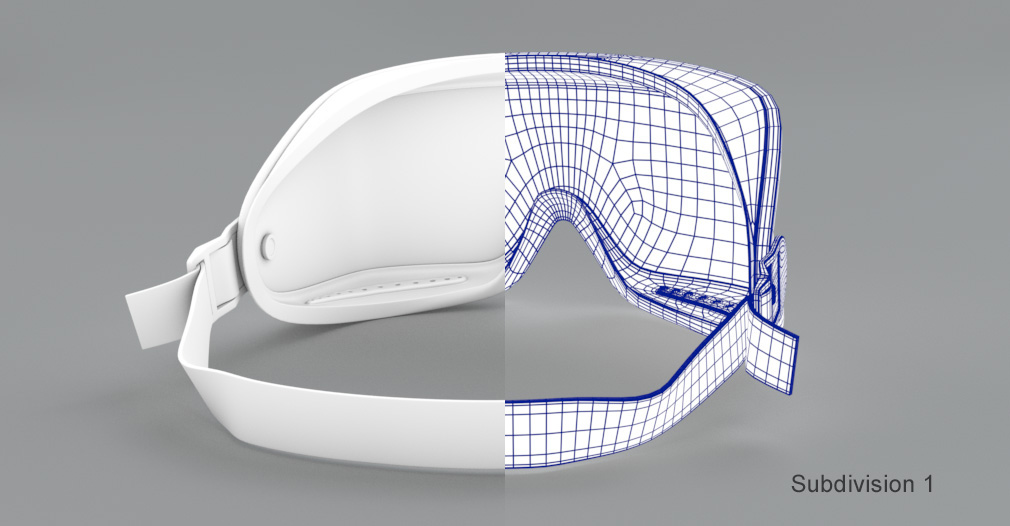
Don’t let the overall look of the model at the beginning disappoint you. You should consider, every incomplete 3d model is just like an “Ugly Duckling” story. A happy ending occurs when you edit the model precisely and add enough details to it. In the following images, you can see a comparison between the wireframe and ambient occlusion images of this model.
Achieving the best render quality has never been easy even with powerful machines. It is the last and critical step in your 3d application that converts the vector data of the scene into a raster image or images. Although rendering usually imposes many challenges, I assume you know how important it is. Render results would show all the effort you have put into your model. I used Arnold renderer to light and render the scene: A single Ai SkyDome Light for the lighting and four Ai Standard Surface.
In the video below, you can witness the process of creating this model which took approximately five hours. Please note that the video has been sped up three times faster than normal. If you encounter any difficulties, please do not hesitate to leave a comment below, and I will be delighted to assist you.
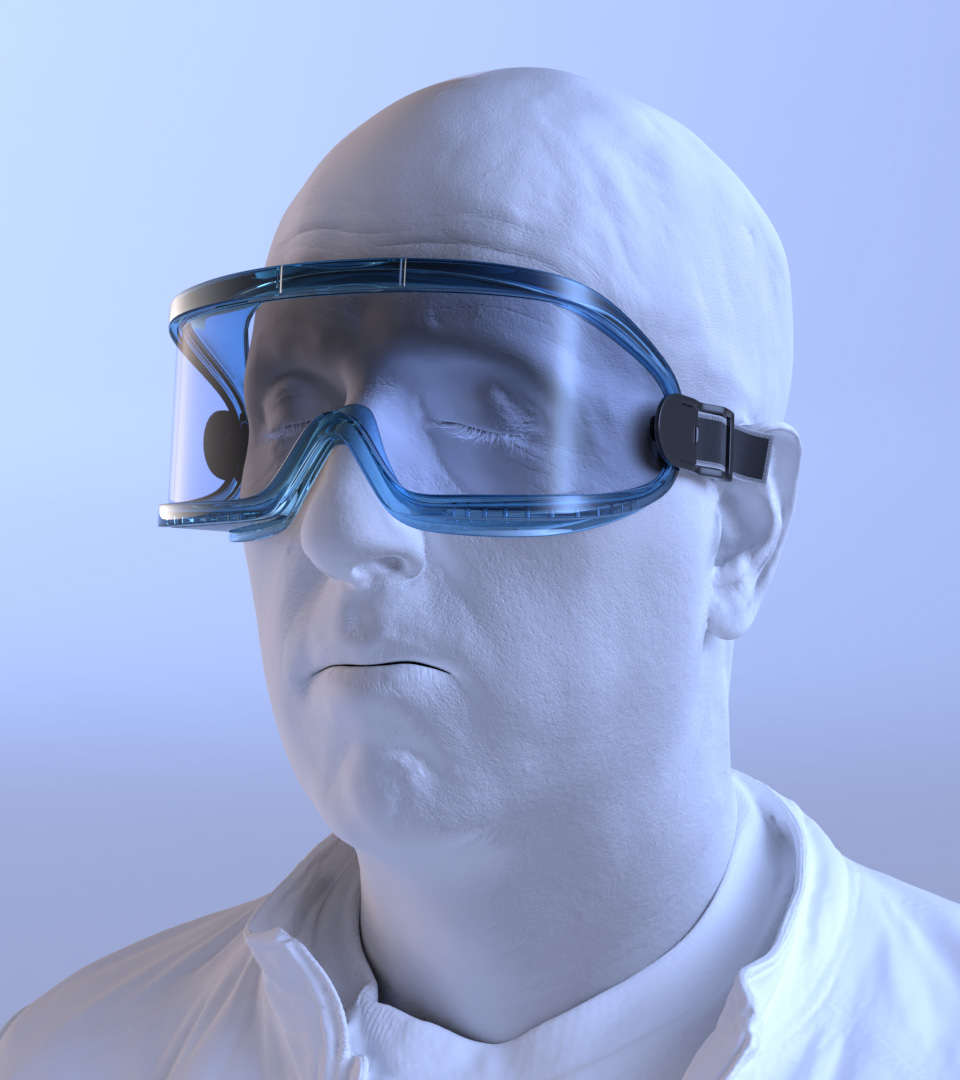
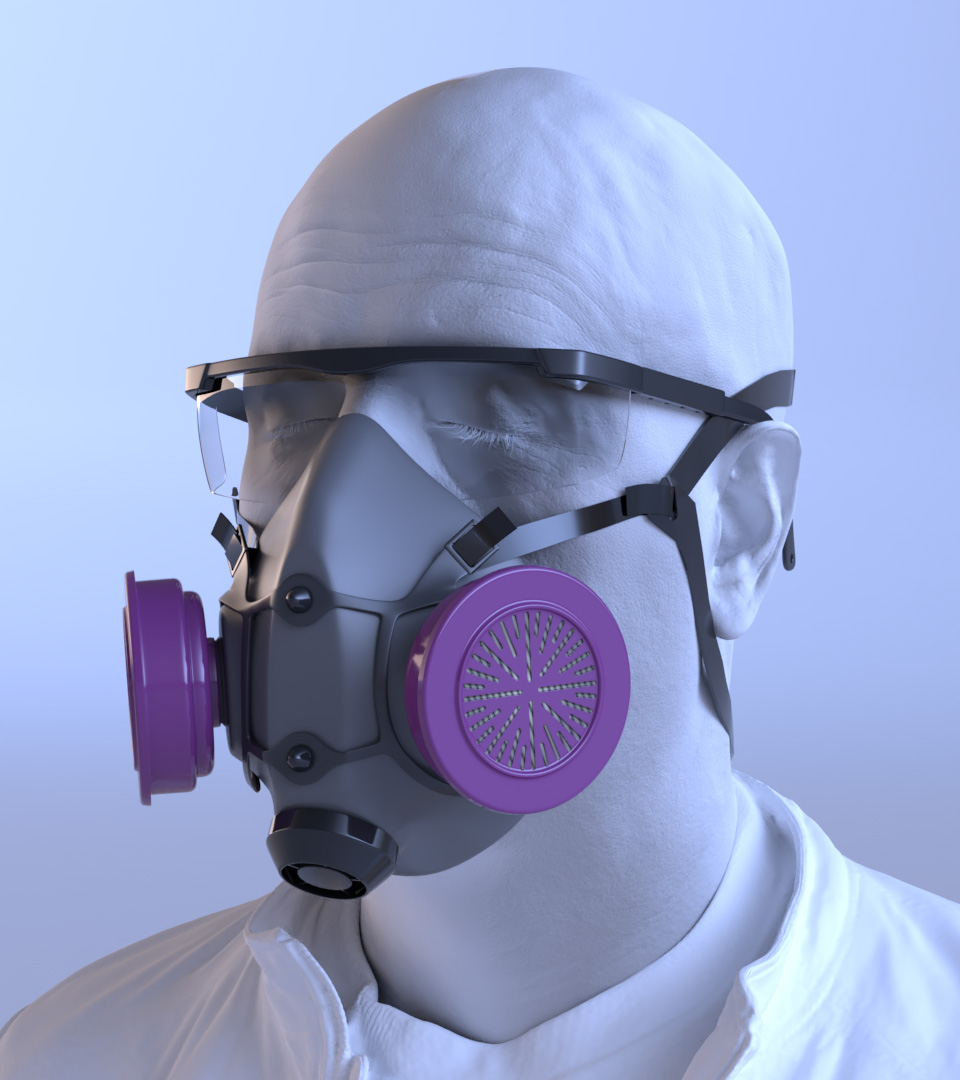
Also, I made a few other assets for this VR training simulation which included an air-purifying respirator mask and safety glasses. The 3d head model in the below images is a free model from the 3D Scan Store.
If you have any questions or comments, feel free to contact me or leave them in the comments section below.
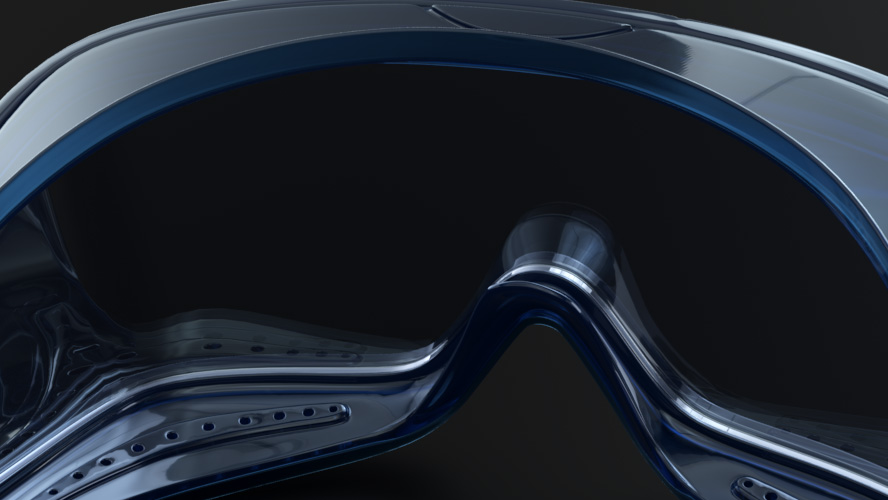
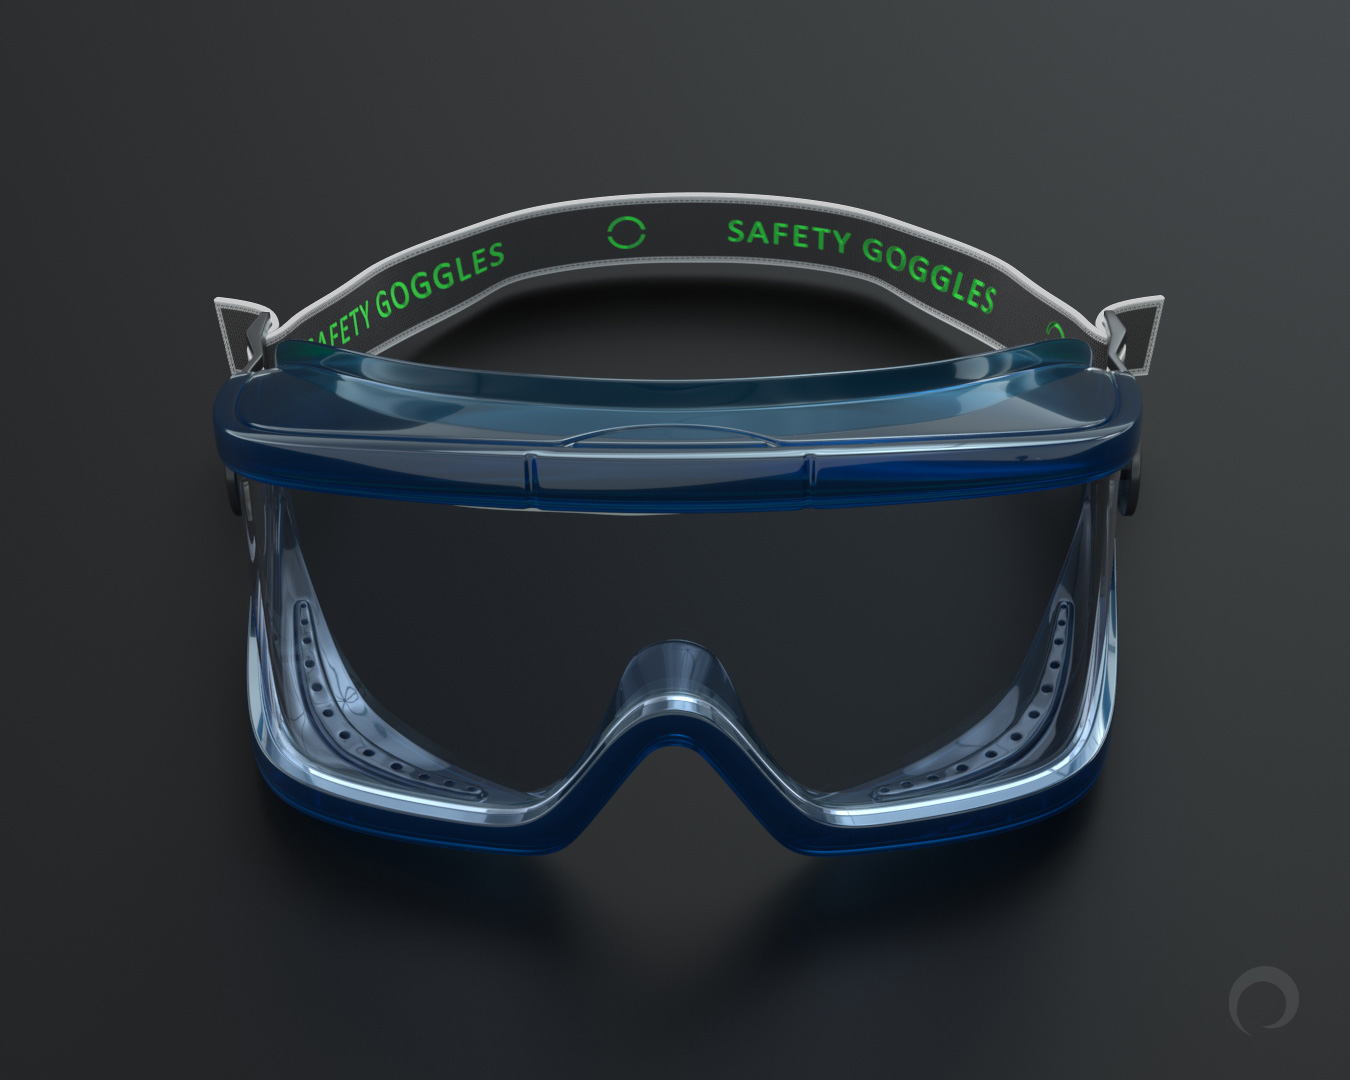
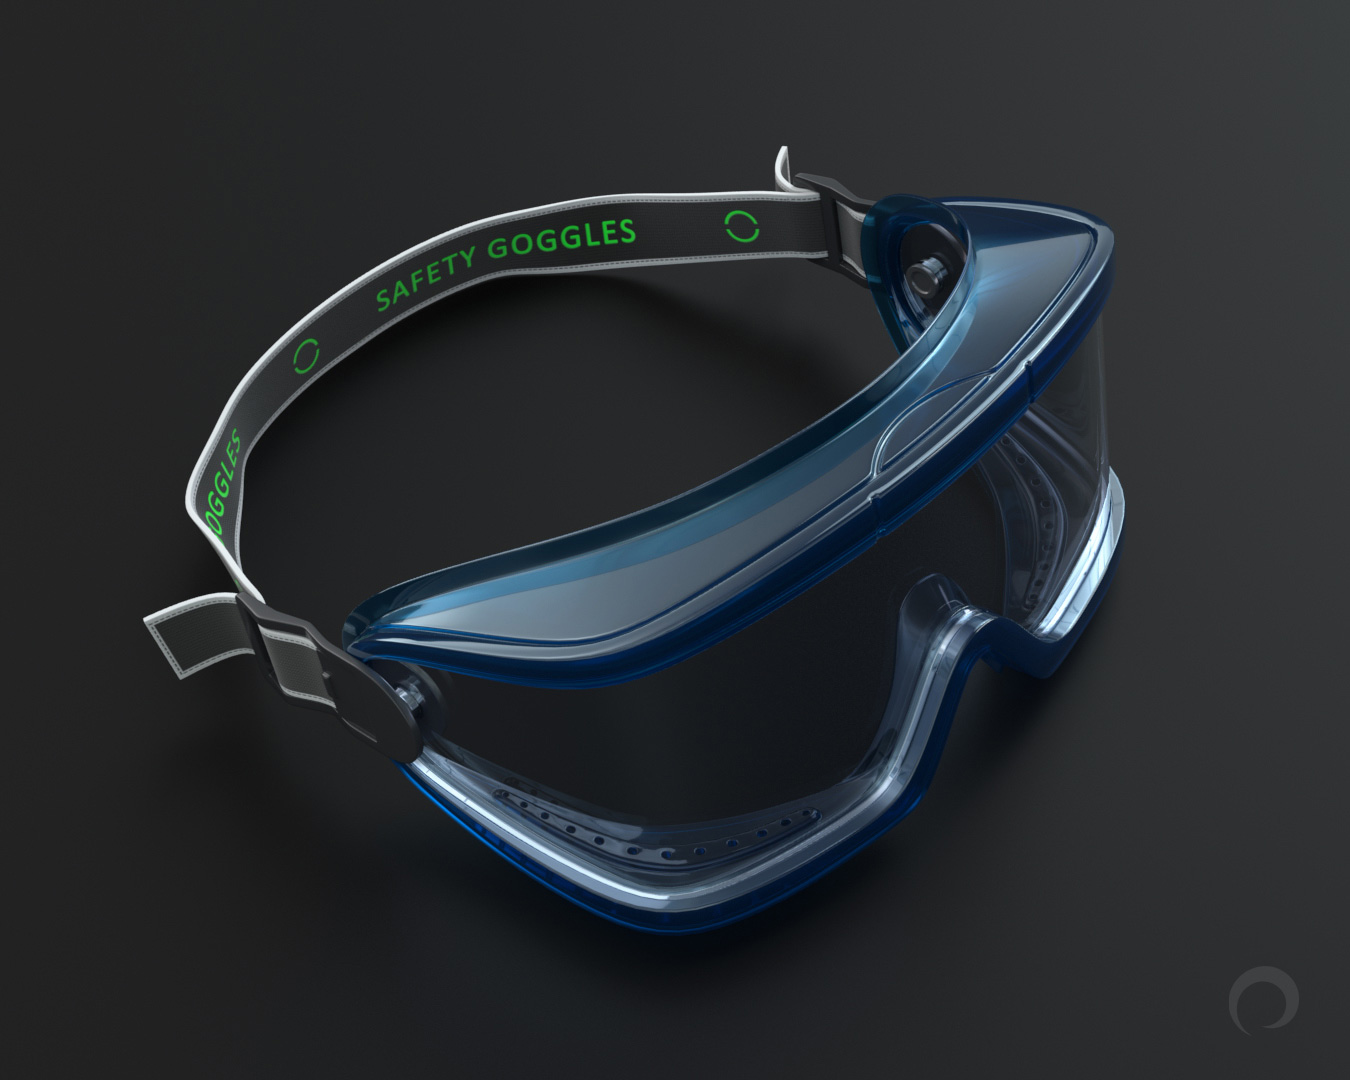
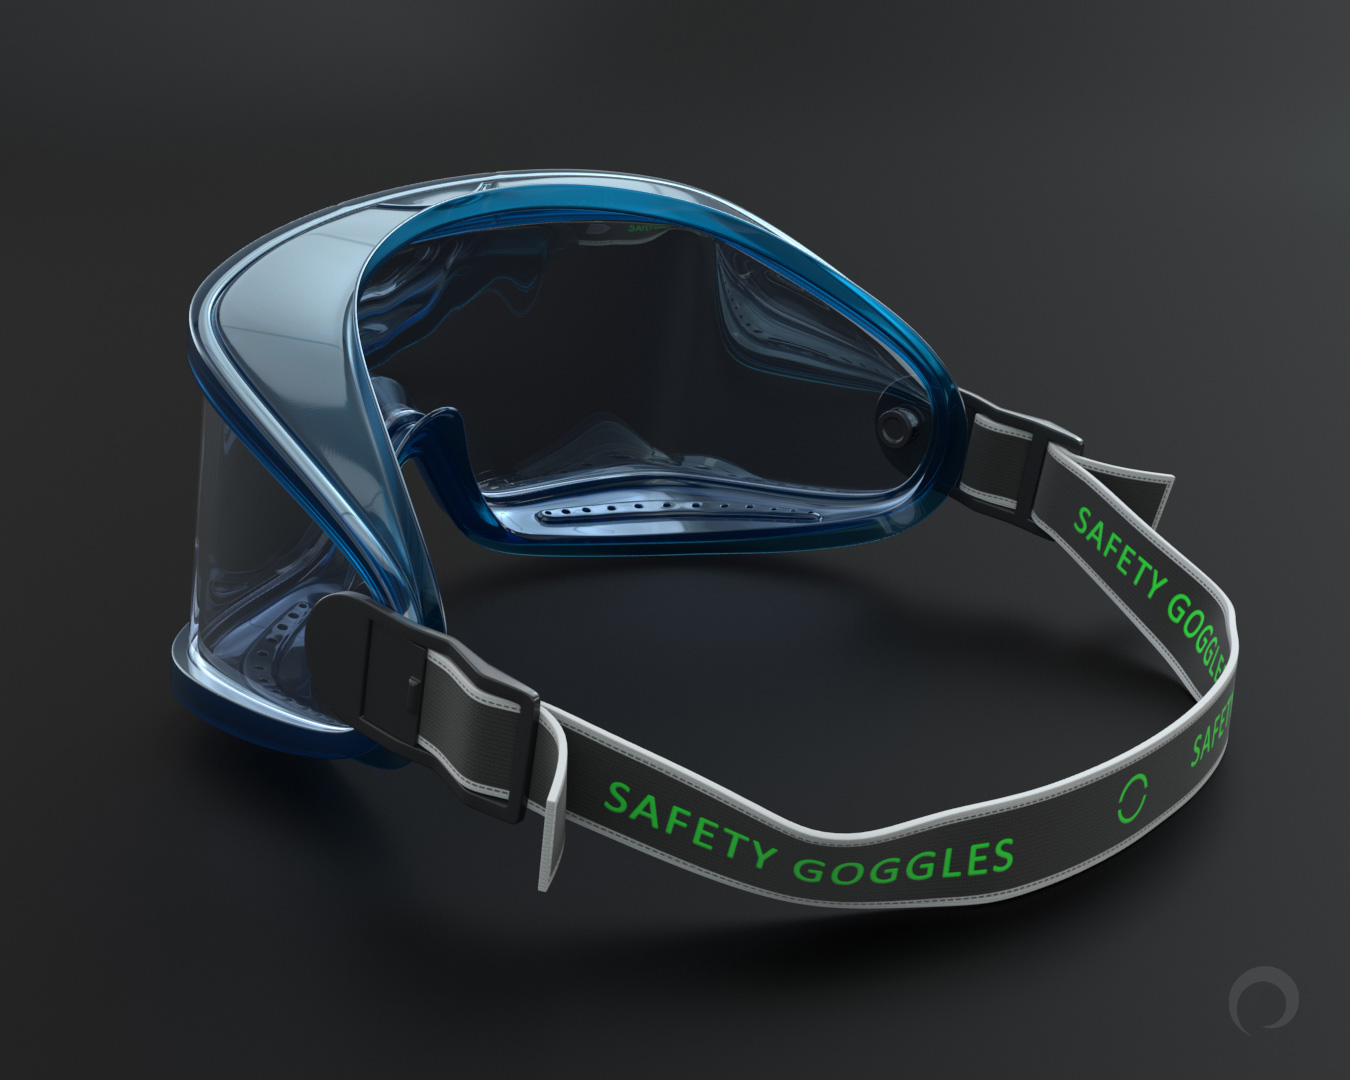
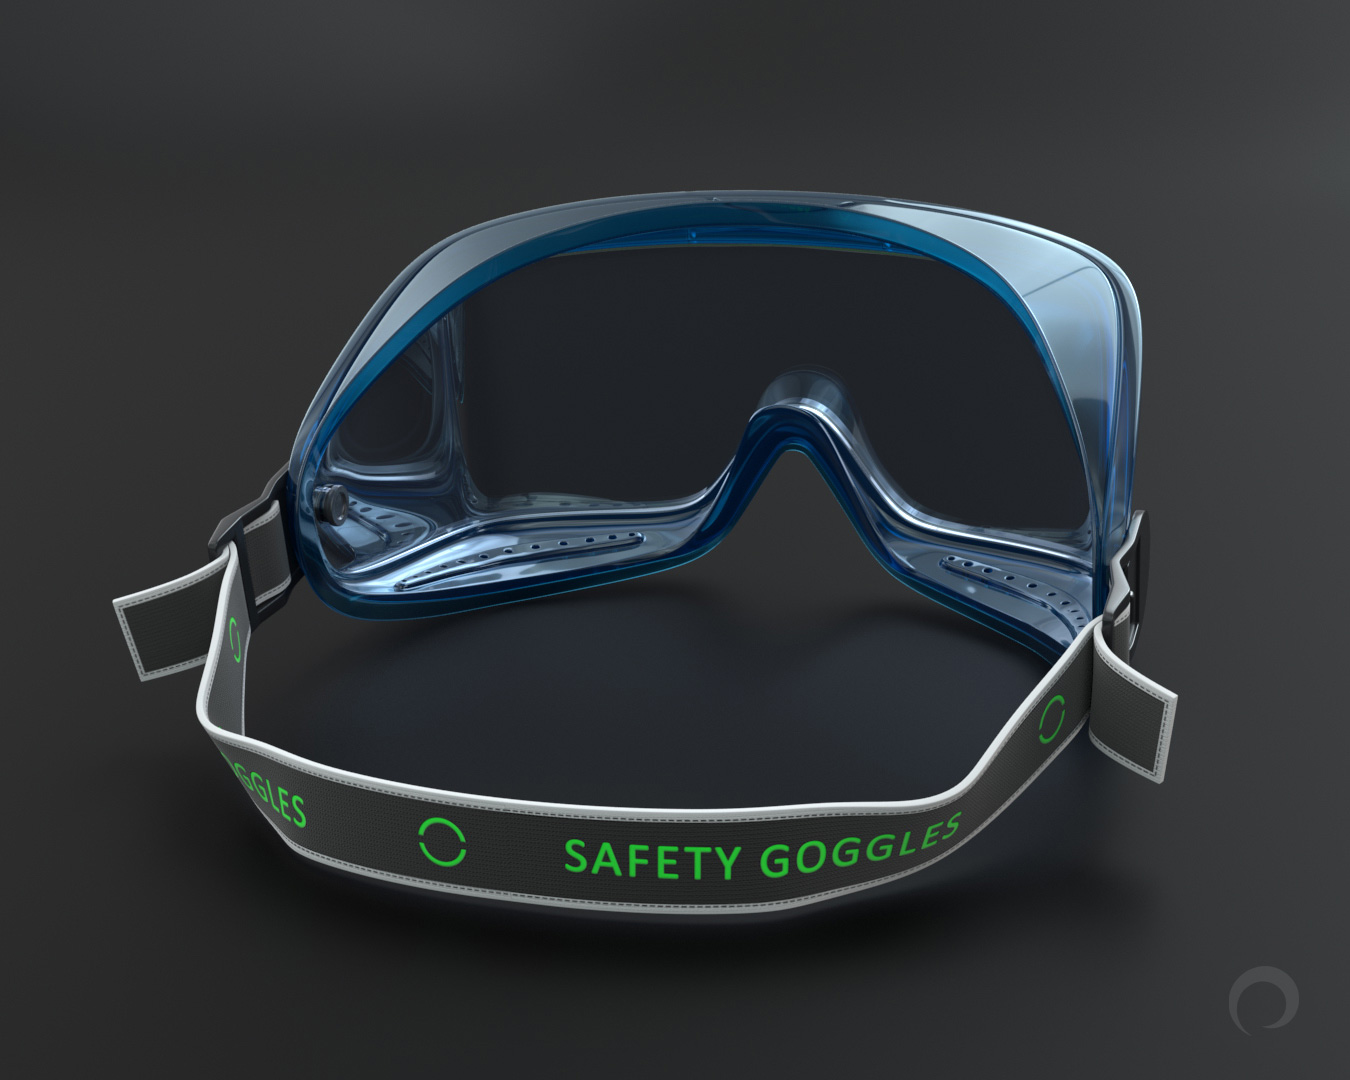
Check out this model on ArtStation and CGSociety platforms.
nice glass material!
I’m glad to hear that. I tried to be as realistic as possible.
Cool Story Bro
Thank you for reading it.