In this blog post and video tutorial, I will show you how to create a realistic and dramatic lighting effect for your 3D models using the Area lights in Maya and Arnold Renderer. This technique is inspired by the Rembrandt lighting, which is a classic style of lighting used in studio portrait photography and cinematography. Rembrandt’s lighting creates a distinctive triangle of light on the cheek of the subject while leaving the other side of the face in shadow. This creates a strong contrast and a sense of depth and dimension. Rembrandt lighting works well on different face anatomies, as it highlights the facial features and expressions of the subject. To achieve this effect, we will use a combination of adjustment layers and blending modes in Adobe Photoshop, to fine-tune the color, brightness, and contrast of our render. By following this tutorial, you will learn how to use the Area lights in Maya and Arnold Renderer, how to adjust their attributes and position them to create Rembrandt lighting, and how to use Photoshop to enhance your final image.
You can get the final PSD file here and the 3d model of the bearded old man here for further consideration.
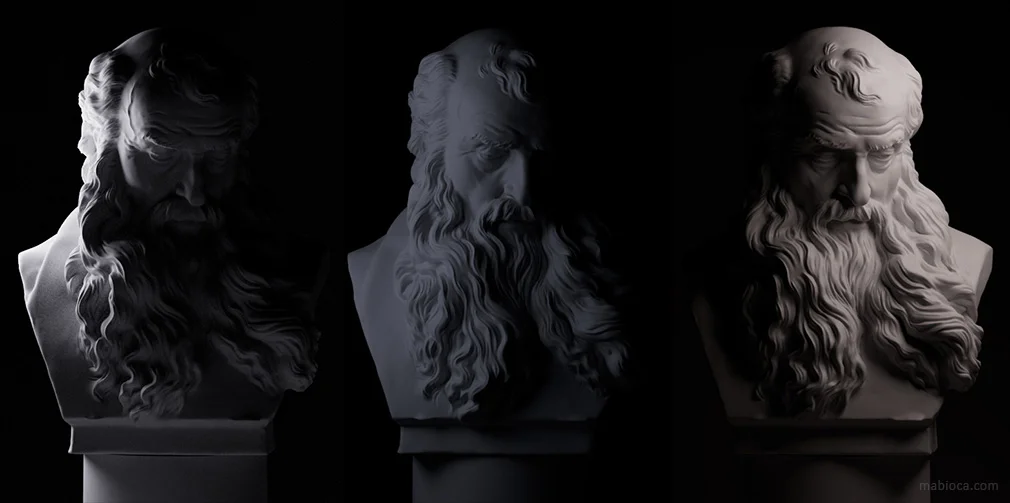
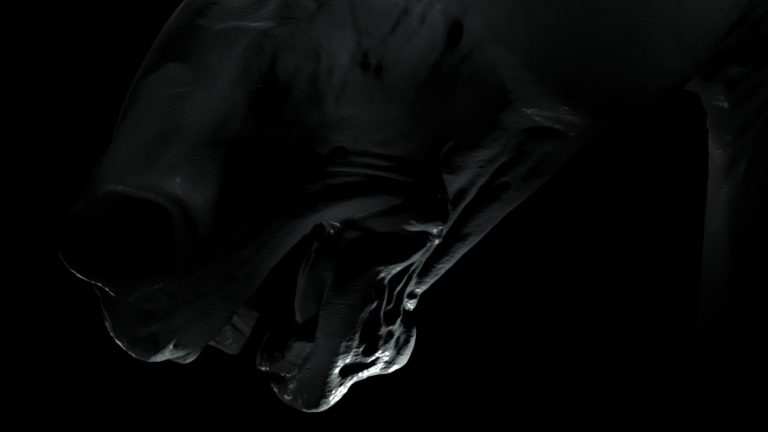
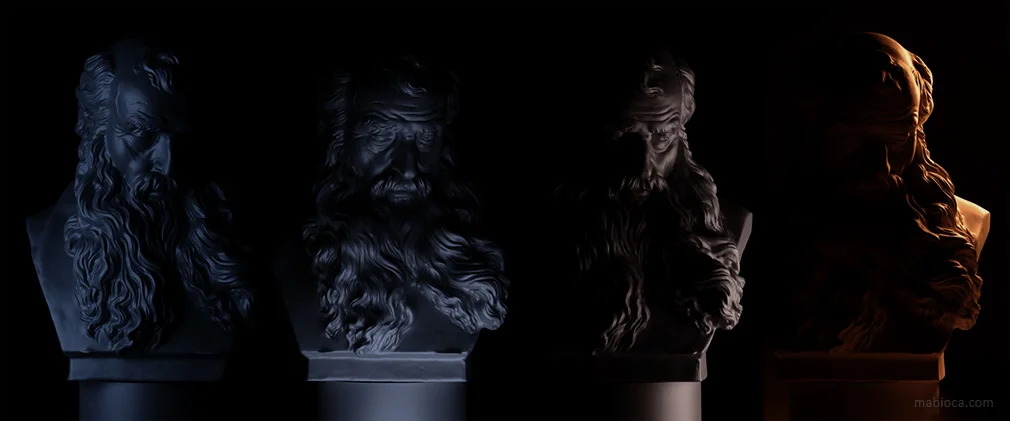
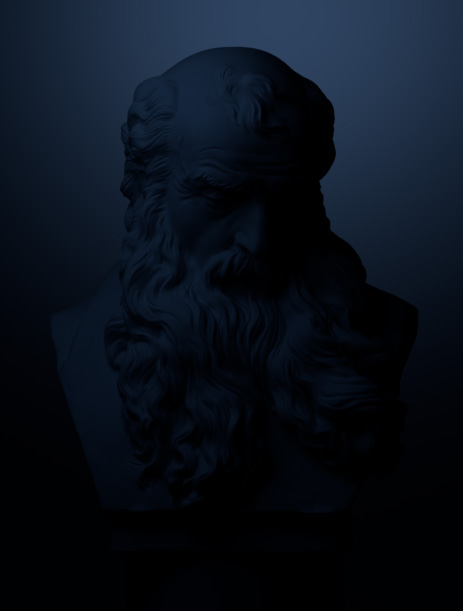
The back light (left image), the fill light (middle image), and the key light (right image) separately
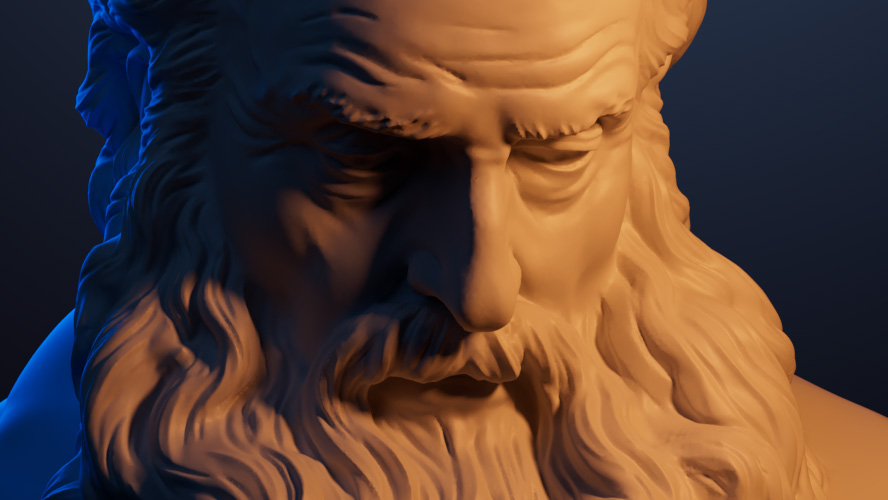
Some additional area lights to obtain better or more interesting highlights
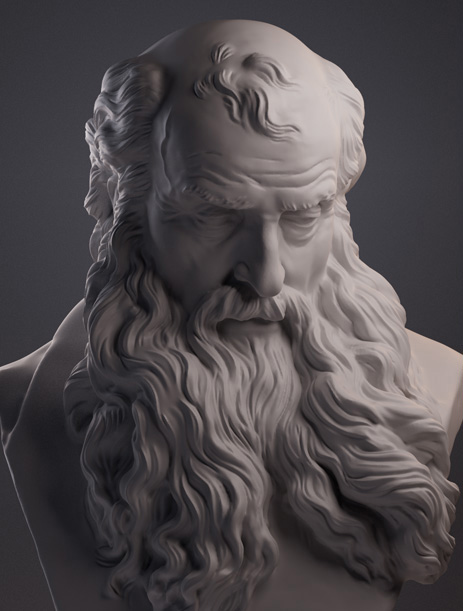
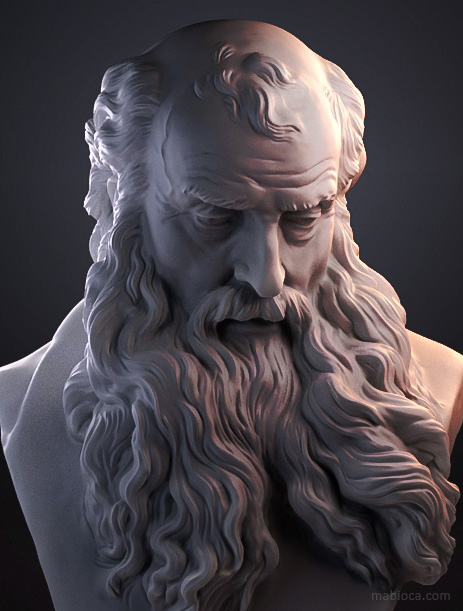
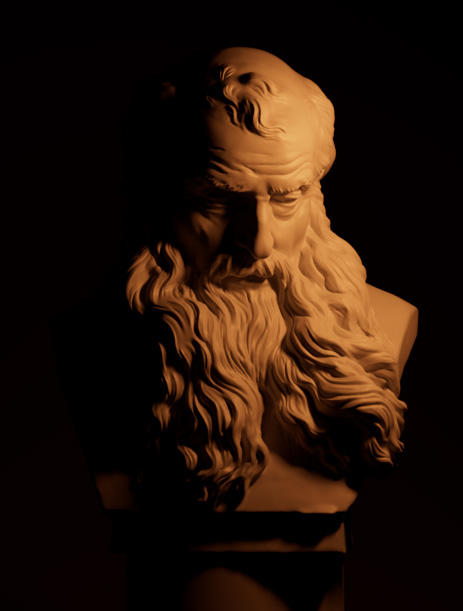
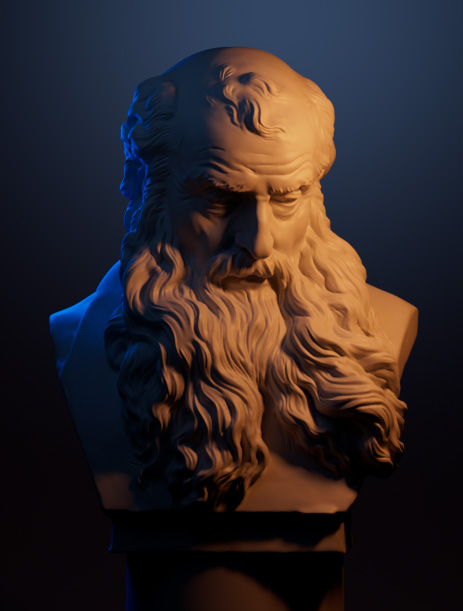
In the following images, you can see a comparison between the image rendered in Arnold (left one) and the processed one in Photoshop (right one).
In the below video, you can see how three-point lighting works, and it can bring your characters to life in about twenty-five minutes. Consider that this video is sped up 3 times faster than normal. Finally, if you have any trouble, feel free to ask, you can leave a comment at the bottom. I will be happy to answer them.