
One of the most amazing applications of computer graphics is photogrammetry. This technique allows anyone to create a realistic 3D model of any object or scene by simply taking multiple photos with a smartphone and then processing them with specialized software. The software uses complex algorithms to reconstruct the geometry and texture of the subject from the unordered images, resulting in a high-quality 3D model with rich details on the surface. No need to sculpt or paint anything manually in software like ZBrush or Mudbox. Of course, there are also more advanced and expensive devices, such as FARO Scanner and Artec Leo, that can capture more accurate data from objects or sites, but photogrammetry only requires a camera, a computer, and photogrammetry software. However, this accessibility does not mean that photogrammetry is easy or flawless. There are many challenges and limitations that affect the quality and usability of 3D models, especially for fields like archaeology and paleontology, where accuracy and preservation are crucial.
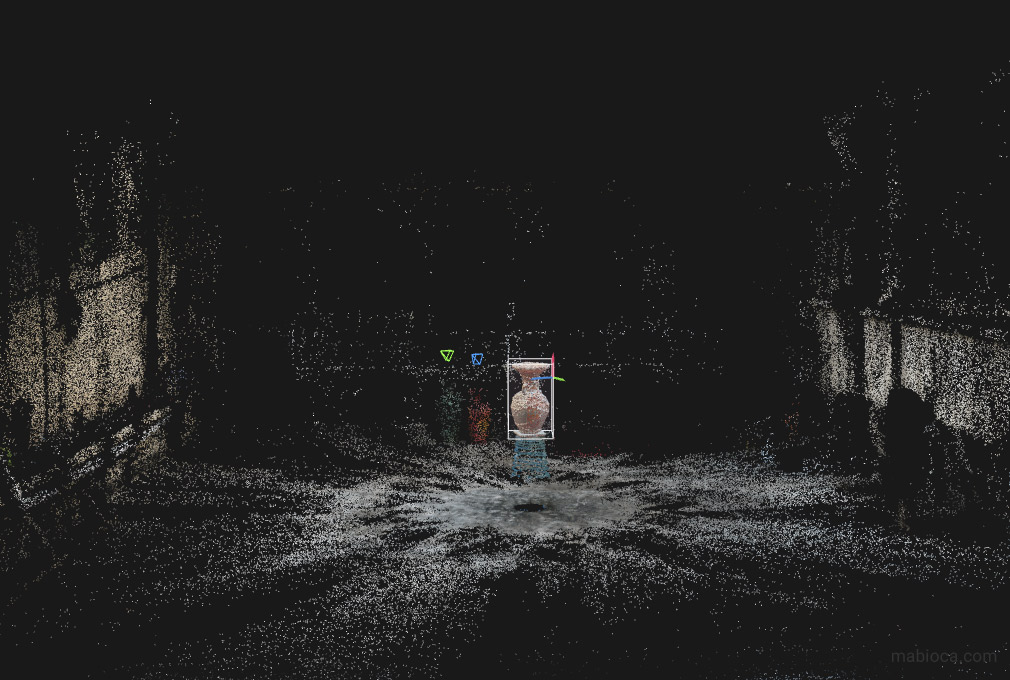
Photogrammetry relies heavily on lighting to produce accurate results. To ensure the best outcome, it’s essential to have a good lighting setup that provides consistent lighting from all directions. This will help to reduce variability in the data produced from the exposures. Adequate lighting also enables you to set the ideal camera settings such as shutter speed, f-stop, and ISO. It’s important to avoid changing the focal length and taking grainy photos as they can negatively impact the outcome. Due to the lack of lighting equipment, I prefer to use natural light in outdoor spaces. In this case, I used the roof of a three-story house on a sunny day, and the soft shadow produced by two nearby multi-story buildings provided ambient light. This type of lighting is crucial for any photogrammetry project.
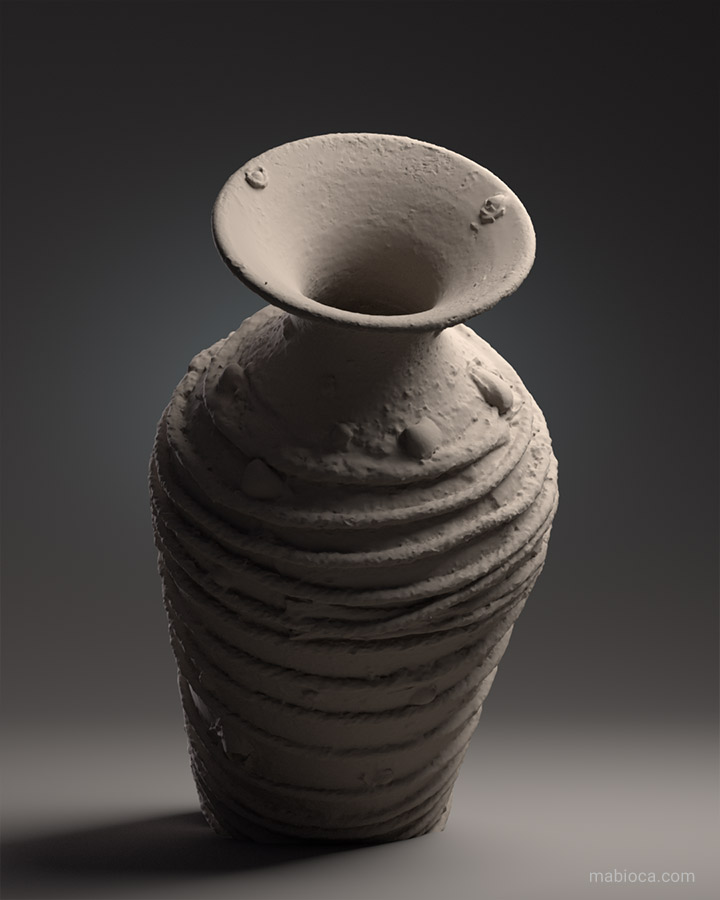
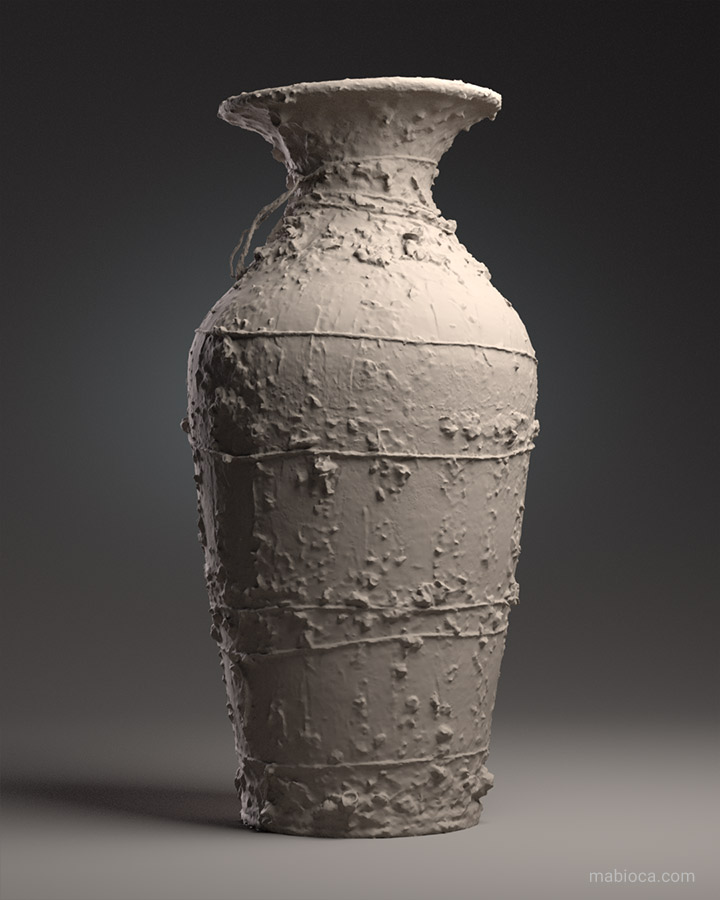
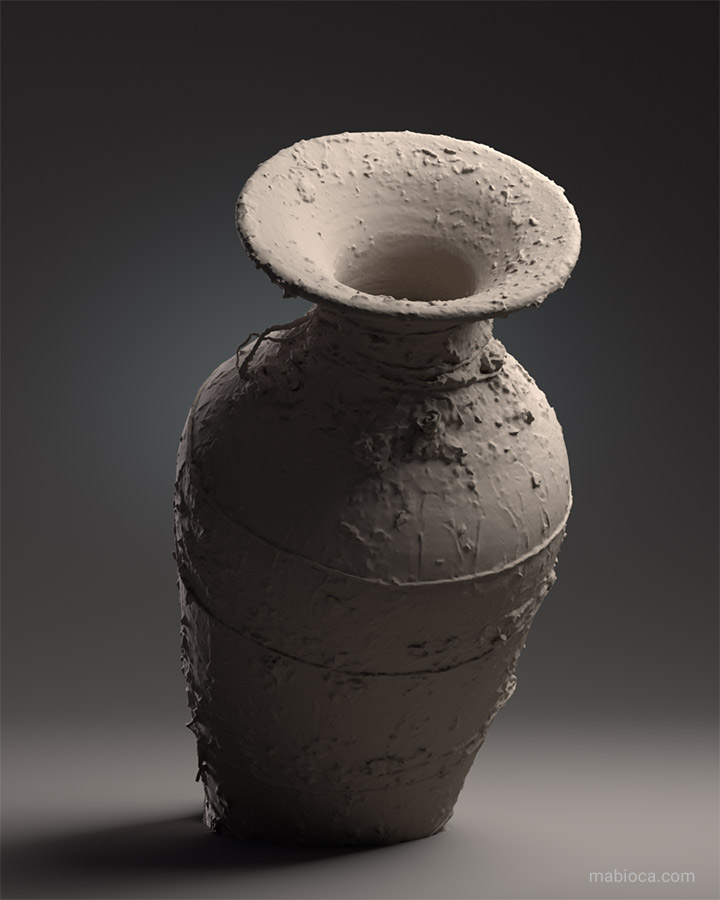
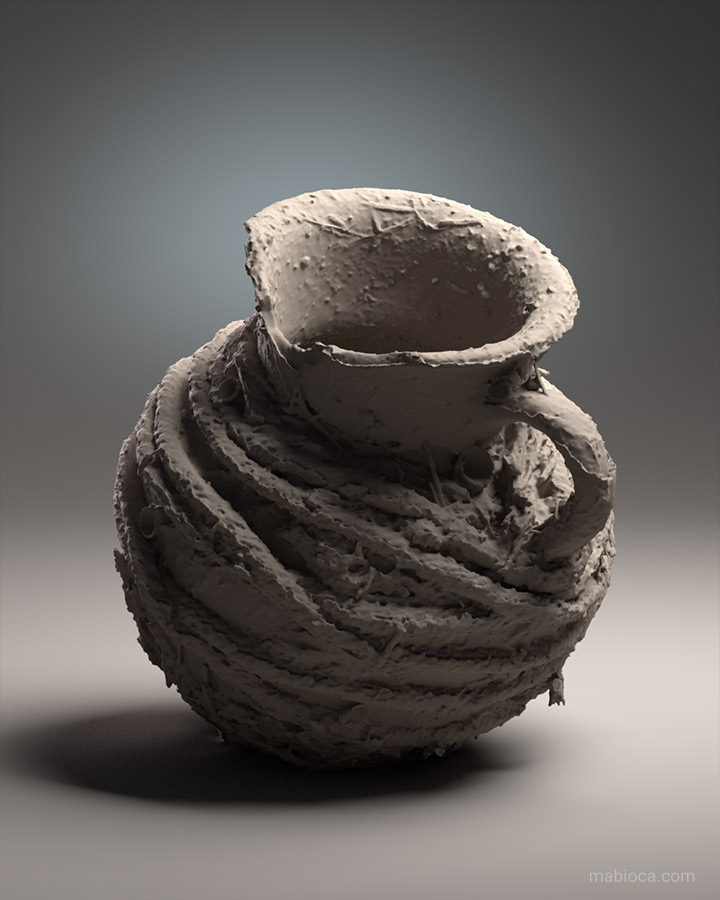

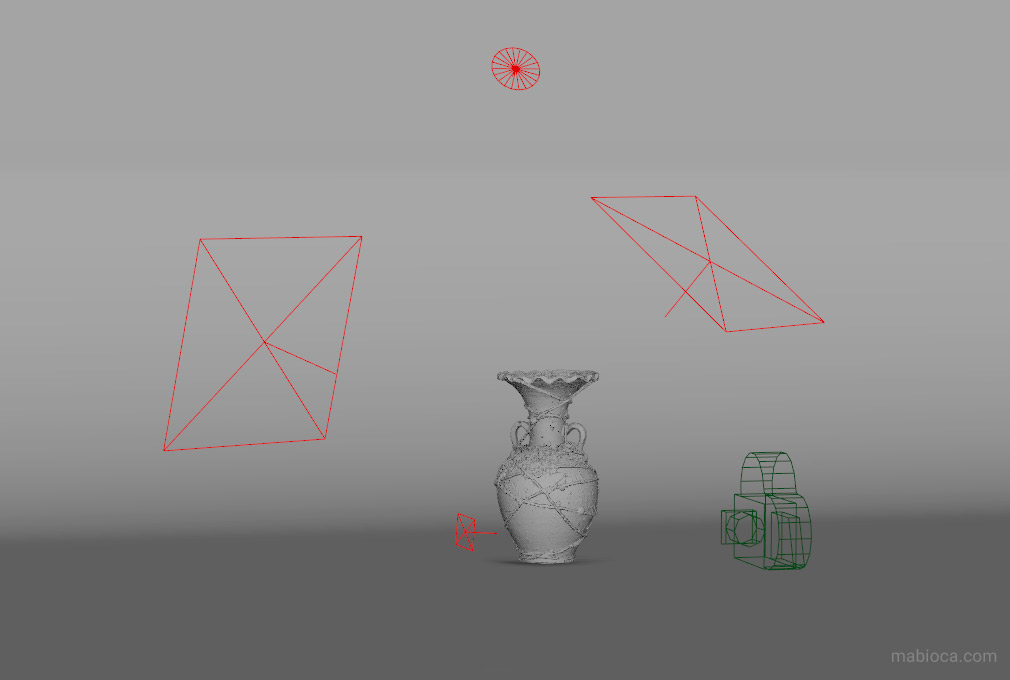
For each pot, I took around 80 to 100 photos from three or four different angles. You can view the positions of the camera in the screenshot below:


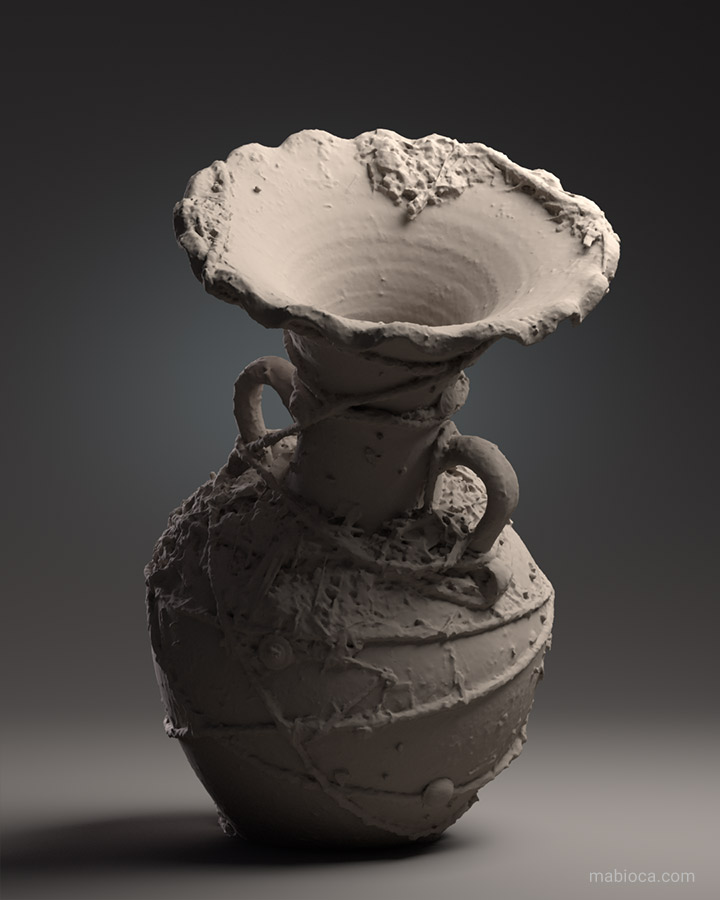
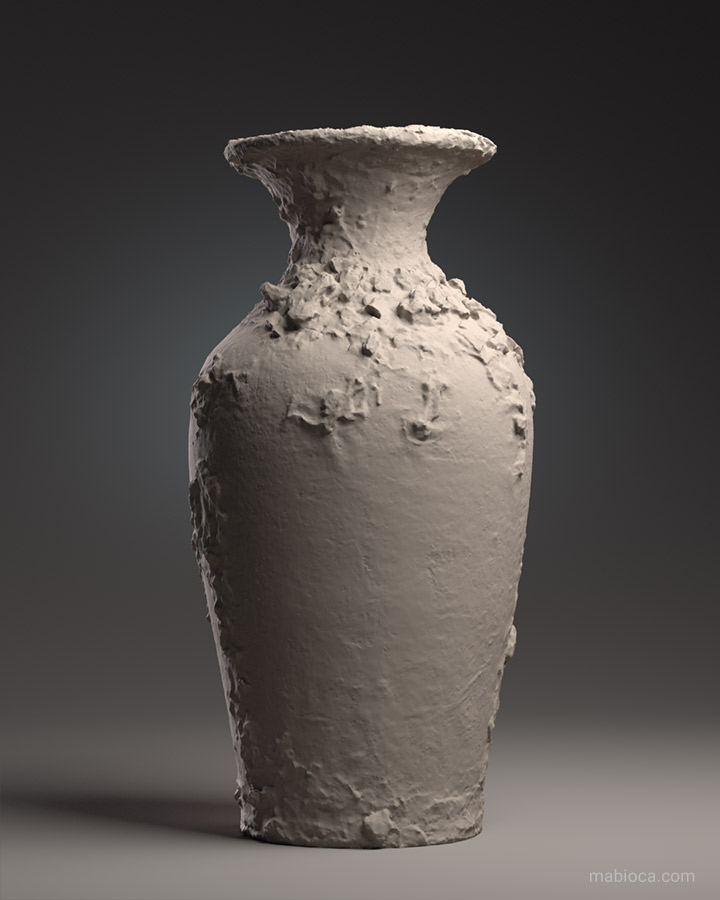
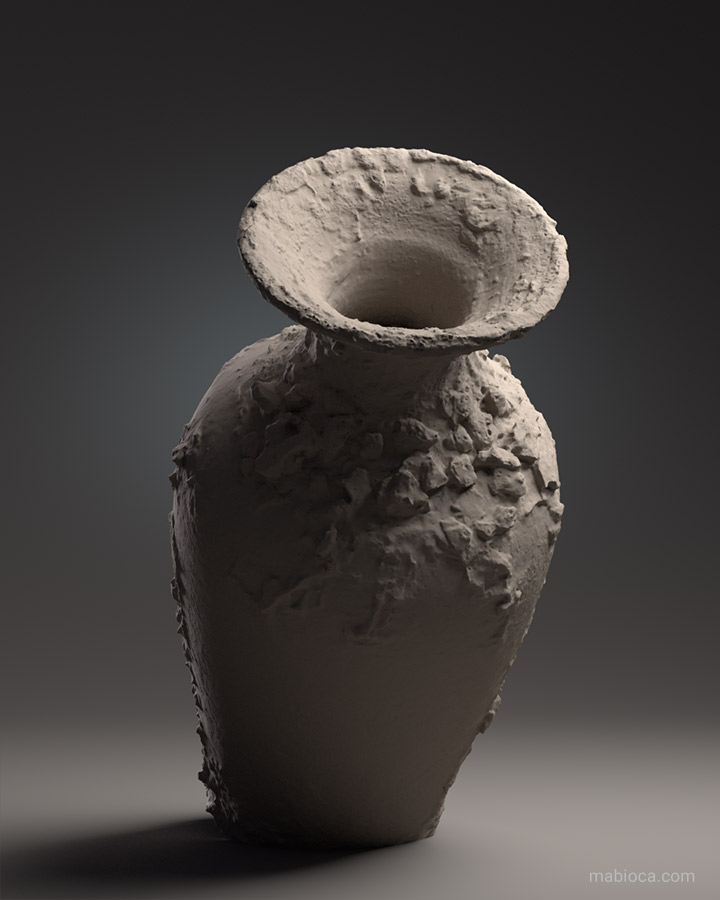
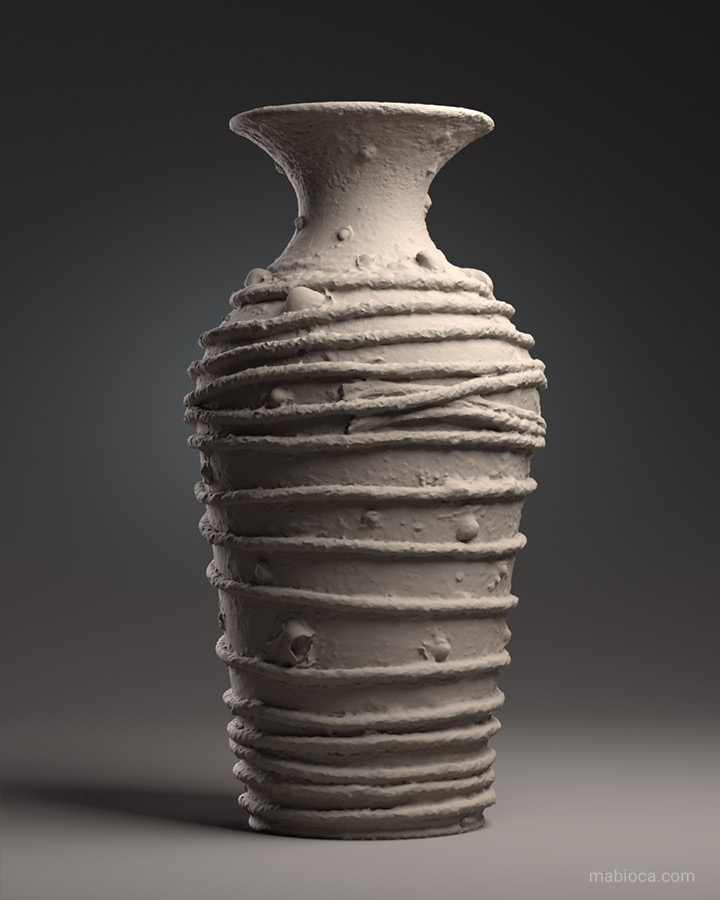
Check out these models on ArtStation and CGSociety platforms.
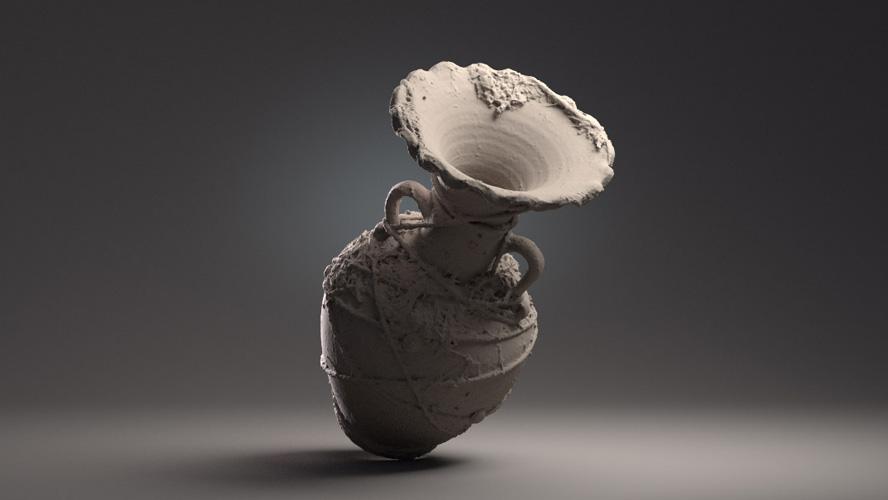
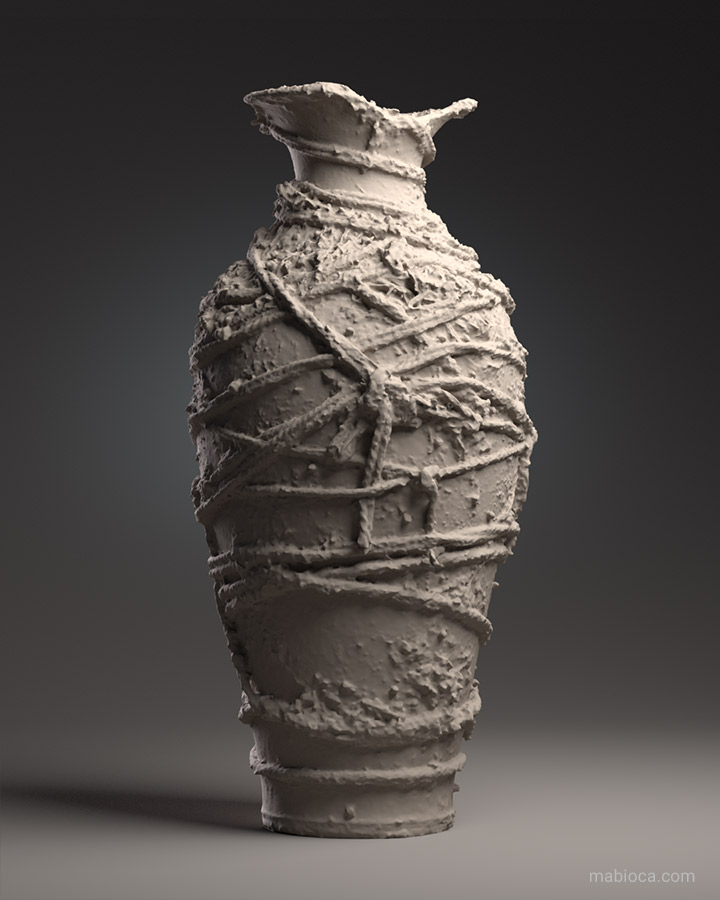
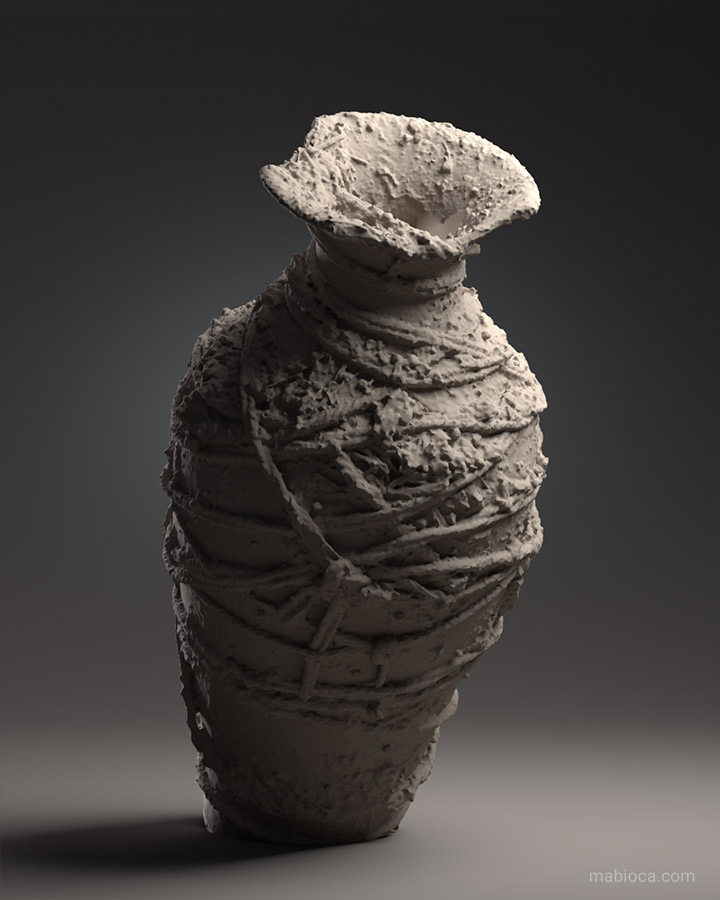
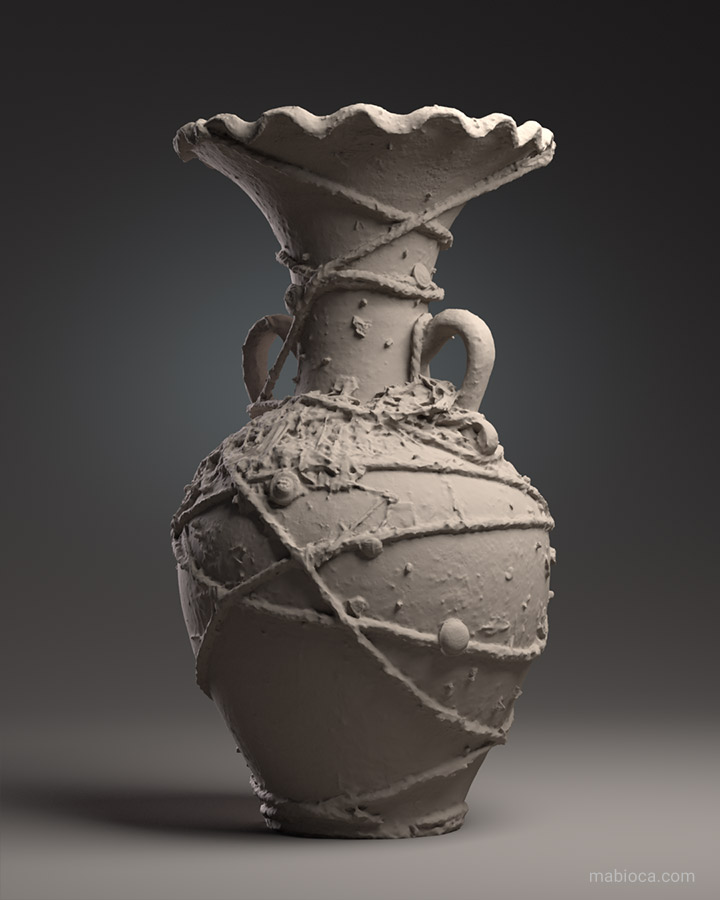
what about the number of triangles in these models? they seem to be super high poly.
Right, each of them has about 14 million triangles in full detail, in continue the low poly version of them would be suitable for the use in game engines.
Ok
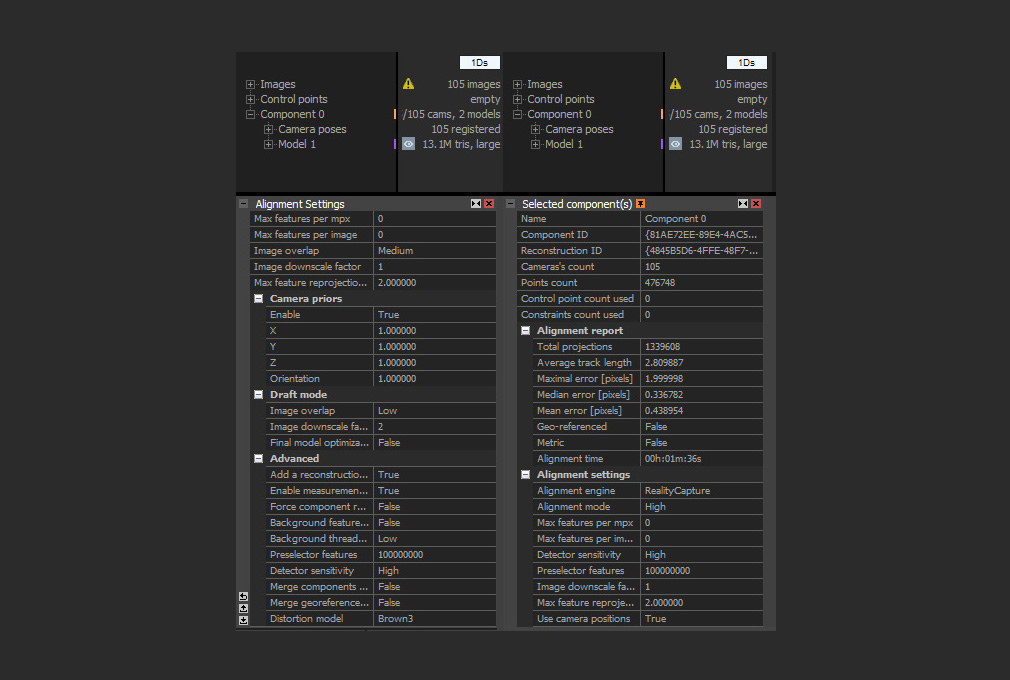
I am also a bit curious about settings in RealityCapture, can you post a screenshot from the alignment settings you set?
Yes, Sure. I added to the screenshots of above.