For some time I wanted to try Fusion 360 for modeling, even though I think I had installed it on my computer for a few months, but every time I didn’t get the chance for some reason. During this time, I had been trying to watch video tutorials of it on my usual surfing YouTube. I think one of the reasons is that I had seen many 3D models made with Fusion on the ArtStation website. Of course, after years of modeling in Maya, I found it a bit difficult to change modeling tools, but anyway, most of the time, curiosity made me learn something new, which was the same in this case.
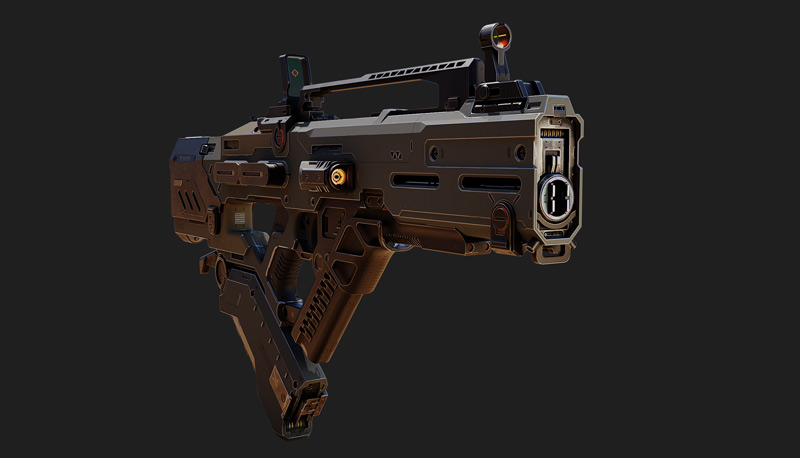
After I made my decision, I started collecting video tutorials, most of which were from the Autodesk website and YouTube. According to my old habit, to have a proper understanding of a new software tool, I do a simple project with it. So I started searching the internet to find a design of a model, which of course included most of the ArtStation and Pinterest websites. Finally, I found the following design, an imaginary model of a rifle, on the Art Station website, which I thought was suitable for what was in my mind. I think one of the reasons I chose this design was the simplicity of the shapes, which made it easy to model it in Fusion. However, I had only seen videos so far and I was considering using my previous experience in modeling.
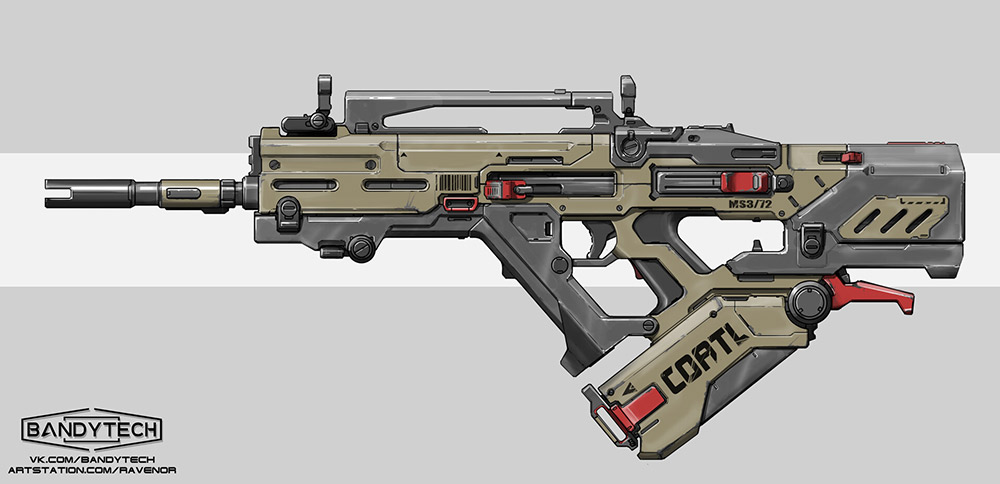
I think you should see the rest of Eldar Safin’s designs. A talented artist, his works have a three-dimensional sense and simulate volume so that any 3D modeler can easily understand the shapes and dimensions of different parts of Eldar’s designs and make a 3D model from them.
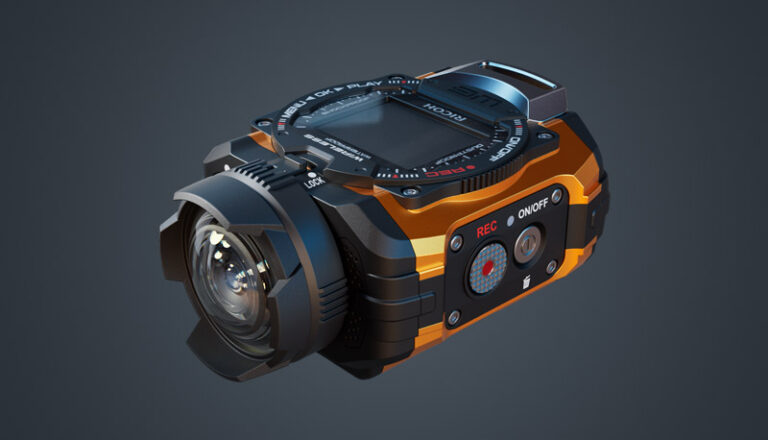
I selected this design as a basis for making my 3D model, but I downloaded a large number of similar images that included 2D designs and 3D rendered models to use them as image resources for making details. I copied every part of these images that I thought could have an idea and saved them in a Photoshop file until finally I made a mosaic image as a source of details, which helped a lot.
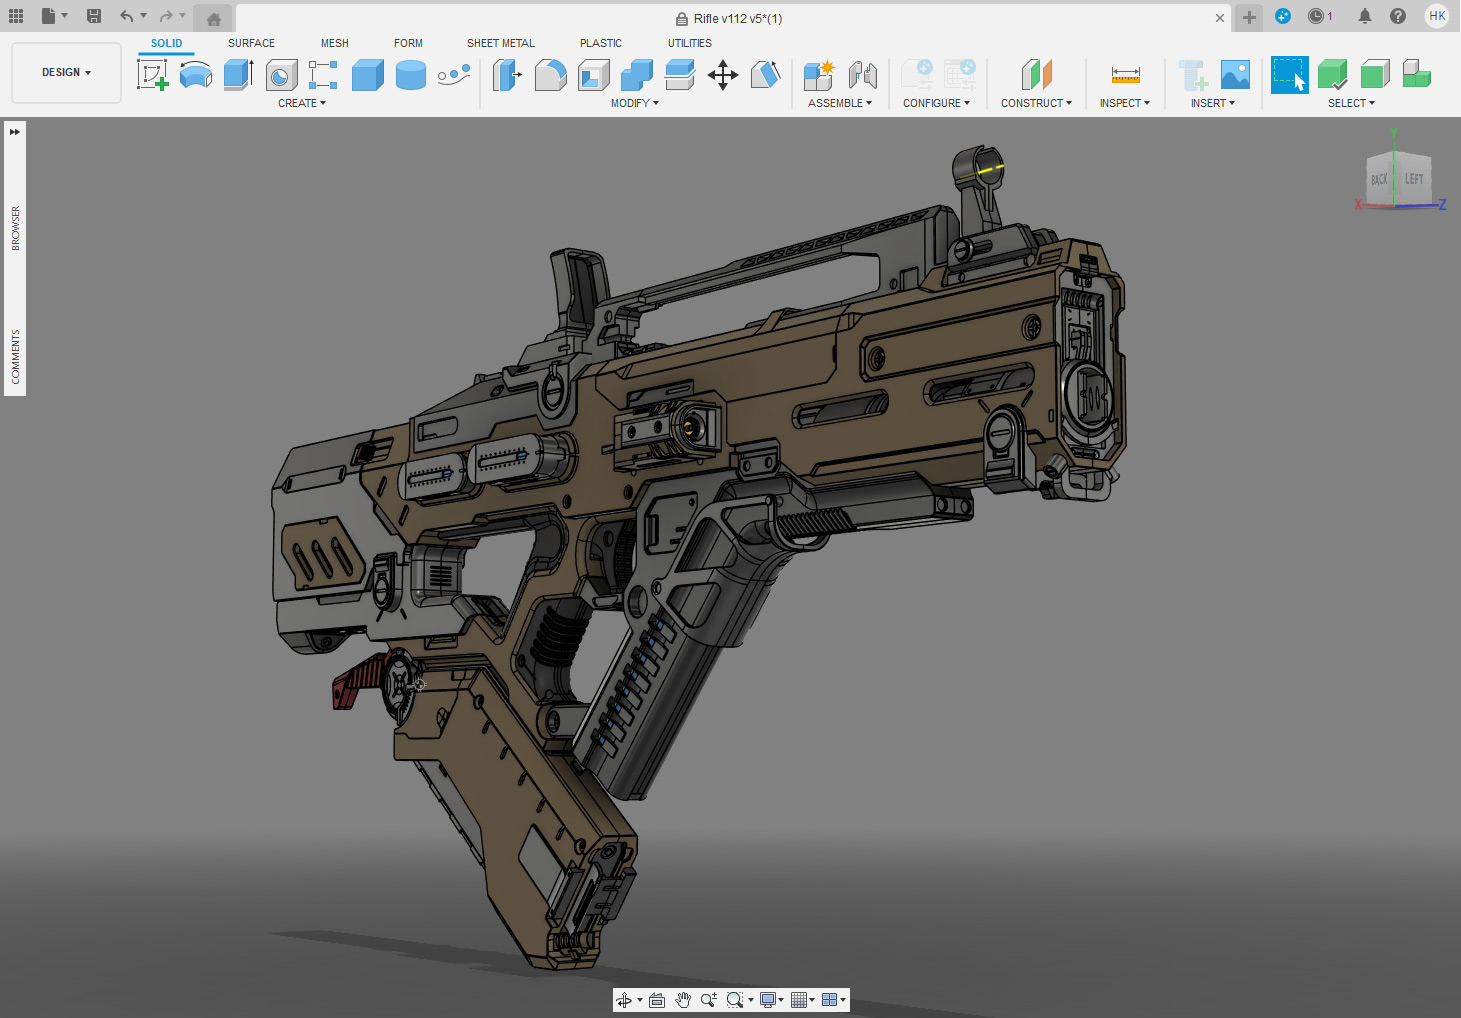
Its modeling took about fifty hours, which was done in twelve days. Of course, I was very slow at first and it took me some time to master some tools. I kept stopping the screen recording to review a video tutorial or search for something on the internet. You can see this process in the videos below, which are tripled in speed. If you watch the videos, you will notice that the use of a few tools is constantly repeated and no special or complicated techniques are used in it, so the modeling process is easy to follow.
After making this model, I came to the conclusion that Fusion 360 is a much simpler and more convenient tool for modeling hard surfaces. With this software, it is easy to delete or edit the previous work you did on the model. I should also mention that in the last two years, another software called Plasticity has been released, whose videos I am following, which it can be a powerful alternative.
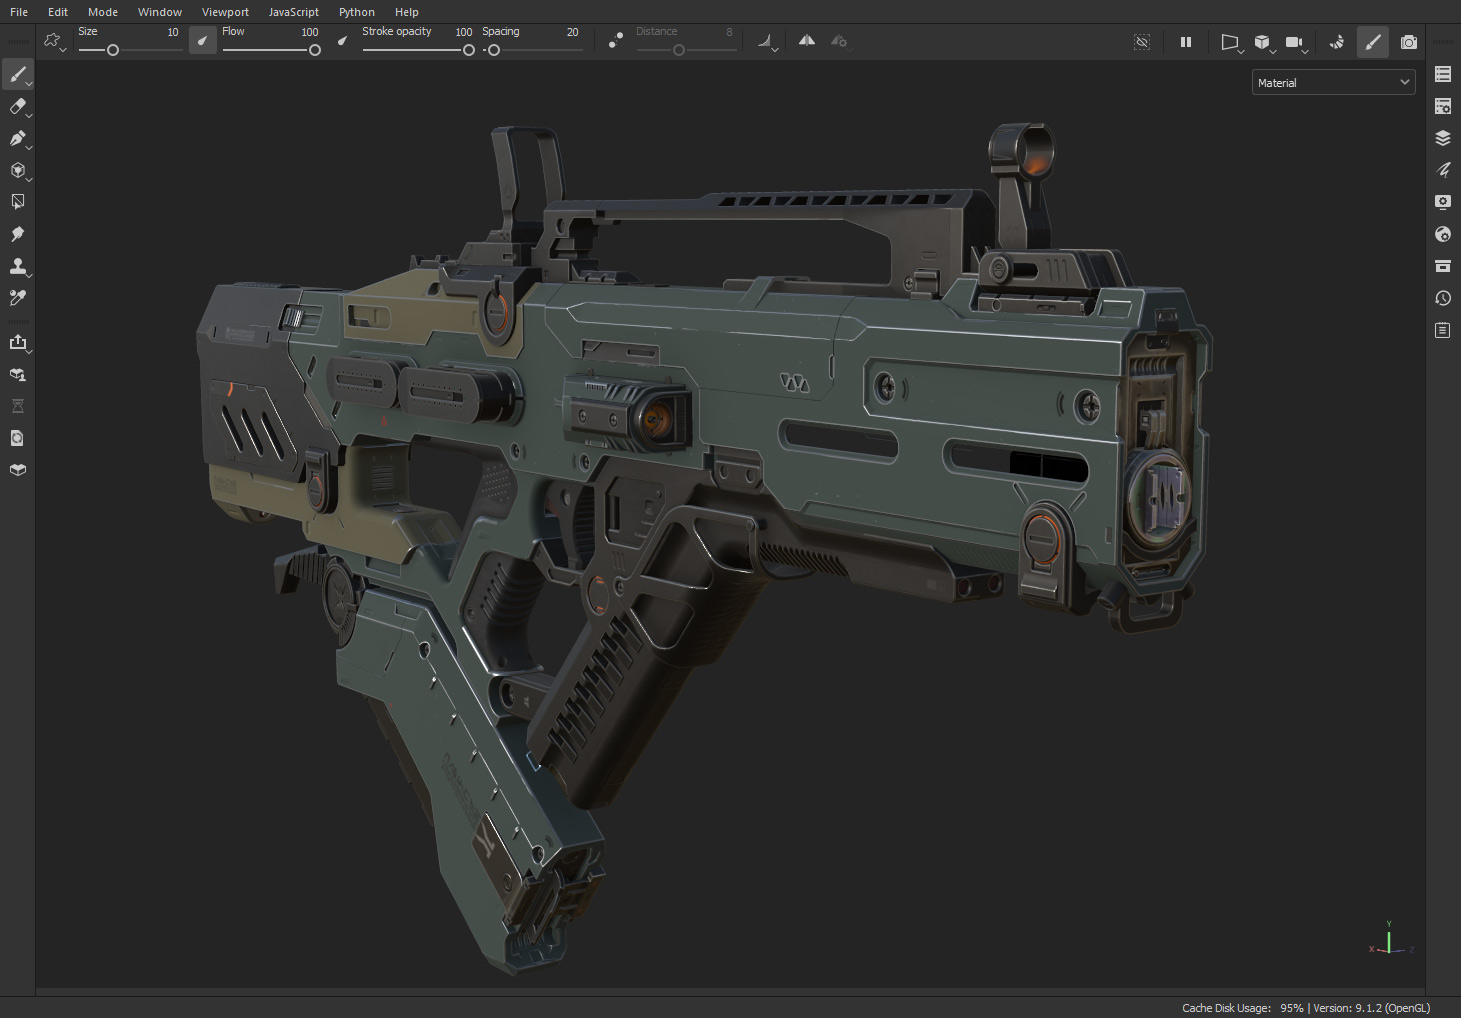
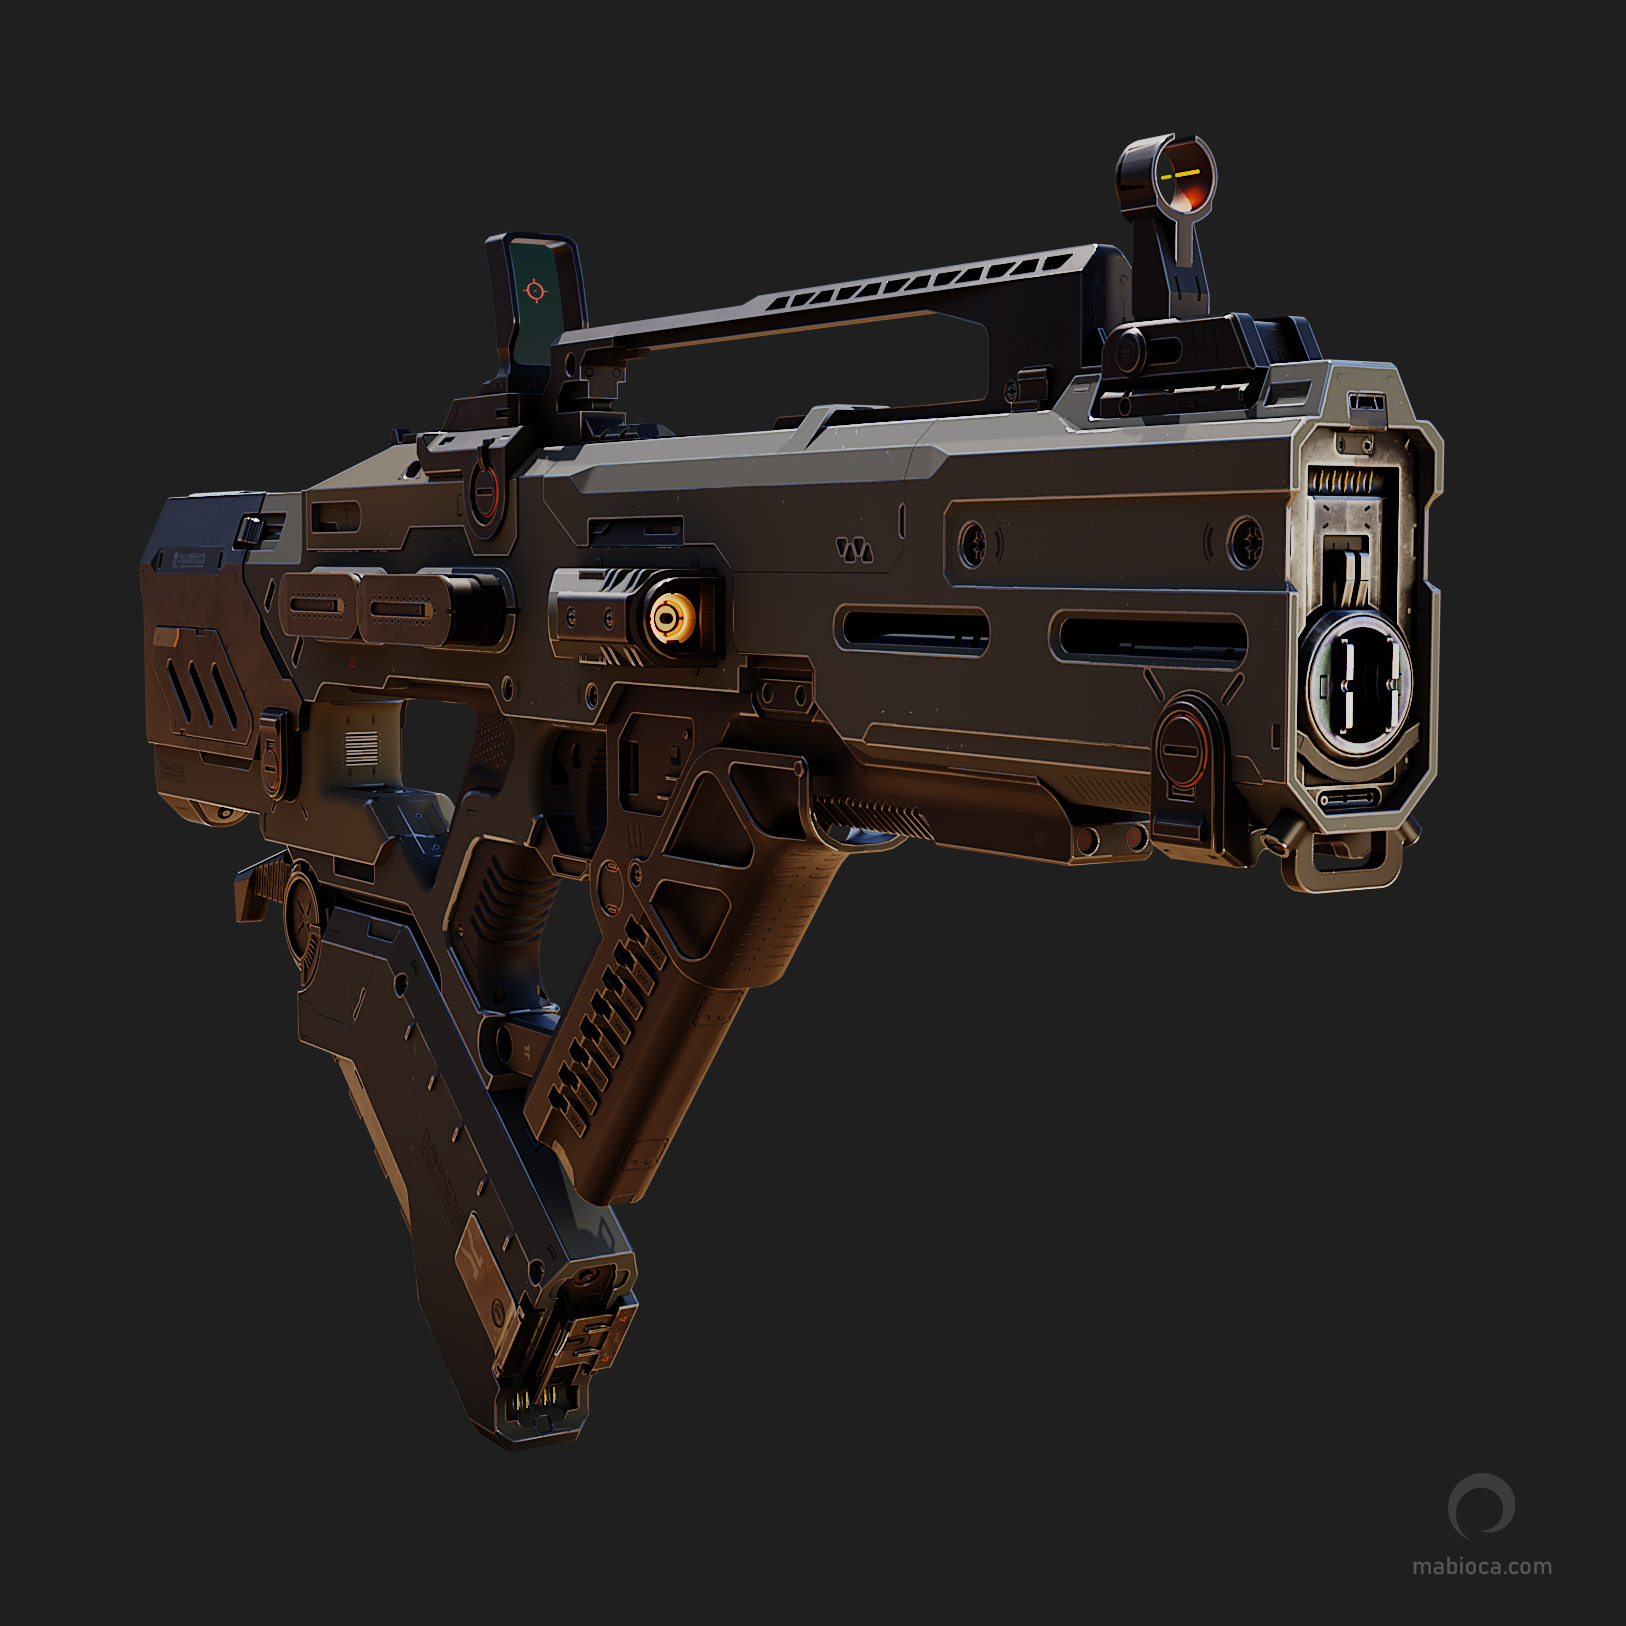
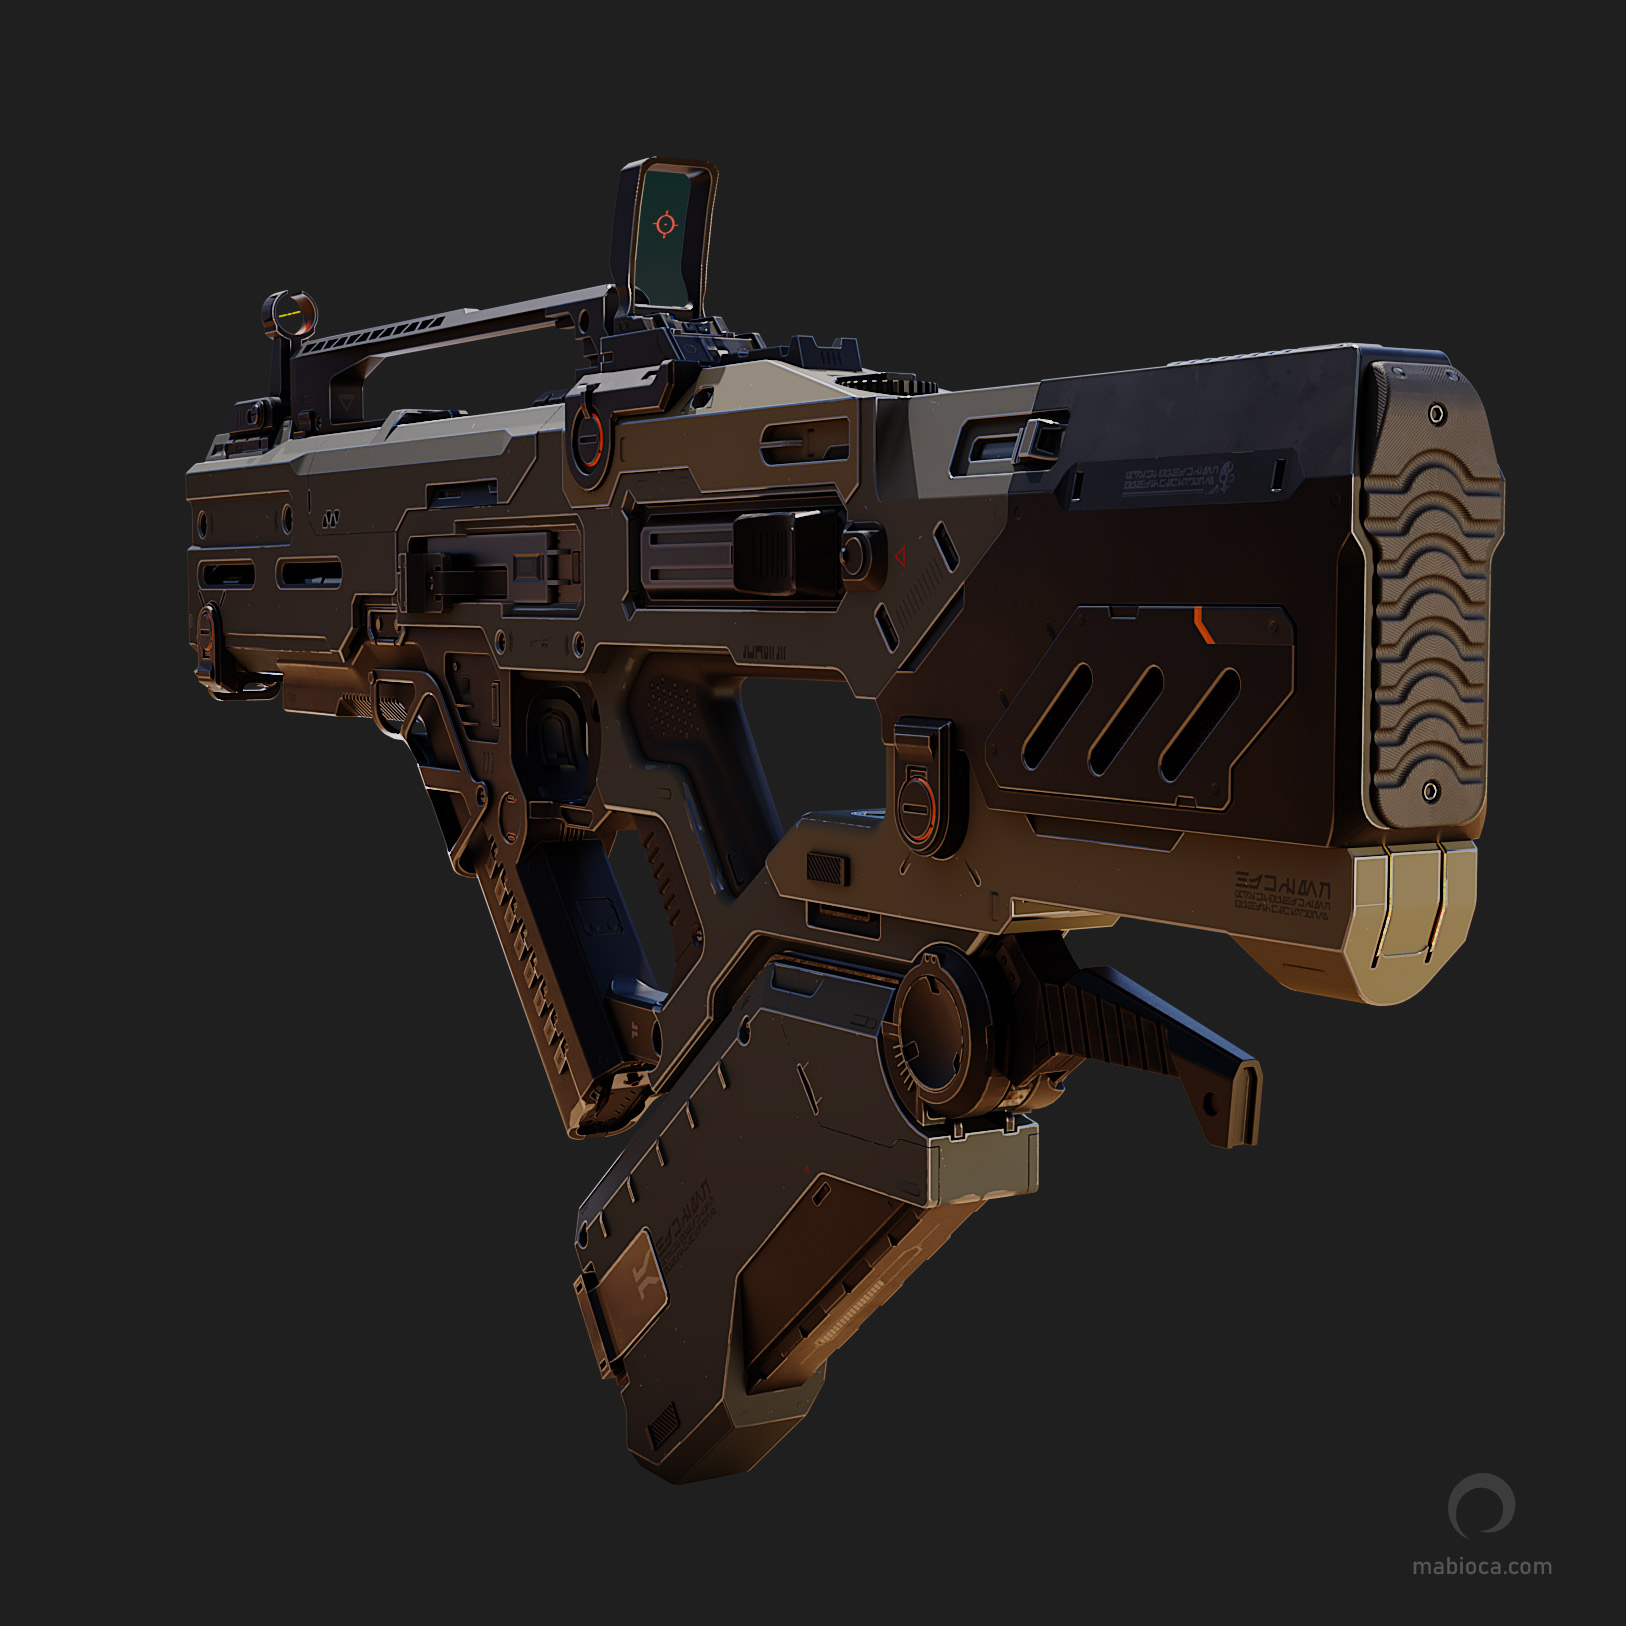
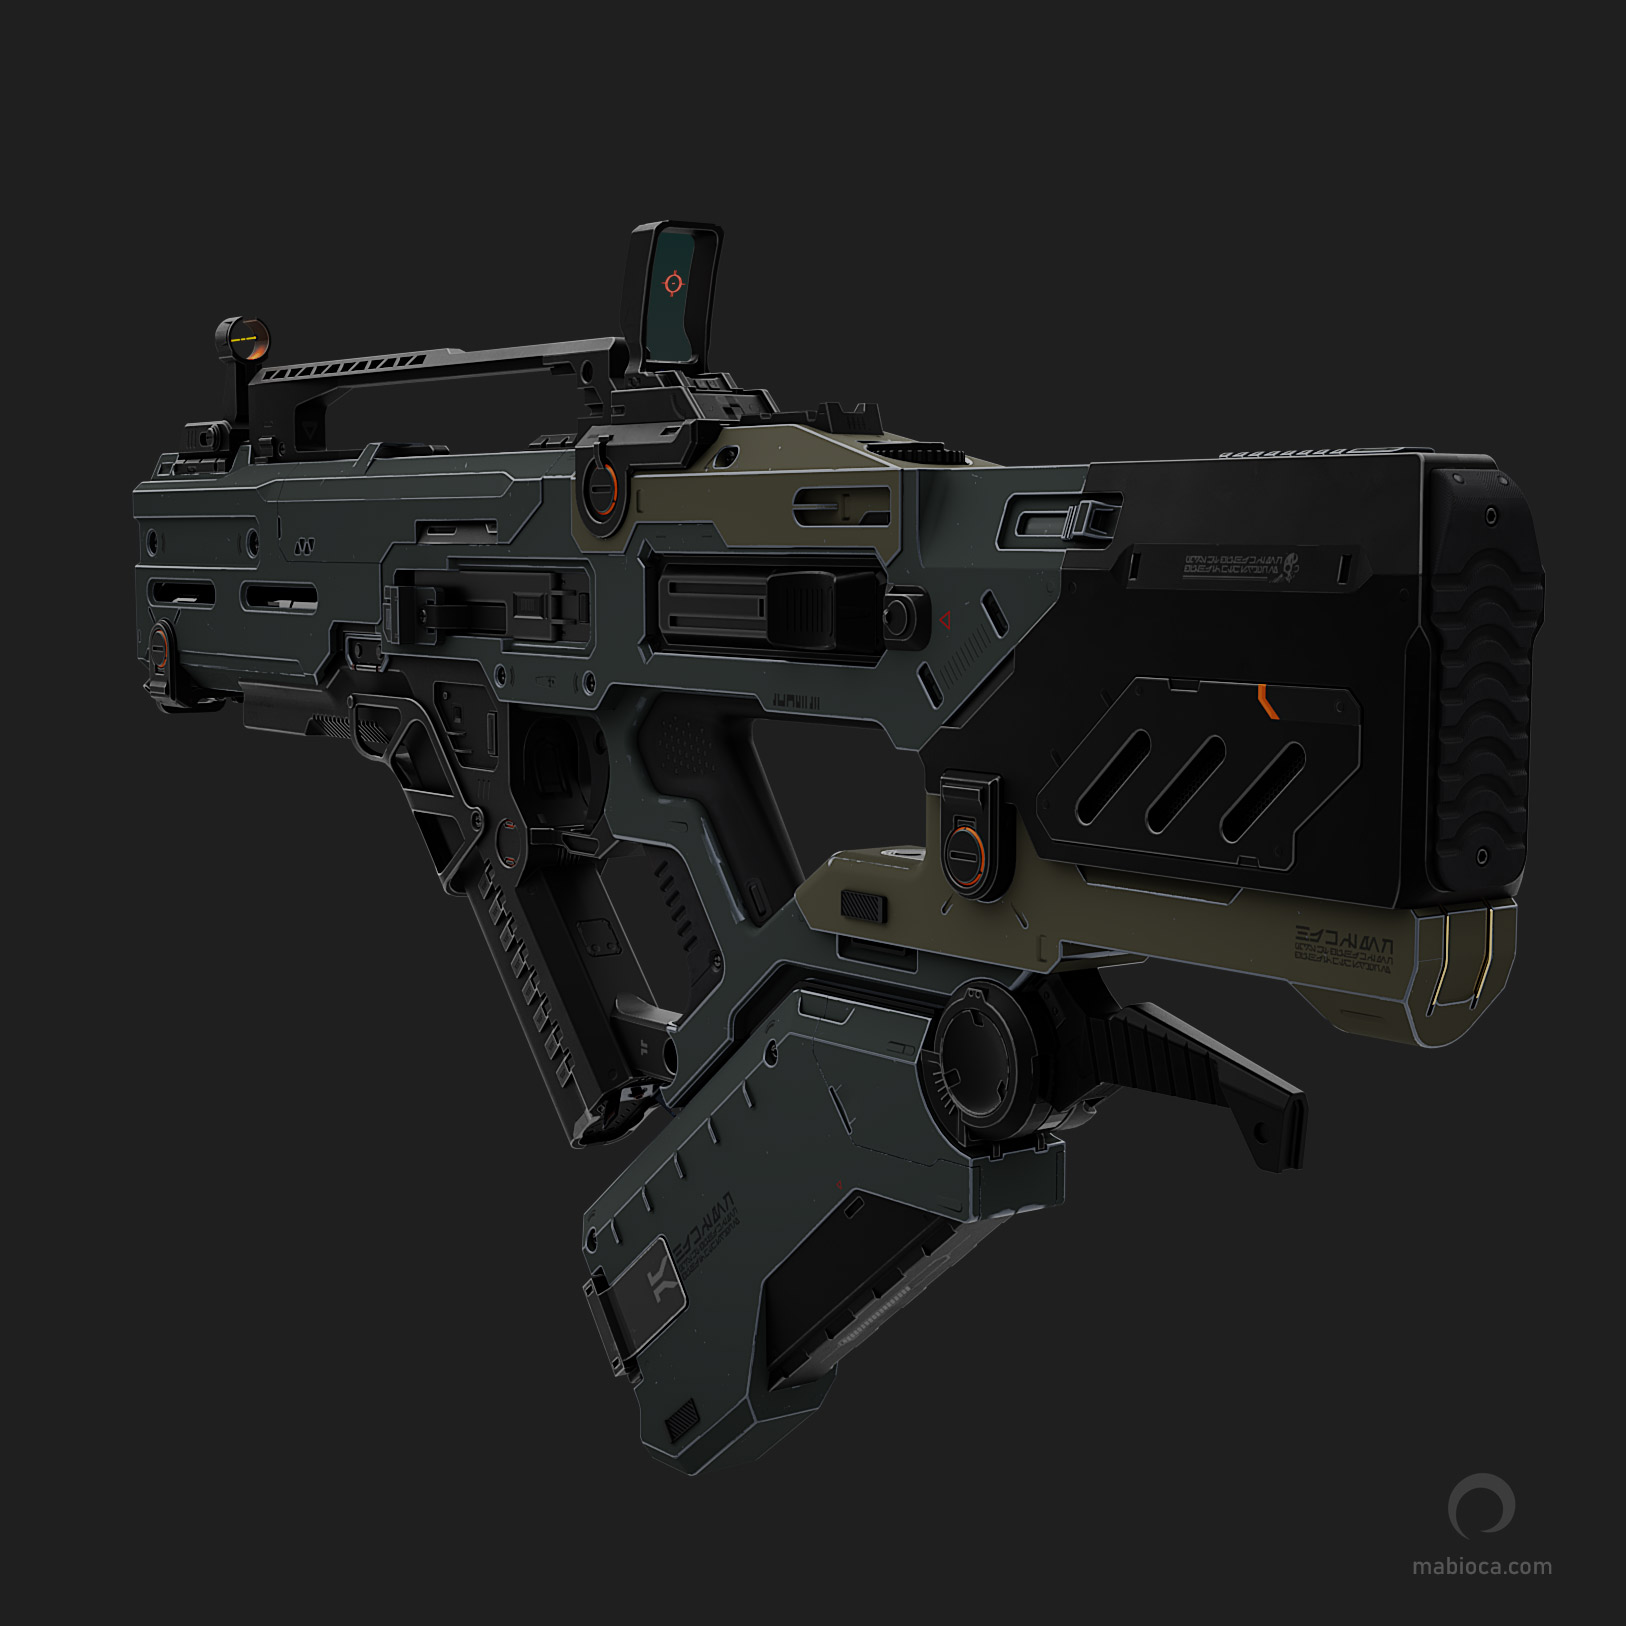
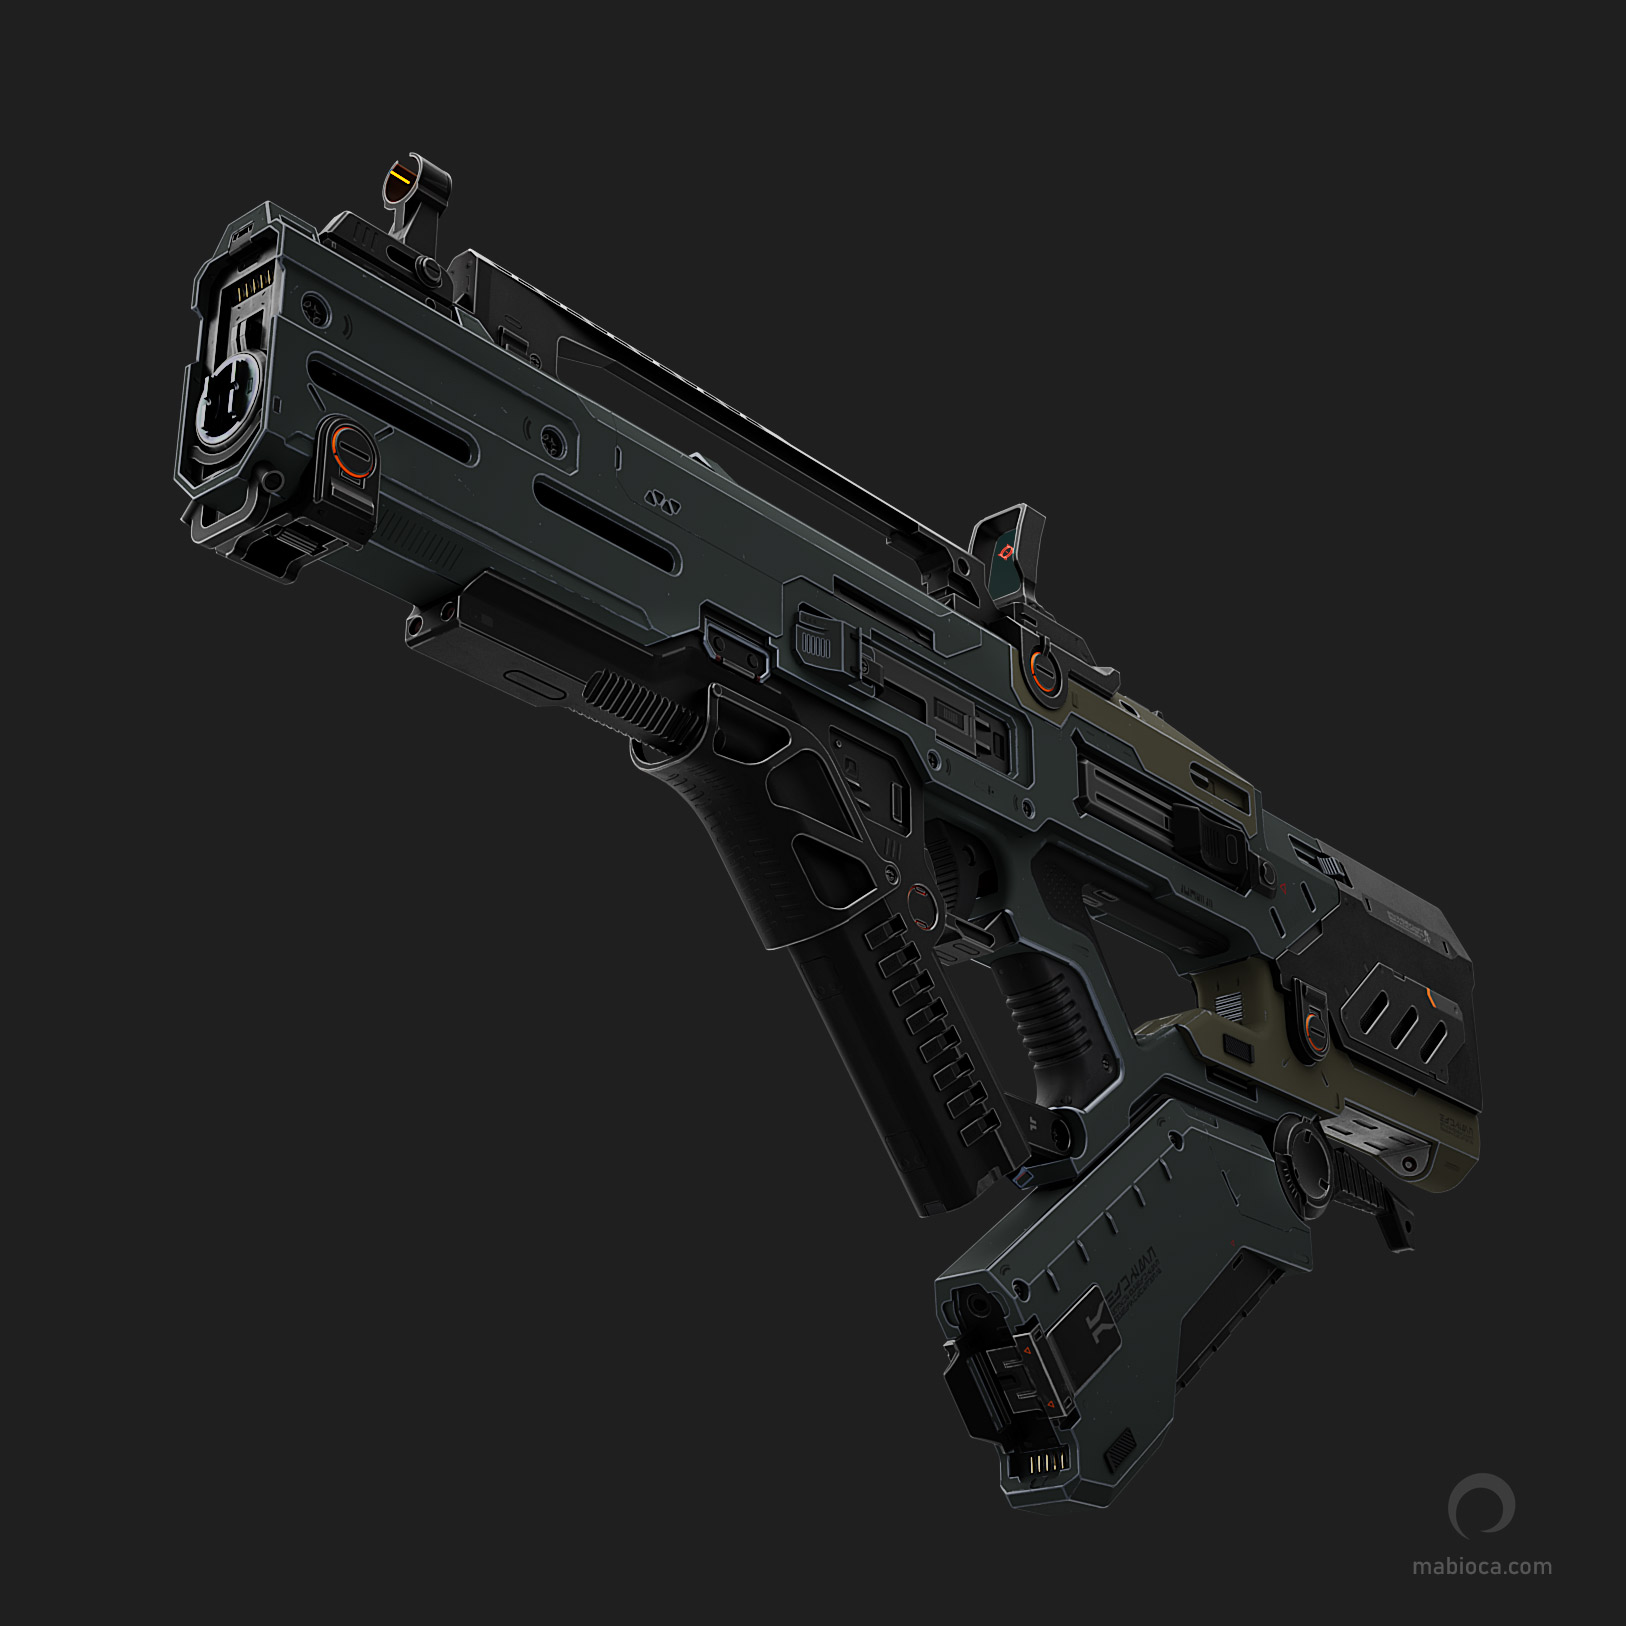
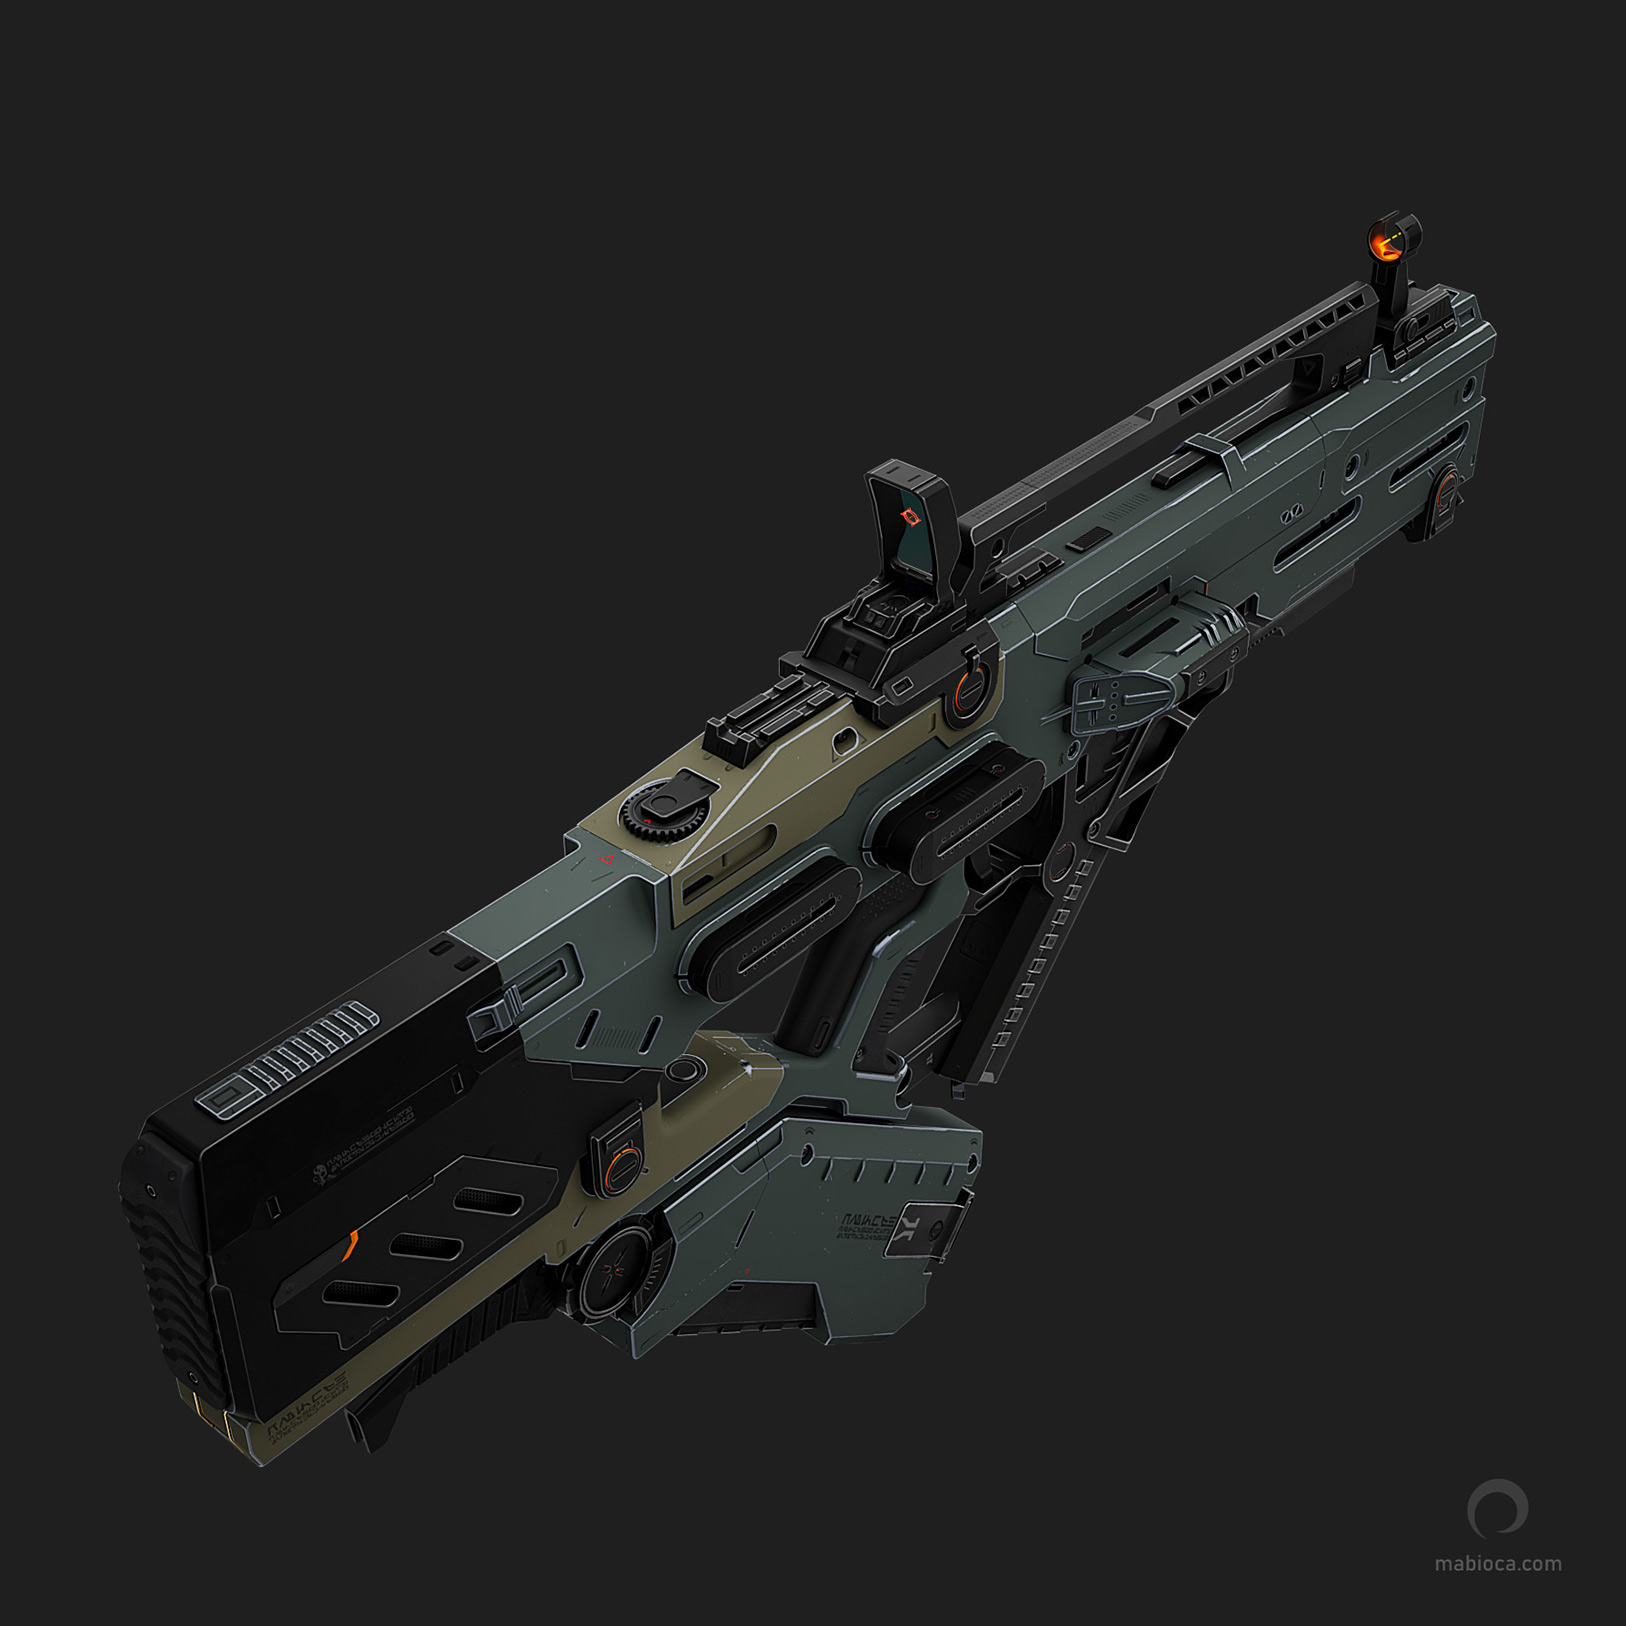
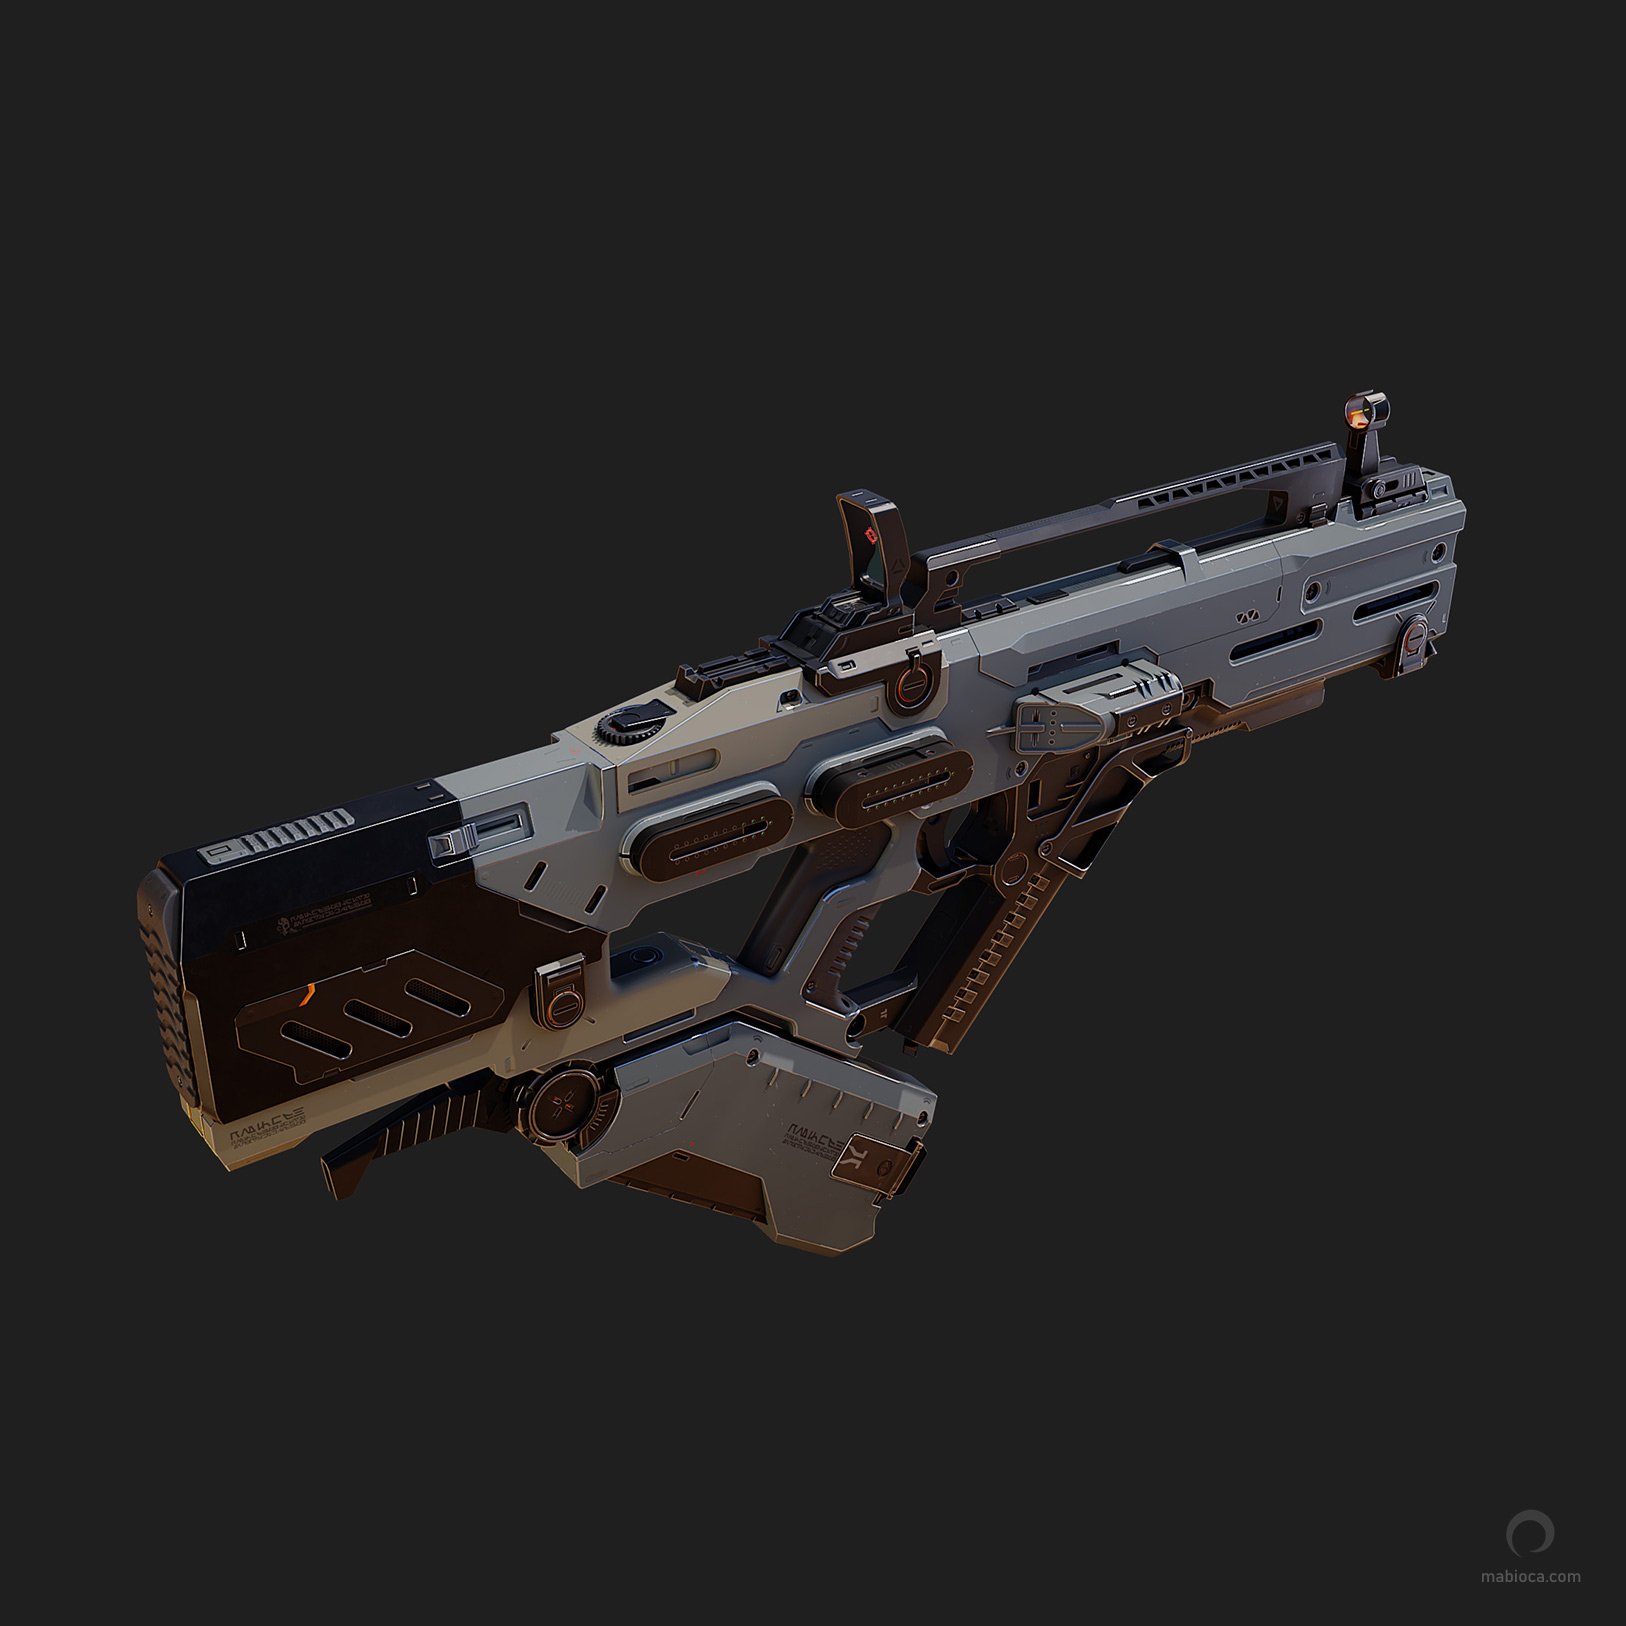
After creating the model, I exported it in FBX and STEP formats. I did the UV-related work in Maya and took the model to Substance 3D Painter to create the textures. I didn’t do a video recording of this part of the work because I was constantly changing textures and materials and I thought it might be boring. To summarize, I used two or three smart materials, which I made a new version of by changing them and then I assigned them to different parts of the model as base materials. I added a separate layer to add details by painting the normal maps to each part and another layer to add color details.
I did the lighting and rendering in Maya with the V-Ray rendering engine. A dome light and five rectangular lights around the model are all the lights I used for this work. For the dome light, I chose two HDRI files, one of which was a photography studio environment and the other was an image of the external environment to have two different ambient lighting. Below you can see the final result of one of the lighting sets on the model without textures.
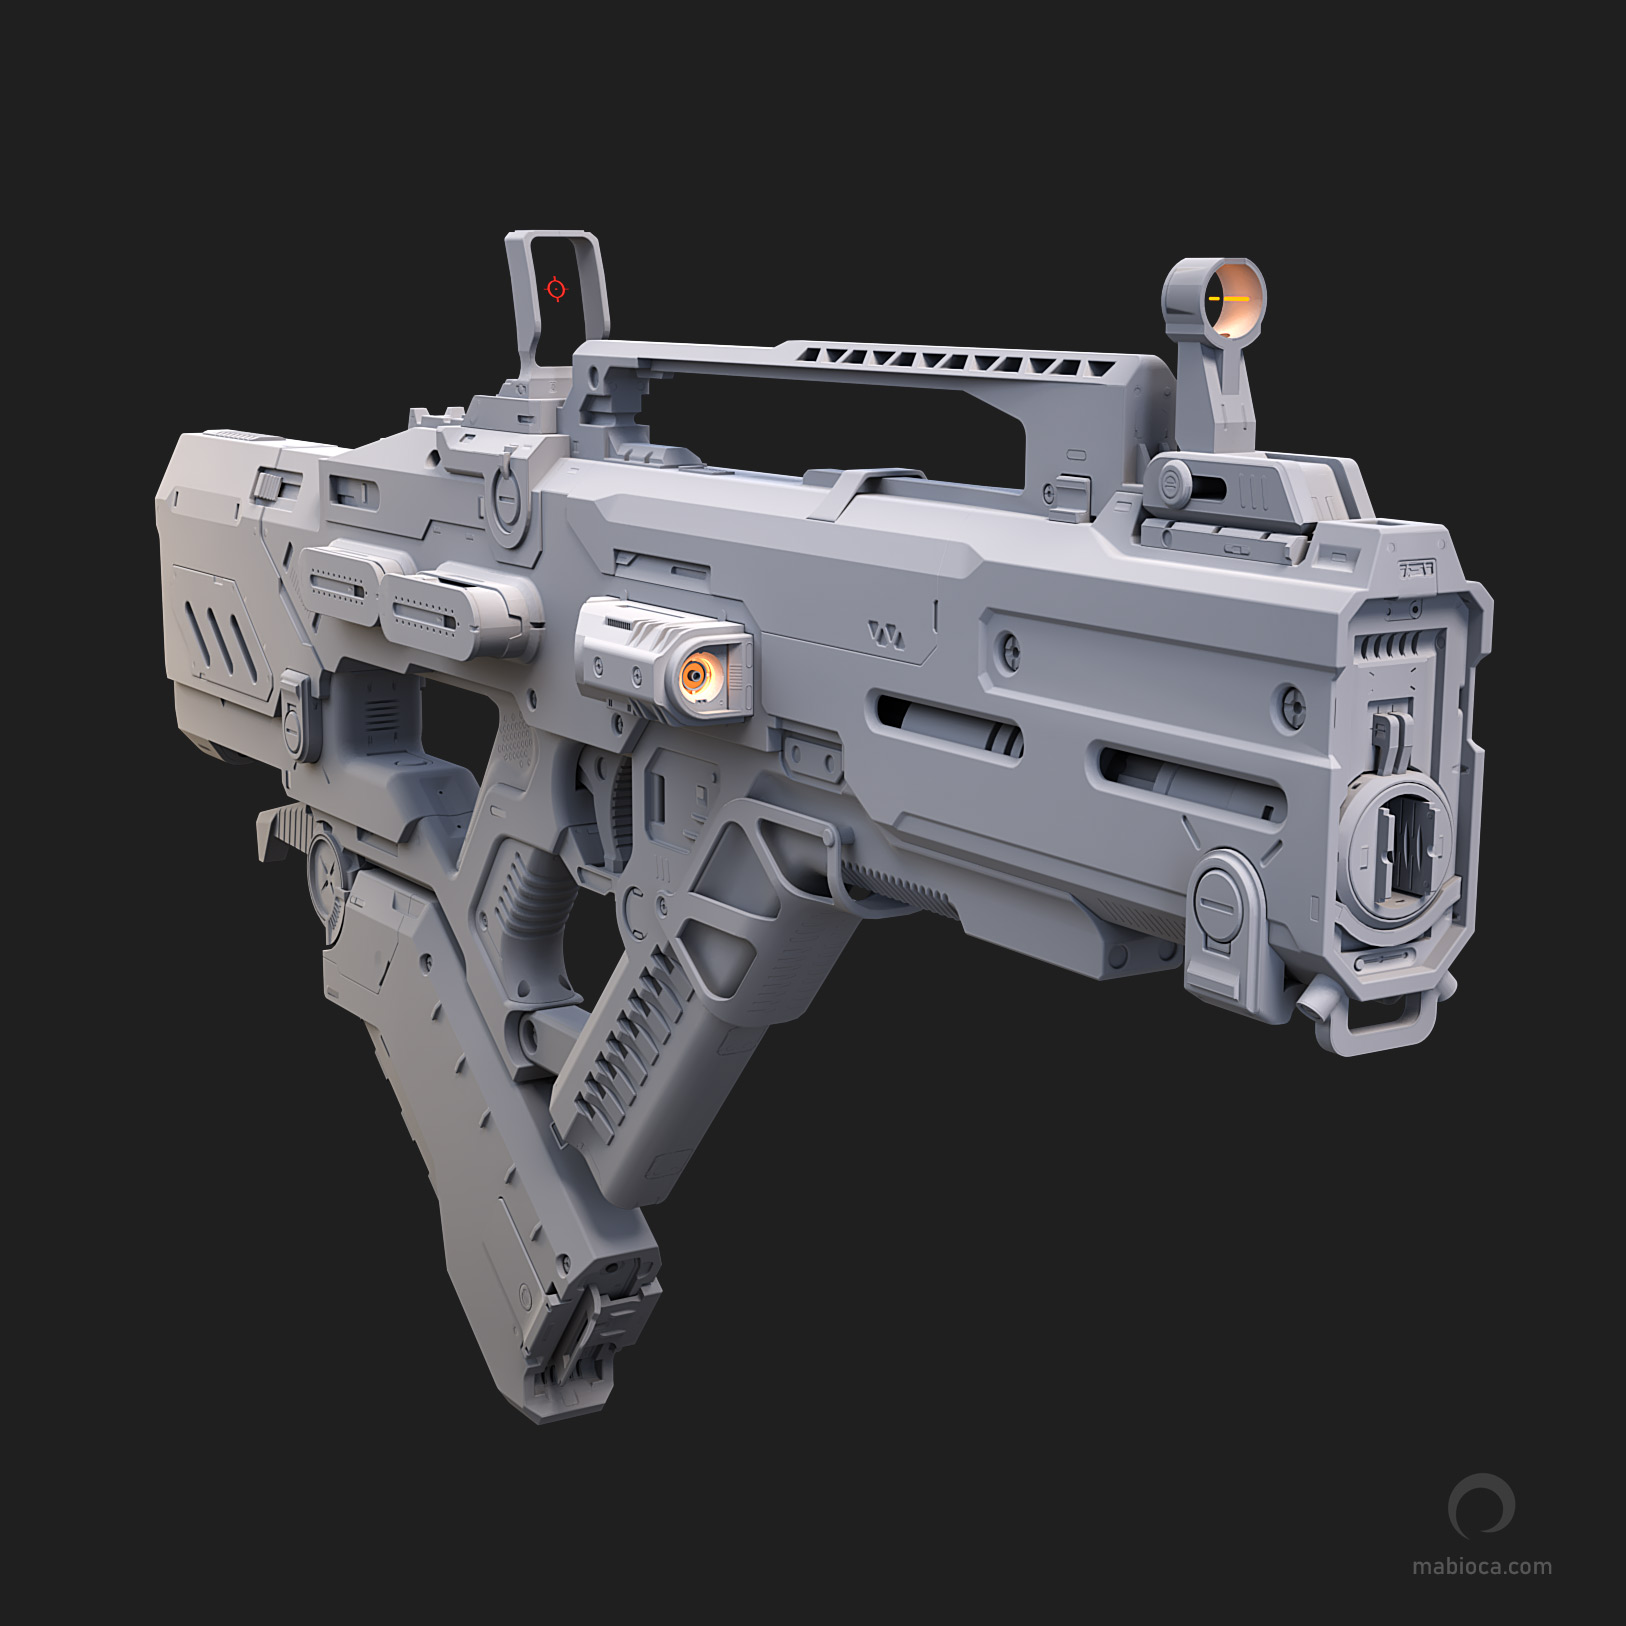
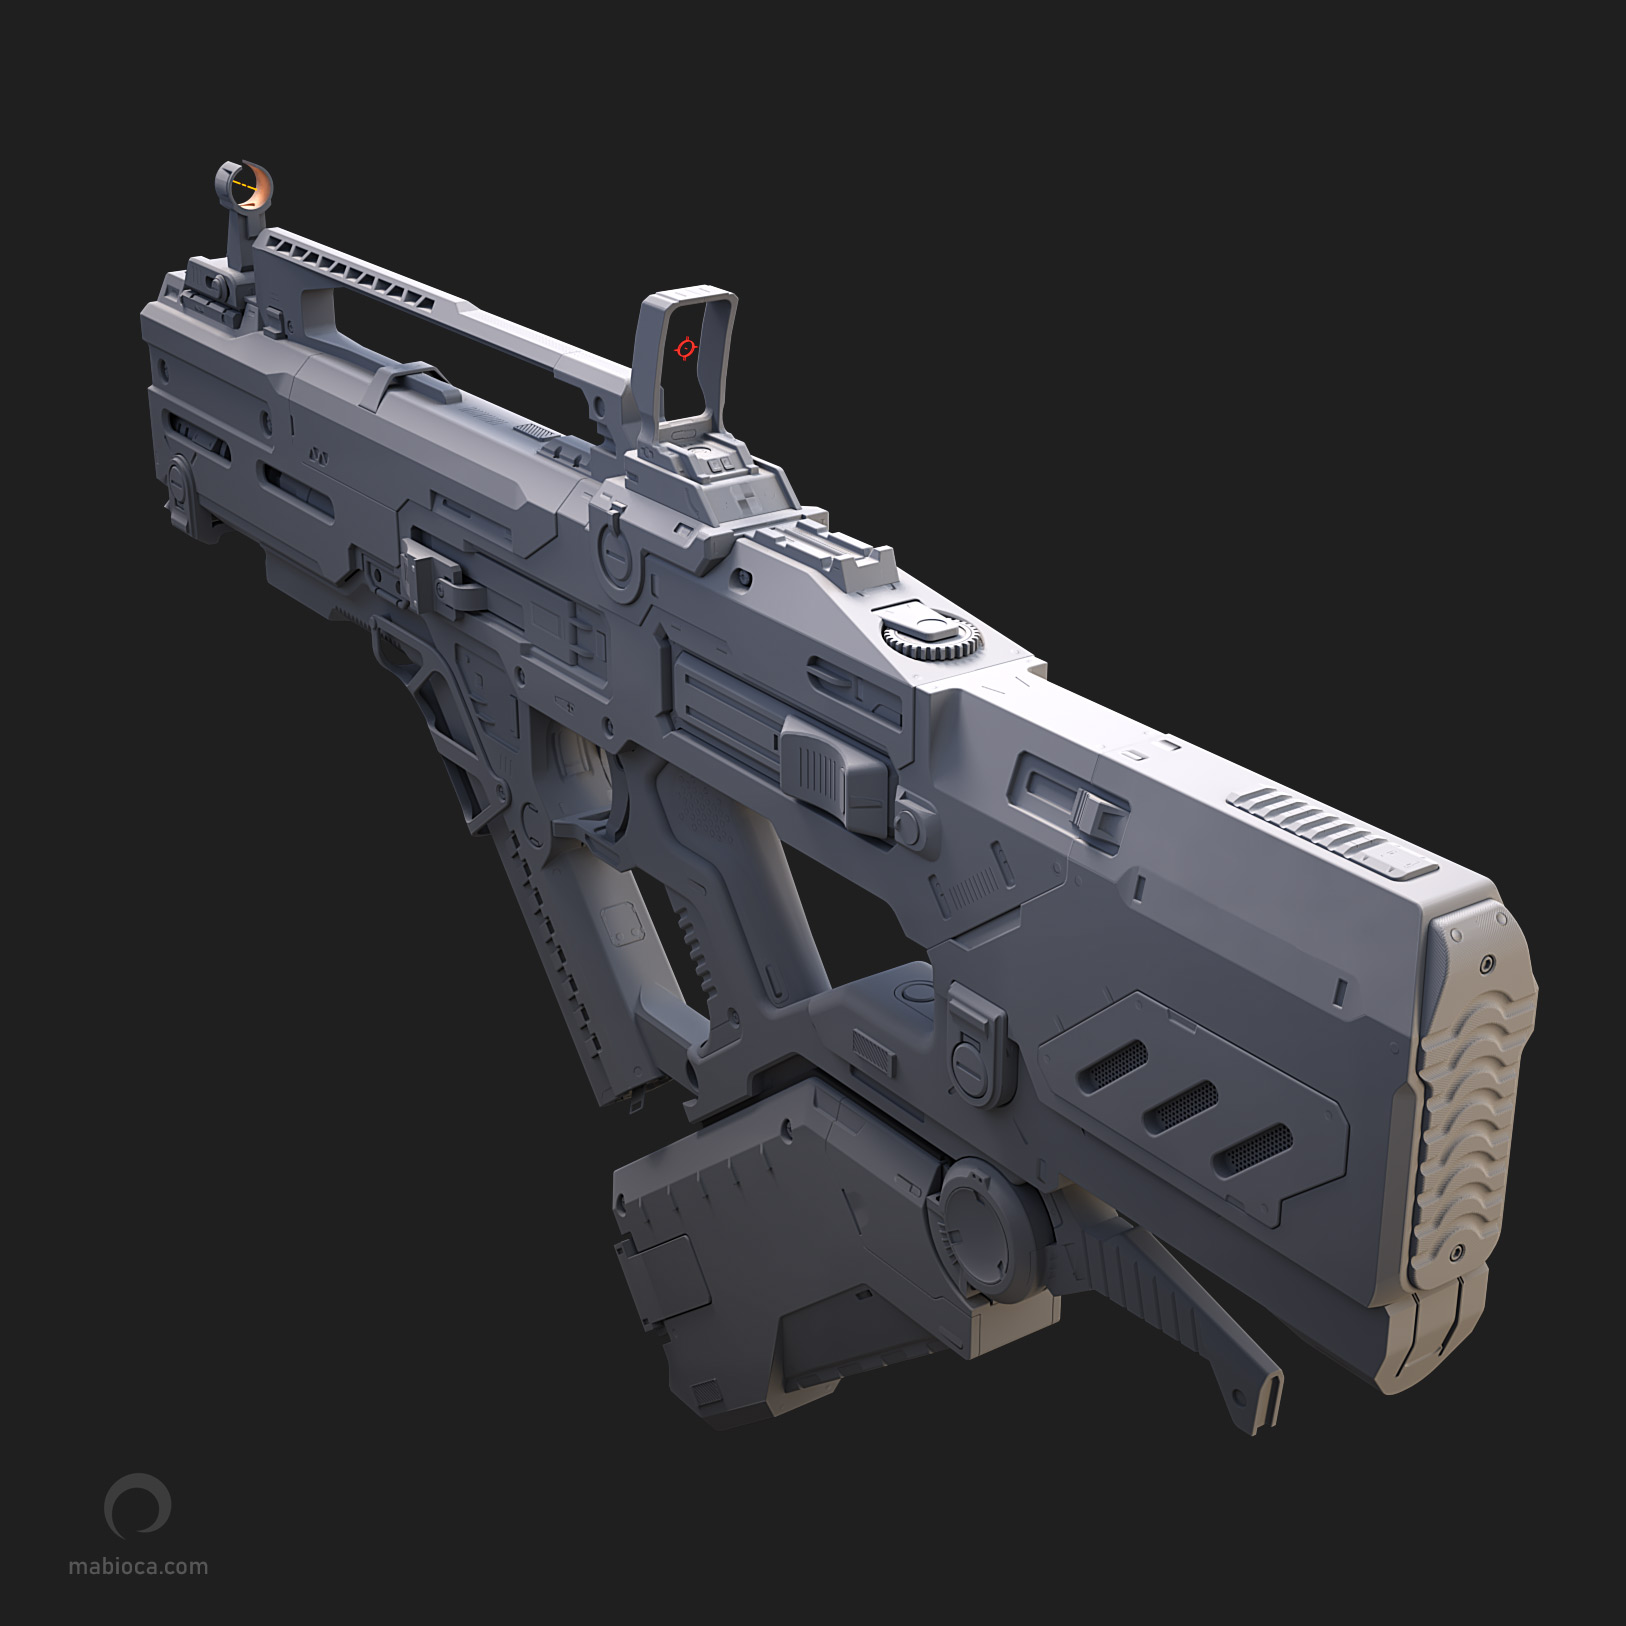
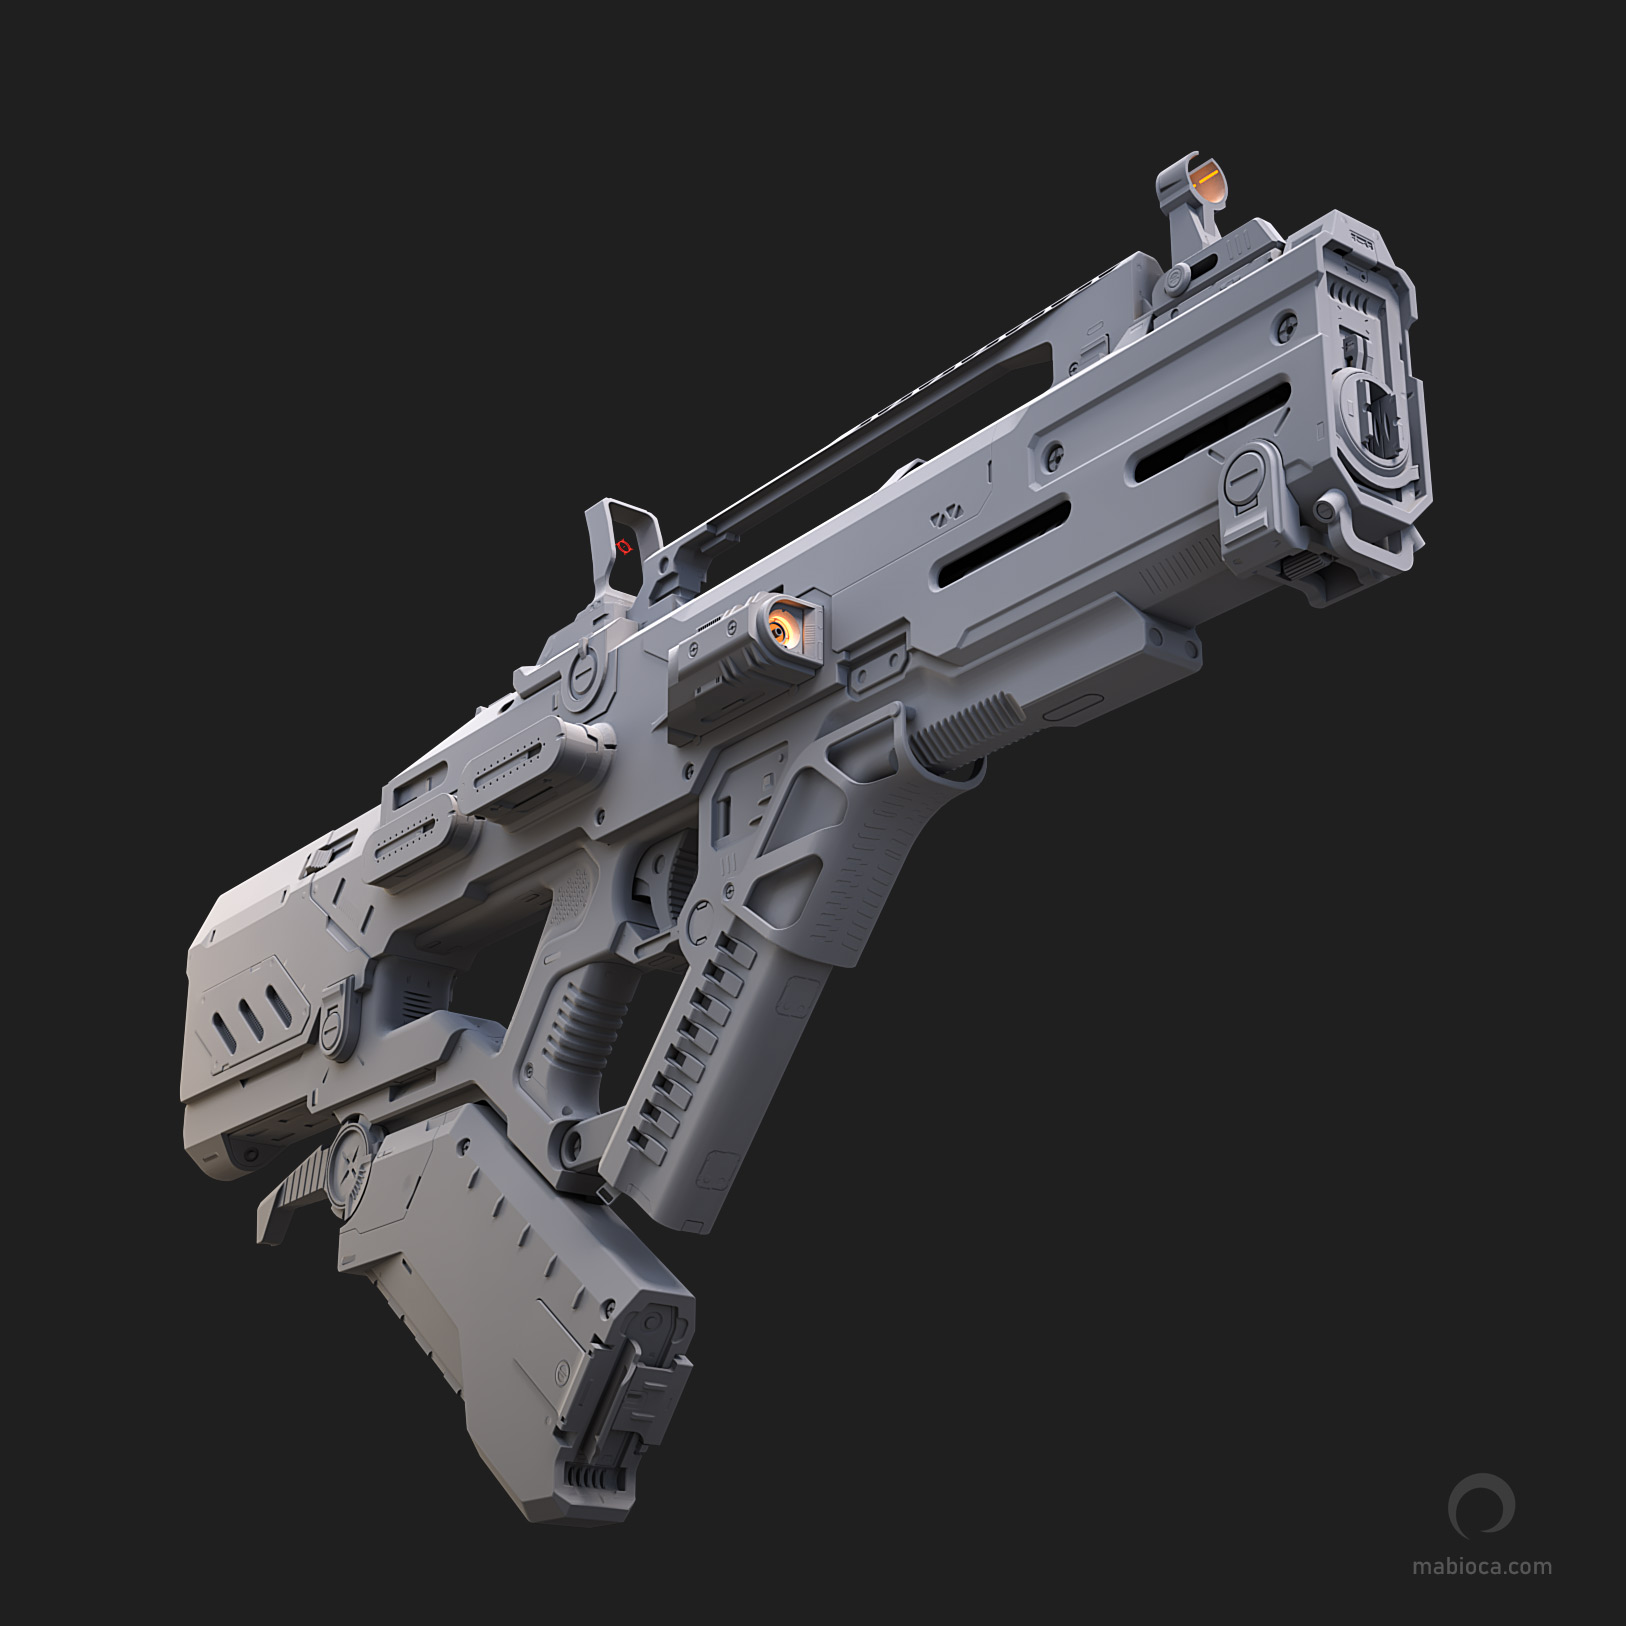
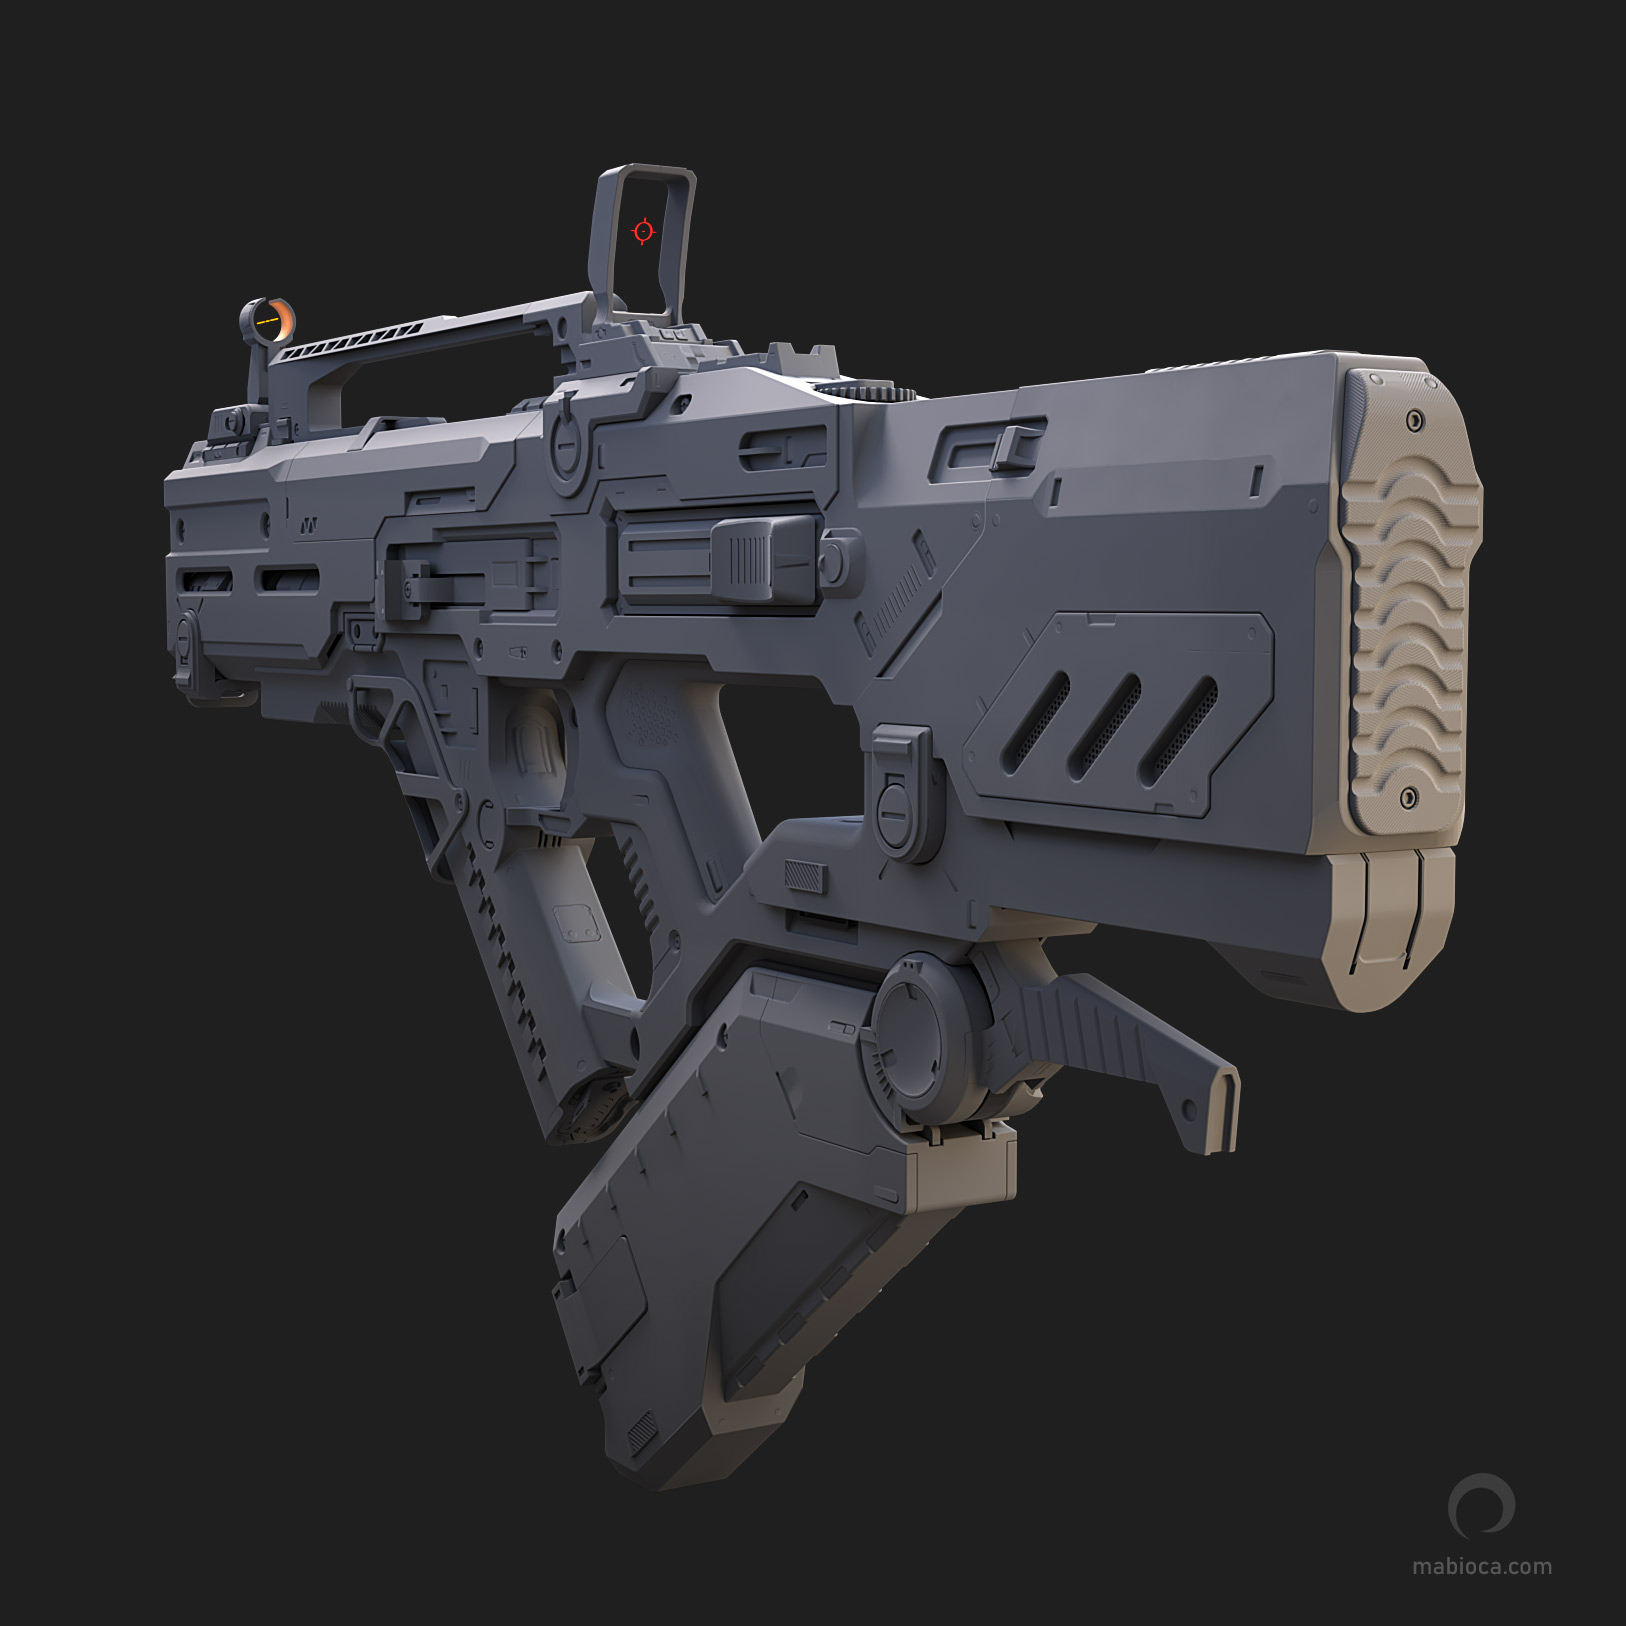
As usual, I used the Light Cache engine as the secondary diffuse bounces in the GI tab in render settings. The rest of the settings are almost default, except for color space, which I changed to ACEScg.
Click here to see this work on the ArtStation website.